How to Grow Dry Bean Plants: The Complete Guide

Kidney Beans
Caption

Ripe pods of kidney beans

Photo Credit
Digihelion
Botanical Name
Phaseolus vulgaris
Plant Type
Sun Exposure
Subhead

Planting, Growing, and Harvesting Dry Beans

Print Friendly and PDF

Discover the joy of growing dry beans. We’re talking about shelling beans such as black beans and pinto beans. Thankfully, these legumes are being grown again because homegrown dried beans are great! They’re super easy to grow, packed with protein, and store for a long time. Learn how to grow dry beans.

About Dry Beans

Dry beans are a staple in many of our favorite foods. An excellent source of plant-based protein, fiber, and vitamins, beans are a primary food source that is easy to grow, harvest, and store. 

Beans are one of the only significant plant-based sources of the amino acid lysine.

Beans are commonly classified as snap, shelling, or dry beans. Like the typical green bean, snap beans are eaten fresh or cooked in their pod. 

However, these “shelling beans” are harvested when the pods have become tougher, and the seeds are fully formed but still soft. 

While in the same species, Phaseolus vulgaris, as the green beans that we eat fresh or cooked, dry beans are meant to be harvested later and used for the seed, not the pod. However, many excellent dry beans also have edible pods, allowing dual use. 

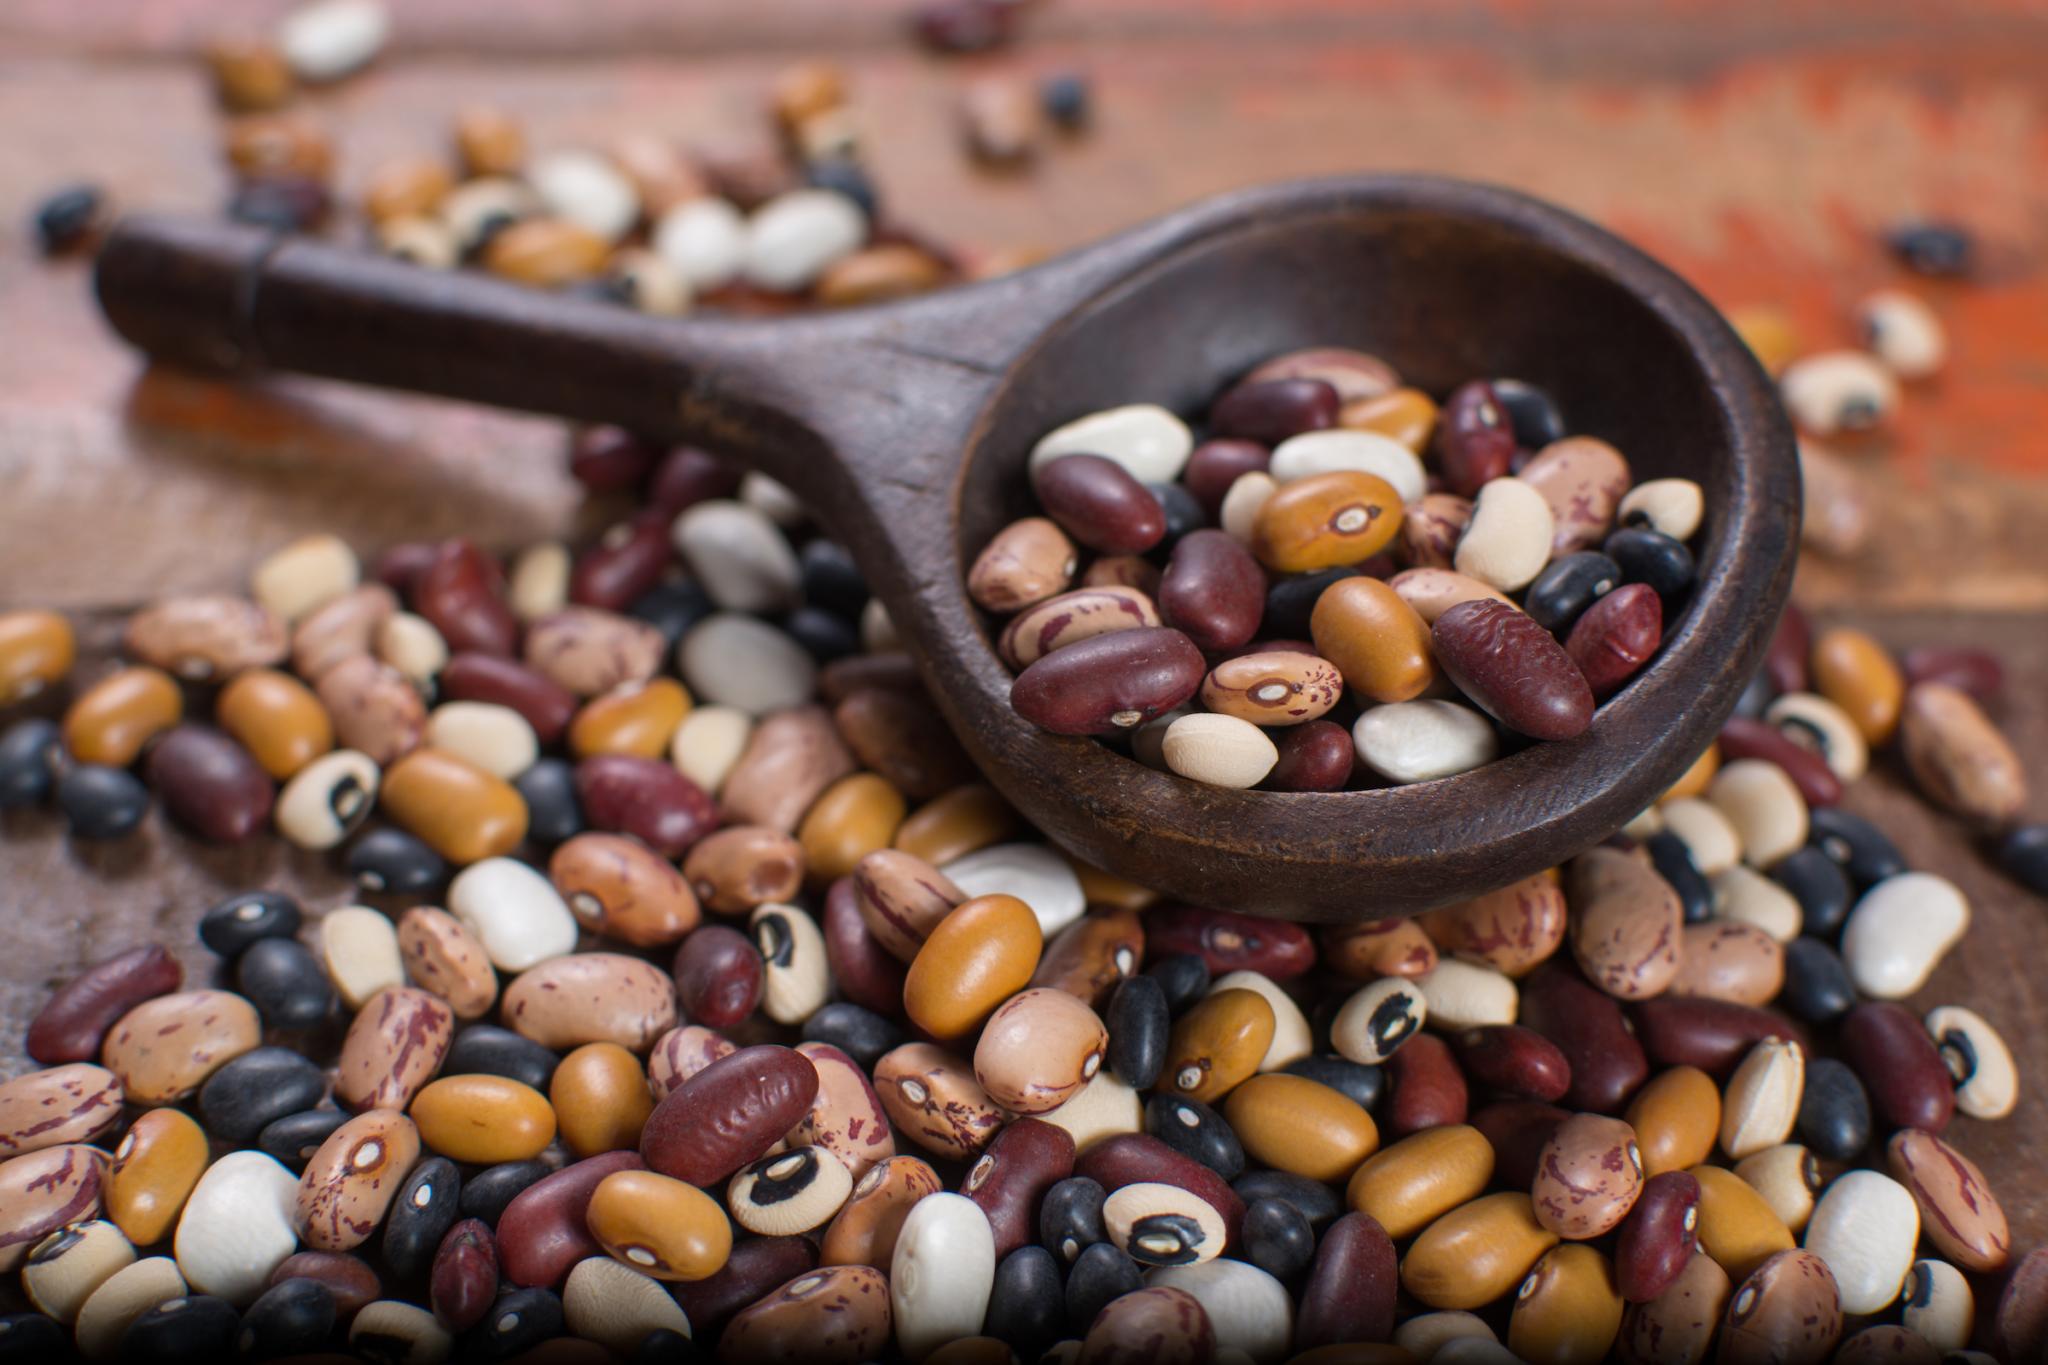
A variety of colorful, protein-rich raw dried beans. Credit: barmalini

We’ve become accustomed to thinking of dried beans as canned foods available in only a few types: black, pinto, navy, etc. But the variety is endless. Colorful and flavorful beans from around the globe are available, and once you’ve harvested a batch of these beauties and stored them in a glass jar on your counter, you may never return to bland old canned beans from the grocery store. 

Not only are dried beans great in the kitchen, but they also store practically forever–well, several years at least–and you can plant them again next year or exchange a few with a friend for another variety. They are a buy-once-in-your-lifetime kind of investment, except the seeds are only a few bucks. Not bad for a lifetime of plants and food!

Planting

Dry beans need the same conditions as other beans. They like full sun, good drainage, and neutral soil. They will tolerate less-than-ideal fertility since they make their own nitrogen, but they won’t do well in consistently wet locations or compacted soil. 

When to Plant Dry Beans

Beans are not frost-tolerant and will germinate slowly in cold soil. Wait until about two weeks after the last frost in your area for the best results. 

How to Plant Dry Beans

Dry beans, and all beans, are among the simplest to plant of anything we grow in the garden. 

  • Remove weeds and work in some compost for soil structure.
     
  • Plant bean seeds about an inch deep. Space them according to the package instructions. Generally, bush-type beans grown in the garden can be planted with 4 inch spacing in rows 24 inches apart. For pole beans, plant 3-4 beans around each vertical support.
     
  • Water in well and watch! In about a week, your beans will start to poke out.
Dry harvested bean pods prepared for processing. Credit: Stepanych

Growing

Beans are super easy to grow and are almost plant and forget. 

  • Provide water during dry spells while the beans are growing and flowering. Once they are established, they are pretty drought tolerant.
     
  • Keep weeds down around bean seedlings. Bush beans will shade out the weeds once they get larger. Seedling-sized bean plants are easily damaged–take care while weeding.
     
  • For pole beans, “introduce” them to the trellis or tripod you want them to grow up. They’ll take care of the rest.
     
  • Since beans “fix” nitrogen from the atmosphere, they typically don’t need fertilizer. Too much nitrogen can result in lush bean plants but few pods. 

Harvesting

  • Dry beans are ready for harvesting when the plants have yellowed, leaves start falling off, and the beans rattle inside the pods.
     
  • Pull the entire plant and hang it upside down. Allow a few days to dry if they are damp or the pods are not brittle. 

When you’re ready to remove the beans from the pods, several methods can work. If you only have a few plants, the pods can be harvested and split open by hand to reveal the beans. Otherwise, read 
on. 

  • Dry pods can be trimmed off, put inside a pillowcase, and roughed up like they owe you money. Let off some steam!
     
  • If you have dance moves, use a large tub. Pour your bean pods into the tub and put on the music! Dance on them until the pods have all ruptured. The beans will fall to the bottom, and the dry pods will stay on top. Move up and down like you are crushing grapes to make wine, with a little back and forth twisting. 
     
  • Winnow the beans (separate the beans from the chaff) with a fan, hairdryer, or outside on a windy day. This makes a mess, so don’t do it in the kitchen.
     
  • Store the beans in an airtight container.
White, Borlotti, Black and Kidney Beans. Dried for long shelf. Credit: Steven Giles
Gardening Products

Wit and Wisdom

  • Beans have been cultivated for thousands of years, reaching back to the ancient peoples of Central and South America as long as 8,000 years ago.
     
  • One cup of dried beans cooks up to about three cups of ready-to-eat beans. 
     
  • Forgot to soak them overnight? Try the short soak method: bring beans and water to a boil for about two minutes. Remove from heat, cover, and soak for an hour. Rinse and use as usual. 
     
  • Use a large enough container when soaking beans–they expand about 3x their dry volume.

Pests/Diseases

  • Root rot
     
  • Bacterial bean blight
     
  • Brown spot

Cooking Notes

Here are 12 delicious recipes using pulses—beans, lentils, peas, and other dried legumes.
About The Author

Andy Wilcox

Andy Wilcox is a flower farmer and master gardener with a passion for soil health, small producers, forestry, and horticulture. Read More from Andy Wilcox