How to Grow Elderberries: The Complete Guide

Elderberry Bush
Photo Credit
Nastyaofly
Botanical Name
Sambucus spp.
Plant Type
Sun Exposure
Soil pH
Flower Color
Hardiness Zone
Special Features
Subhead

Planting, Growing, and Harvesting Elderberries

Print Friendly and PDF
Almanac Garden Planner

The Almanac Garden Planner - Use It Free for 7 Days!

Plan your 2025 garden with our award-winning Garden Planner.

Try Now

The elderberry is a nutritional powerhouse that is rich in flavor! With black-purple berries and gorgeous white flowers, this easy-to-grow, fuss-free shrub is lovely in the landscape and tasty in the kitchen. Learn how to grow elderberry bushes in your backyard. 

About Elderberries

Elderberries (Sambucus) are cold-hardy, fast-growing, and prolific producers. They’re becoming a must-have addition to any garden enthusiast’s yard. Elderberries will survive well even in the frigid temperatures of USDA zones 3 and 4.

The two species most commonly grown for landscape and edible purposes are American elderberry (Sambucus canadensis) and European elderberry (S. nigra). 

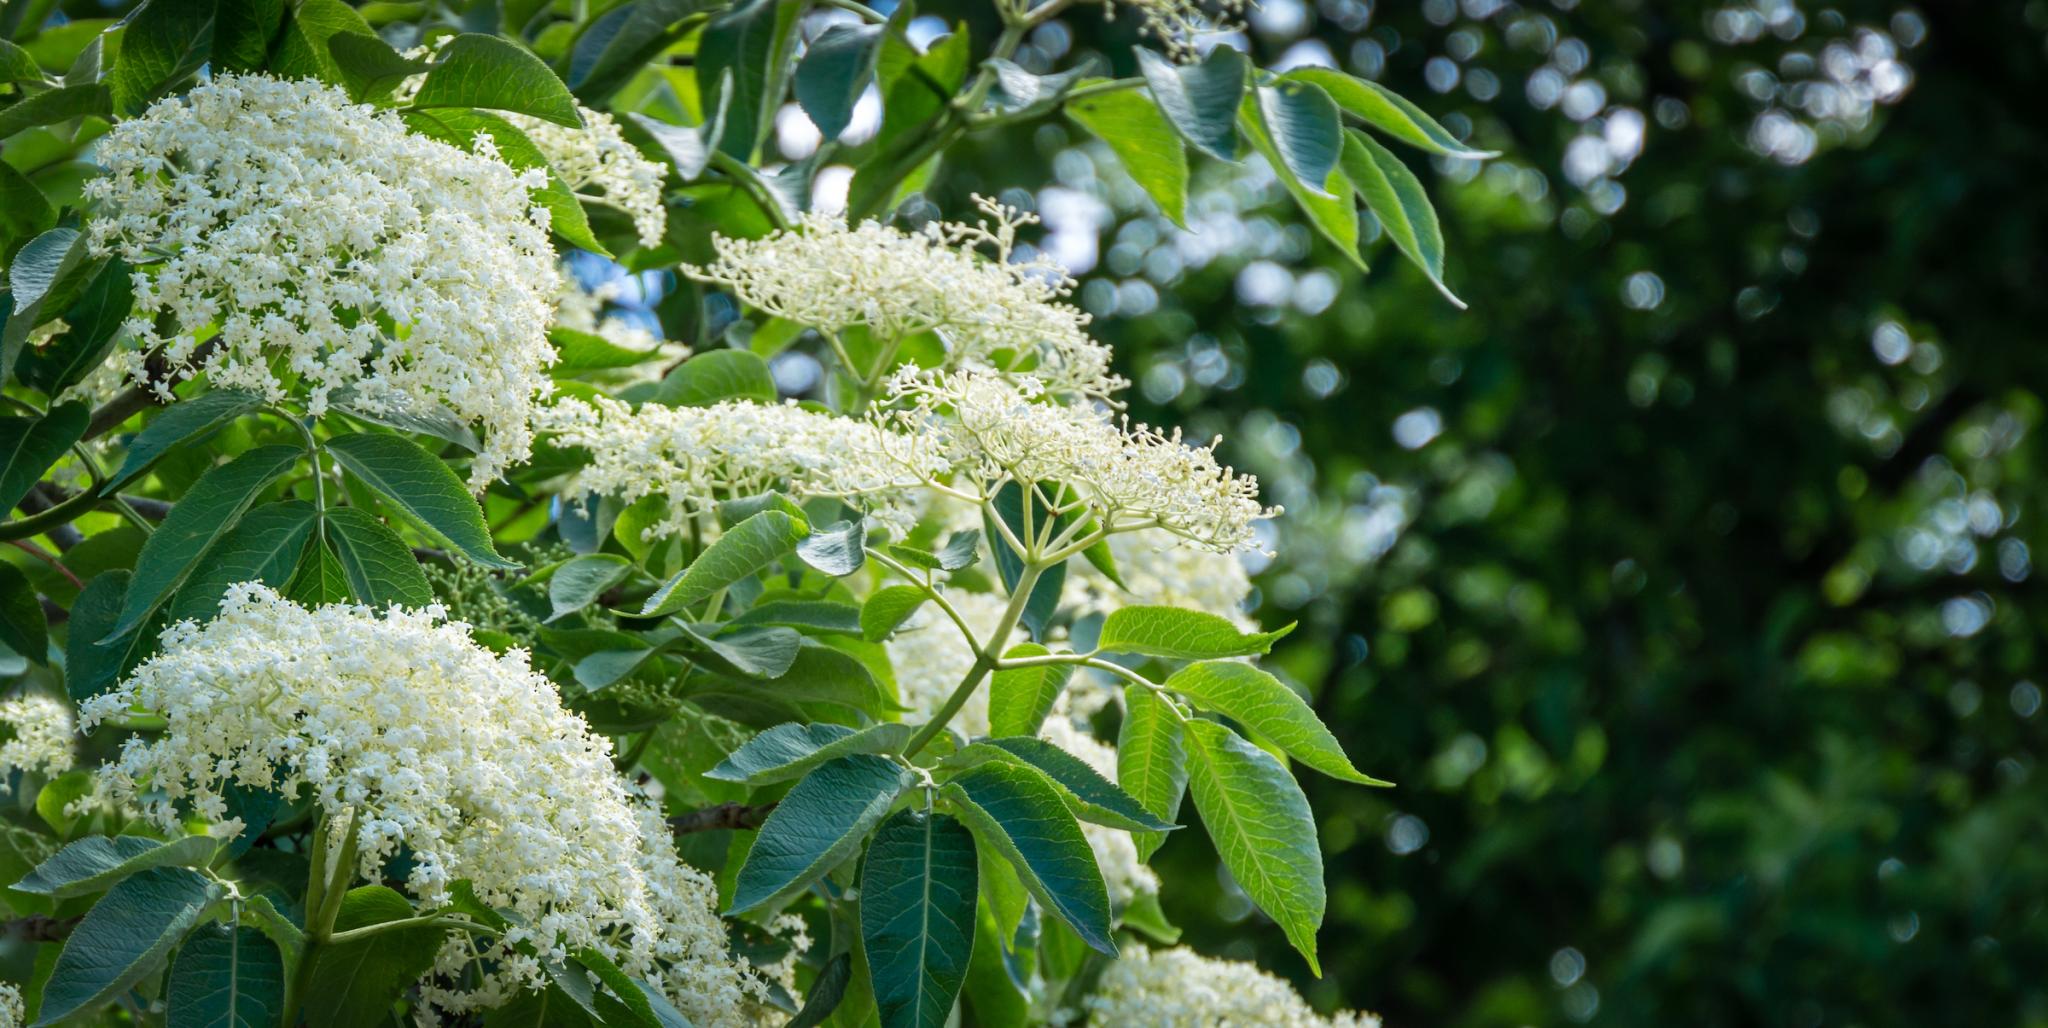
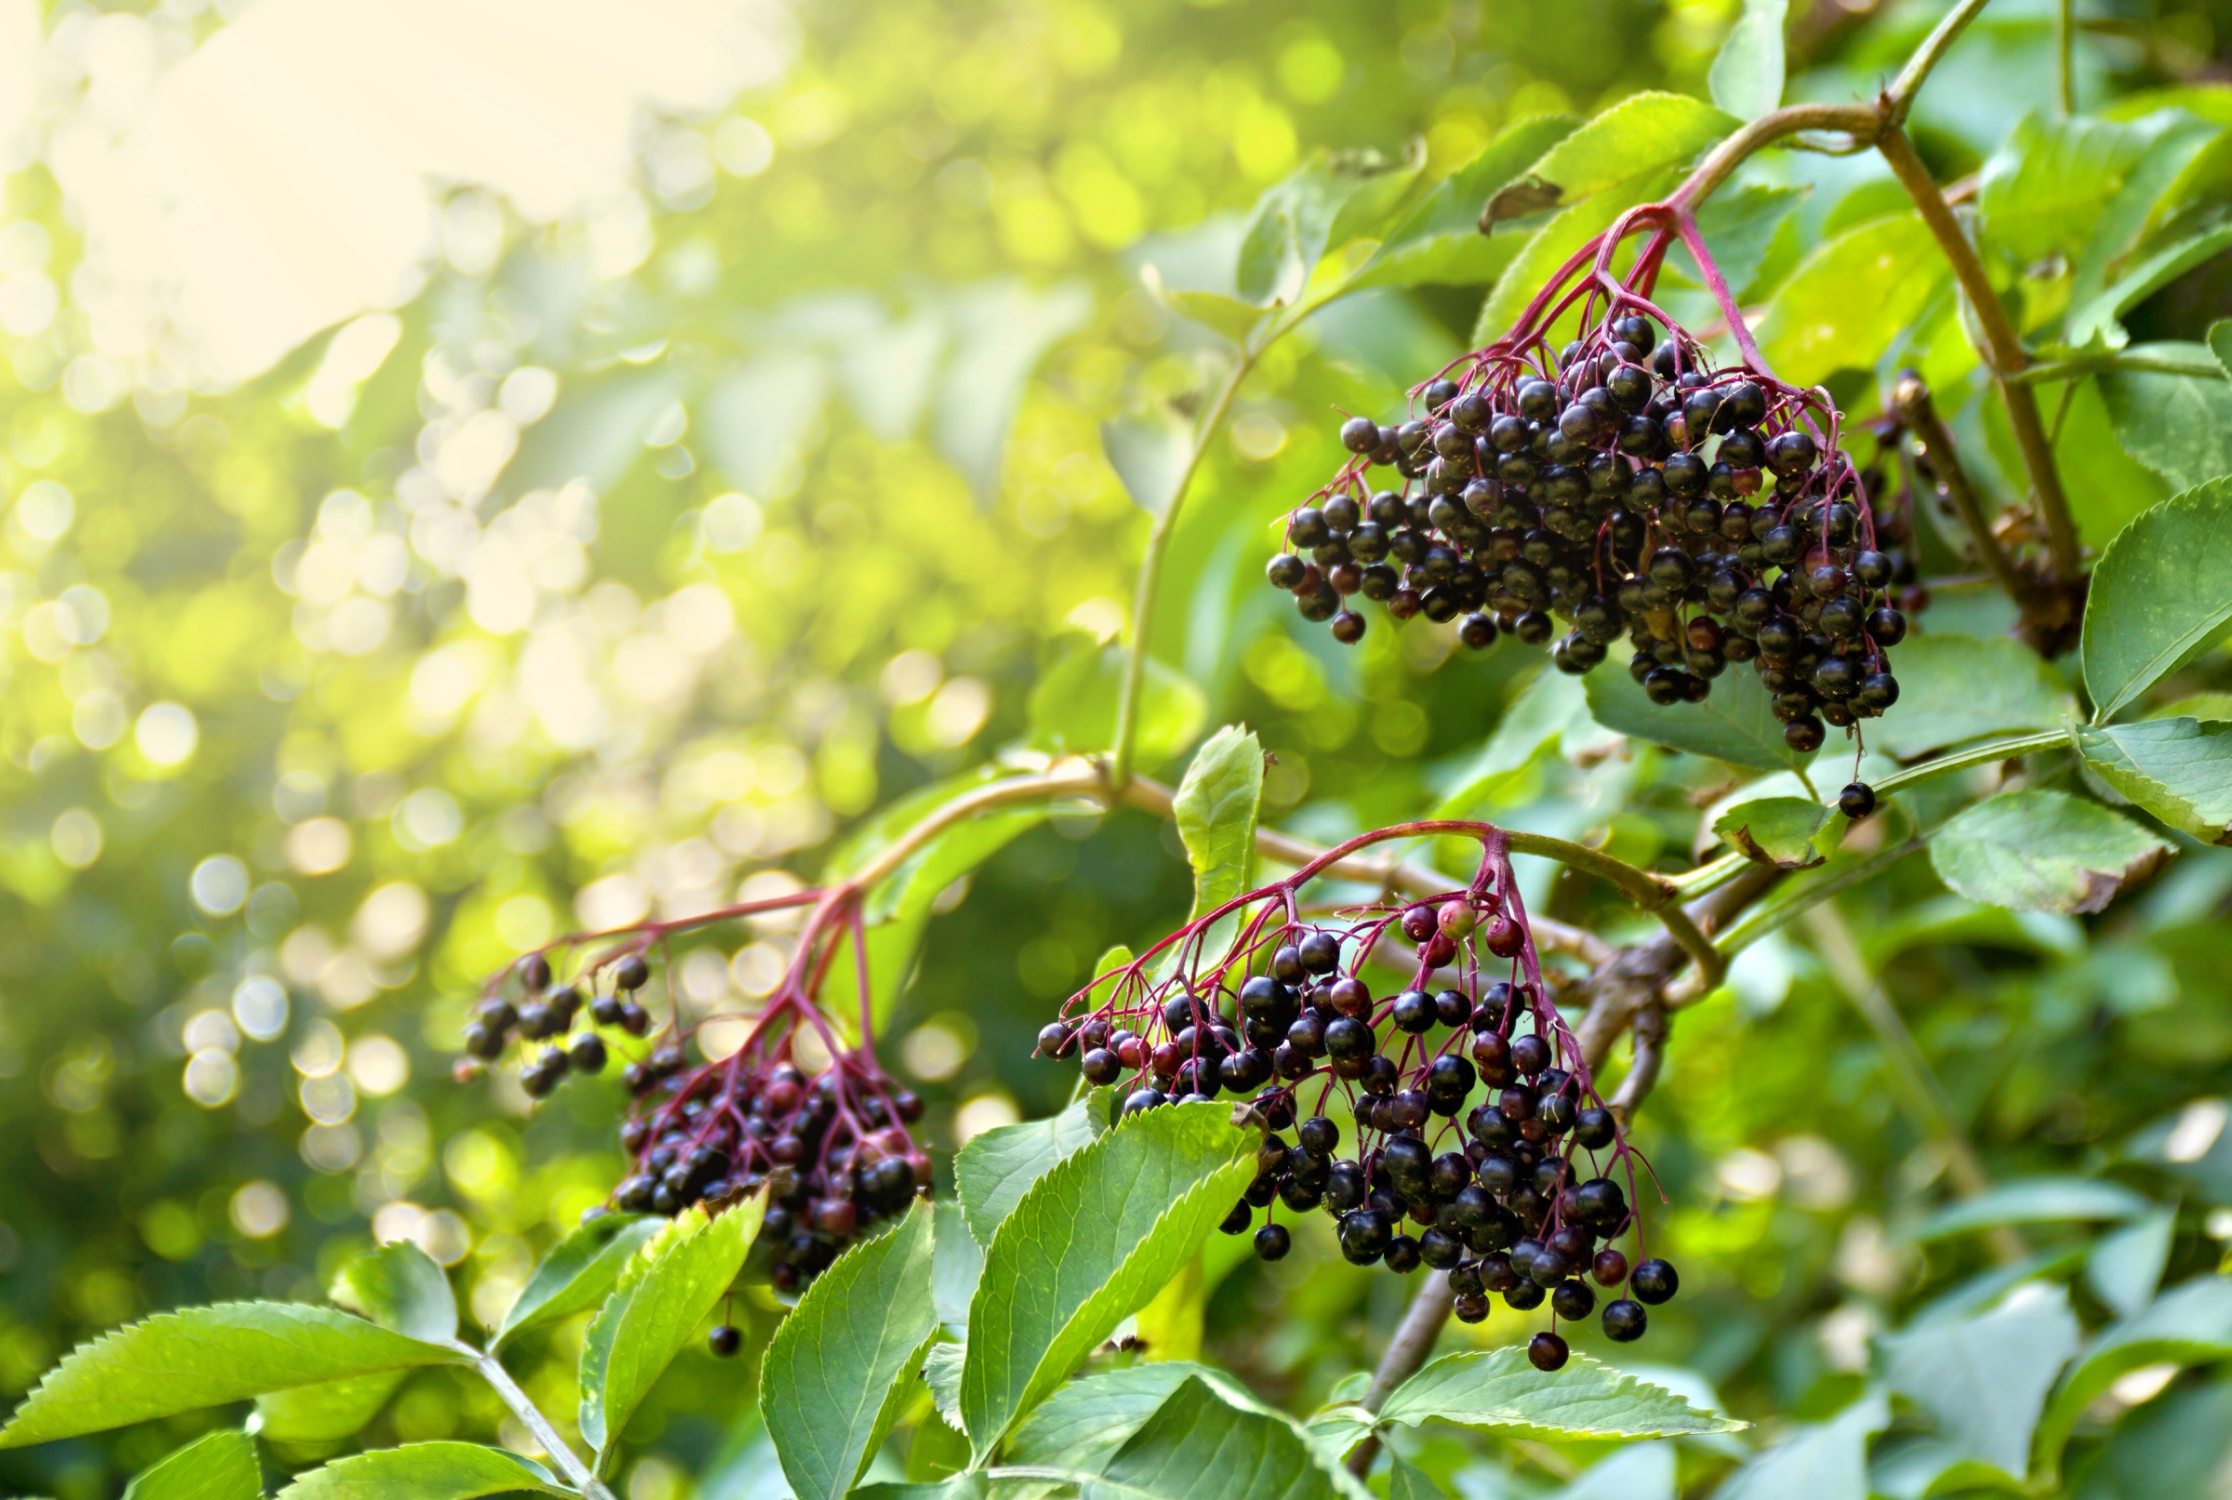
In early to mid-summer, white blooms in clusters called umbels become deep purple to black colored fruits in the fall. Both flowers and fruits are edible (however, the berries must be cooked before they’re safe for eating). 

Elderberry bush. Credit: A. Malinich

The small dark berries have an earthy, tart flavor that adds richness to jams, sauces, and even wines. They are a fantastic source of vitamins A and C and are chock-full of antioxidants

The plants are most often multi-stemmed shrubs with an open form. They can form thickets by root suckering. Although this makes berry harvest difficult, it can make a beautiful hedgerow.

Commercially purchased elderberries often need another variety as a pollinator buddy. While they may bear some fruit, the crop will be much heavier if another variety is planted nearby. See where to buy elderberry bare roots

Planting

Choose a site with partial to full sun. While in their natural habitat, these plants often grow under a light forest canopy; you’ll get a larger harvest if you give it a sunnier spot. Slightly acidic soil that is moist but well-drained is perfect. Elderberries will grow in many soil types if the drainage is adequate.

Mature plants are 6 to 10 feet tall and can reach 8 feet wide, so plan ahead when selecting a location. If left to their own devices, they often create a hedge, which can be a super habitat feature for your yard or a regular annoyance, depending on its location. 

When To Plant Elderberries

Elderberries can be planted in spring or fall, depending on your winters. If your area’s winters are cold enough that people in your neighborhood go ice fishing, stick to spring planting or get them in the ground in late summer, six weeks before your first frost. 

Bare-root elderberry plants should be planted as soon as possible after receiving them. If you can’t plant them immediately, store them in a cool, dark location, and be sure to keep the roots wet. 

Dormant elderberries (no leaves yet) can be planted in spring as soon as the soil can be worked; there is no need to wait for frosts to be over. Nursery stock in pots can be planted in spring or fall as well, but wait until the frosts have passed in spring. 

How To Plant Elderberries

Planting methods for bare root and potted nursery stock are similar. For bare-root plants, take time to soak the roots in a bucket of water for 12 hours before planting to ensure they are hydrated. Take the bucket with you to water when you plant.

Potted nursery stock should also be thoroughly watered before planting. An hour beforehand, give the elderberries a long drink and moisten the soil. The plants will come out of their pots more easily and be refreshed before the shock of transplanting. 

  1. Dig the hole twice as wide as the root ball and a little deeper (elderberries get planted slightly deeper than other shrubbery). The hole should look like a shallow bowl with sloping sides, not a coffee cup.
     
  2. Loosen the soil in the the hole. Either dig and refill it or use a garden fork to work it. Compact soil at the edge of the hole can delay the root expansion of new plants. 
     
  3. Lightly water the soil in the hole before planting.
     
  4. For potted stock, cut any circling or girdling roots. Use a trowel or soil knife to loosen up rootbound plants by scoring the edges of the rootball. 
     
  5. For containerized elderberries, plant them a bit deeper than the old soil level. A couple of inches or up to the first branch node is fine. Test fit the shrub in the hole and adjust the depth as necessary. 
     
  6. If planting bare root shrubs, you’ll likely be able to see the old soil line on the trunk as a discoloration. Plant the elderberry so the old soil level or soil line on the stem is slightly deeper than your new ground level. 
     
  7. Spread the roots out evenly and avoid circling them around the base of the hole. Don’t leave them in a clump. Bare root plant roots sometimes need encouragement to lay out.
     
  8. Backfill the hole with the native soil you removed. Pause halfway and water, then continue adding soil. Firm the soil around the roots as you go to avoid air pockets. Add compost if you desire. 
     
  9. Use extra soil to form a ring of soil, about a foot in diameter and an inch high, around the plant to keep water from running away. Give it a good drink. 
     
  10. Apply a thick layer of mulch to keep the soil moist. Don’t allow the mulch to contact the trunk(s). Keep it a finger-width clear.

Growing

Elderberries have shallow roots and will bear more fruit if kept watered during the summer dry spells. If you live in an area with droughty summers, plant to provide weekly supplemental water during the first two years and during dry periods in later years to get the best fruit crop.

Pruning isn’t necessary if growing elderberries in a wild or semi-wild area, but it will keep your elderberry shrub neat, accessible, and at peak performance. Elderberries fruit on new wood, so prune in late winter while the plants are still dormant. 

  • Remove any dead or broken branches first. 
     
  • Suckers coming from the base can also be pruned. 
     
  • If desired, trim older branches first, leaving year-old stems. 
     
  • Alternatively, give the entire plant a haircut by about a third. If you want to reinvigorate it, some elderberry farmers will cut the plant entirely back to the ground and let it come back new. 

Elderberries will do well with an annual feeding of any general-purpose organic fertilizer or top dressing of compost or aged manure. Reapply mulch at this time as well.

Harvesting

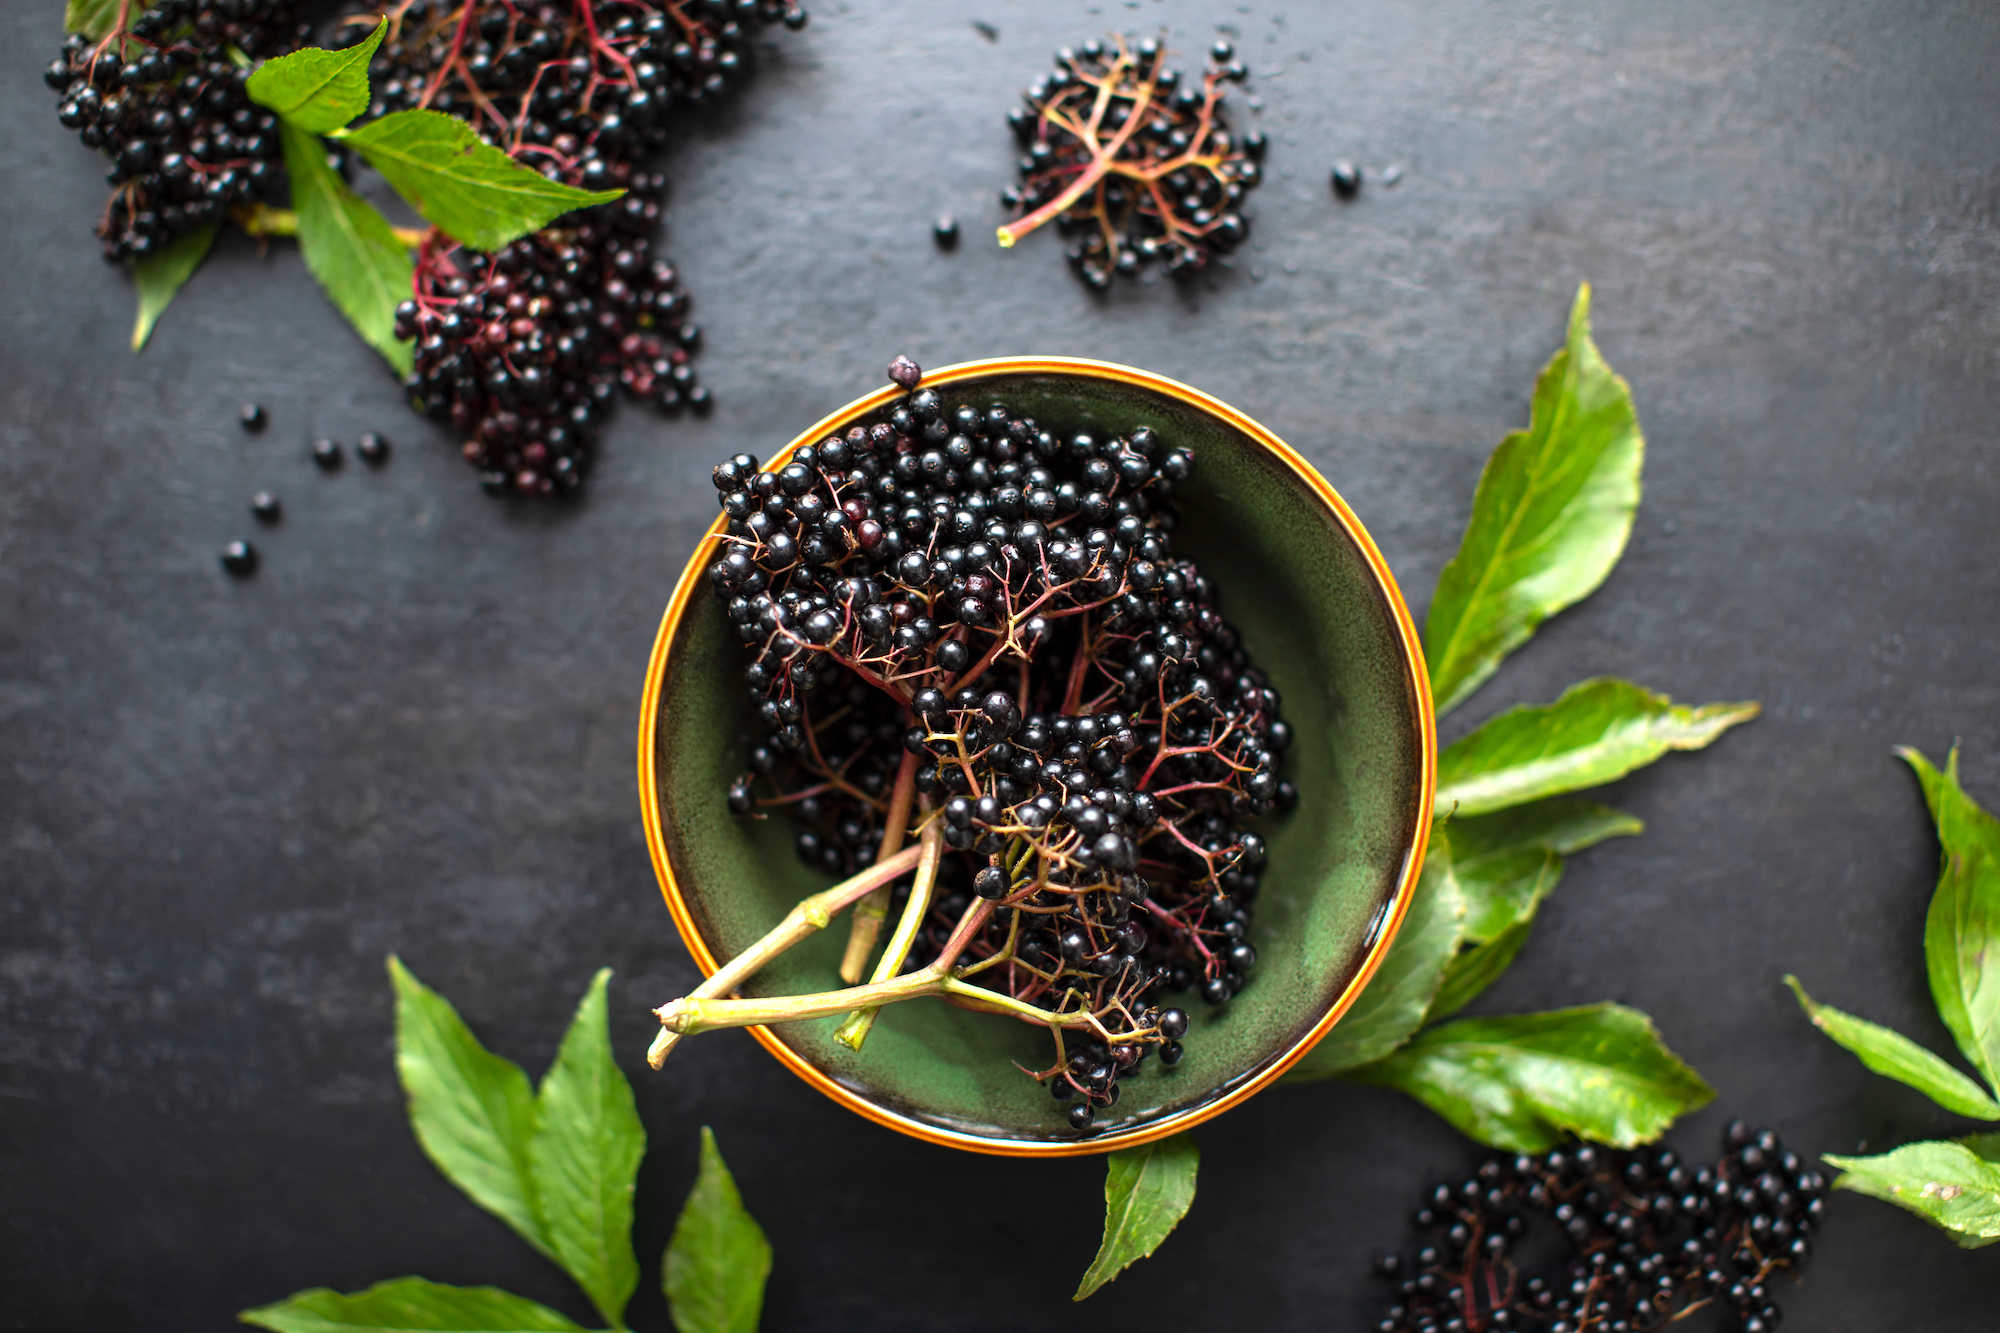
  • Once the berries are ripe, they will be dark purple to almost black.
     
  • Snip the entire cluster off the plant and gently remove the berries into your bucket.
     
  • Plan to use them quickly; they won’t last long after they’re picked.
Clusters of ripe elderberries. Credit: F.Place/Shutterstock
Gardening Products

Wit and Wisdom

  • Elderberries grow wild in many parts of the country and are prime foraging material–if you can beat the birds to them. Cultivated elderberries yield larger, sweeter fruits than their wild cousins.
     
  • Elderberries make an excellent habitat for wildlife. Their suckering nature and rapid growth make them a great choice for re-wilding areas and attracting songbirds. 
     
  • Use pruned stems for cuttings to propagate more elderberry plants.

Pests/Diseases

  • Heavy snow/ice loads
     
  • High winds
     
  • Spotted Wing Drosophila
     

Cooking Notes

What do elderberries taste like?

Elderberries have a bright flavor that some people describe as a tangy and earthy version of blackberries or blueberries. Their naturally tart taste makes elderberries a popular base for teas, wines, syrups, and jams.

How are elderberries good for you?

These deeply-hued berries have a long, storied history as a medicinal “superfruit.” Studies have found that elderberry extract is a natural way to fight colds and flu and is more effective than commercial medicines.

Many folks take elderberry syrup to boost their immune system early in the cold and flu season. Learn how to make elderberry syrup.
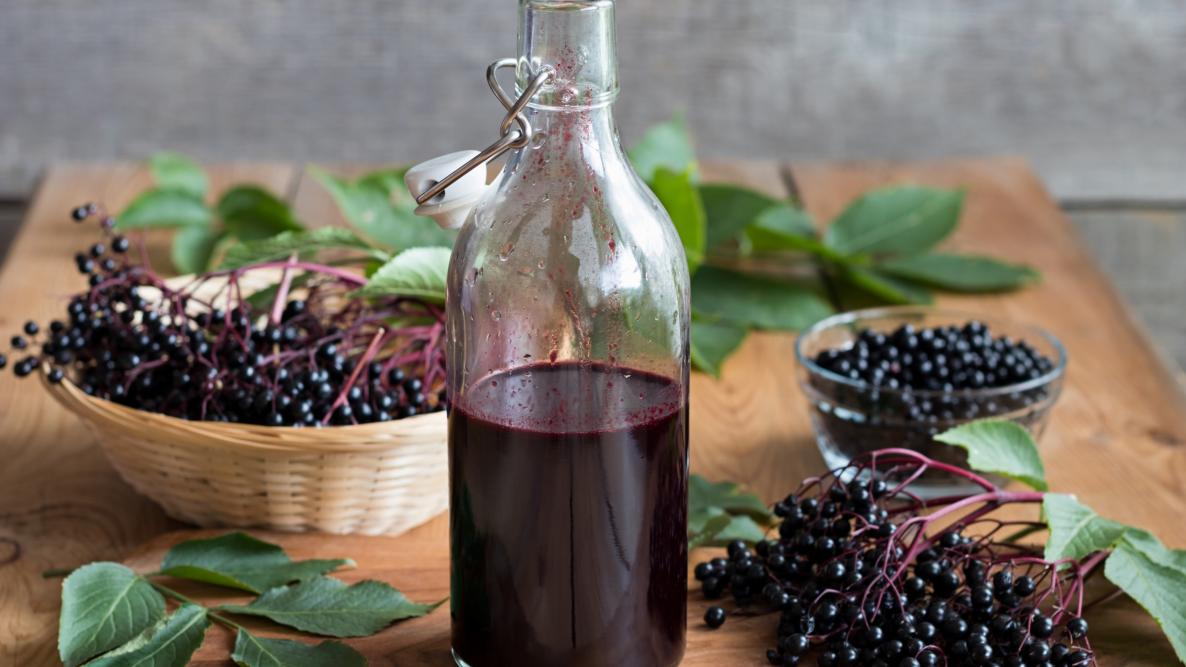
Elderberry syrup! Credit:  Madeleine Steinbach/Getty Images
About The Author

Andy Wilcox

Andy Wilcox is a flower farmer and master gardener with a passion for soil health, small producers, forestry, and horticulture. Read More from Andy Wilcox