How to Grow Fava Beans (Broad Beans): The Complete Guide

Photo Credit
Ad van Brunschot/Shutterstock
Botanical Name
Vicia faba
Plant Type
Sun Exposure
Soil pH
Bloom Time
Flower Color
Hardiness Zone
Subhead

Planting, Growing, and Harvesting Fava Beans

Print Friendly and PDF

The fabulous fava bean (aka broad bean or faba) is a frost-hardy crop that can be sown in the early spring or planted in the fall and overwintered. Discover this delicious, nutritious plump bean!

Though part of the pea and bean family Fabaceae, fava beans are not like common green beans, Phaseolus vulgaris. They are a member of the vetch genus which is a widely cultivated annual legume grown for its nutritious seeds and pods. They are also grown as a cover crop, keeping the soil covered over winter, which will keep soil life happier; they make efficient use of otherwise empty beds.

Fava beans require cool weather; temperatures in the 60s (Fahrenheit) are ideal. They are a stiffly erect plant that grows 2 to 6 feet tall. A staple crop in many countries, and one of the first beans to have been cultivated (as far back as the Bronze Age), fava beans’ pods, beans, shoots, leaves, and flowers are edible. They are an excellent source of vitamins and minerals, with exceptional levels of protein, and plenty of potassium that’ll help reduce blood pressure and good for your heart!

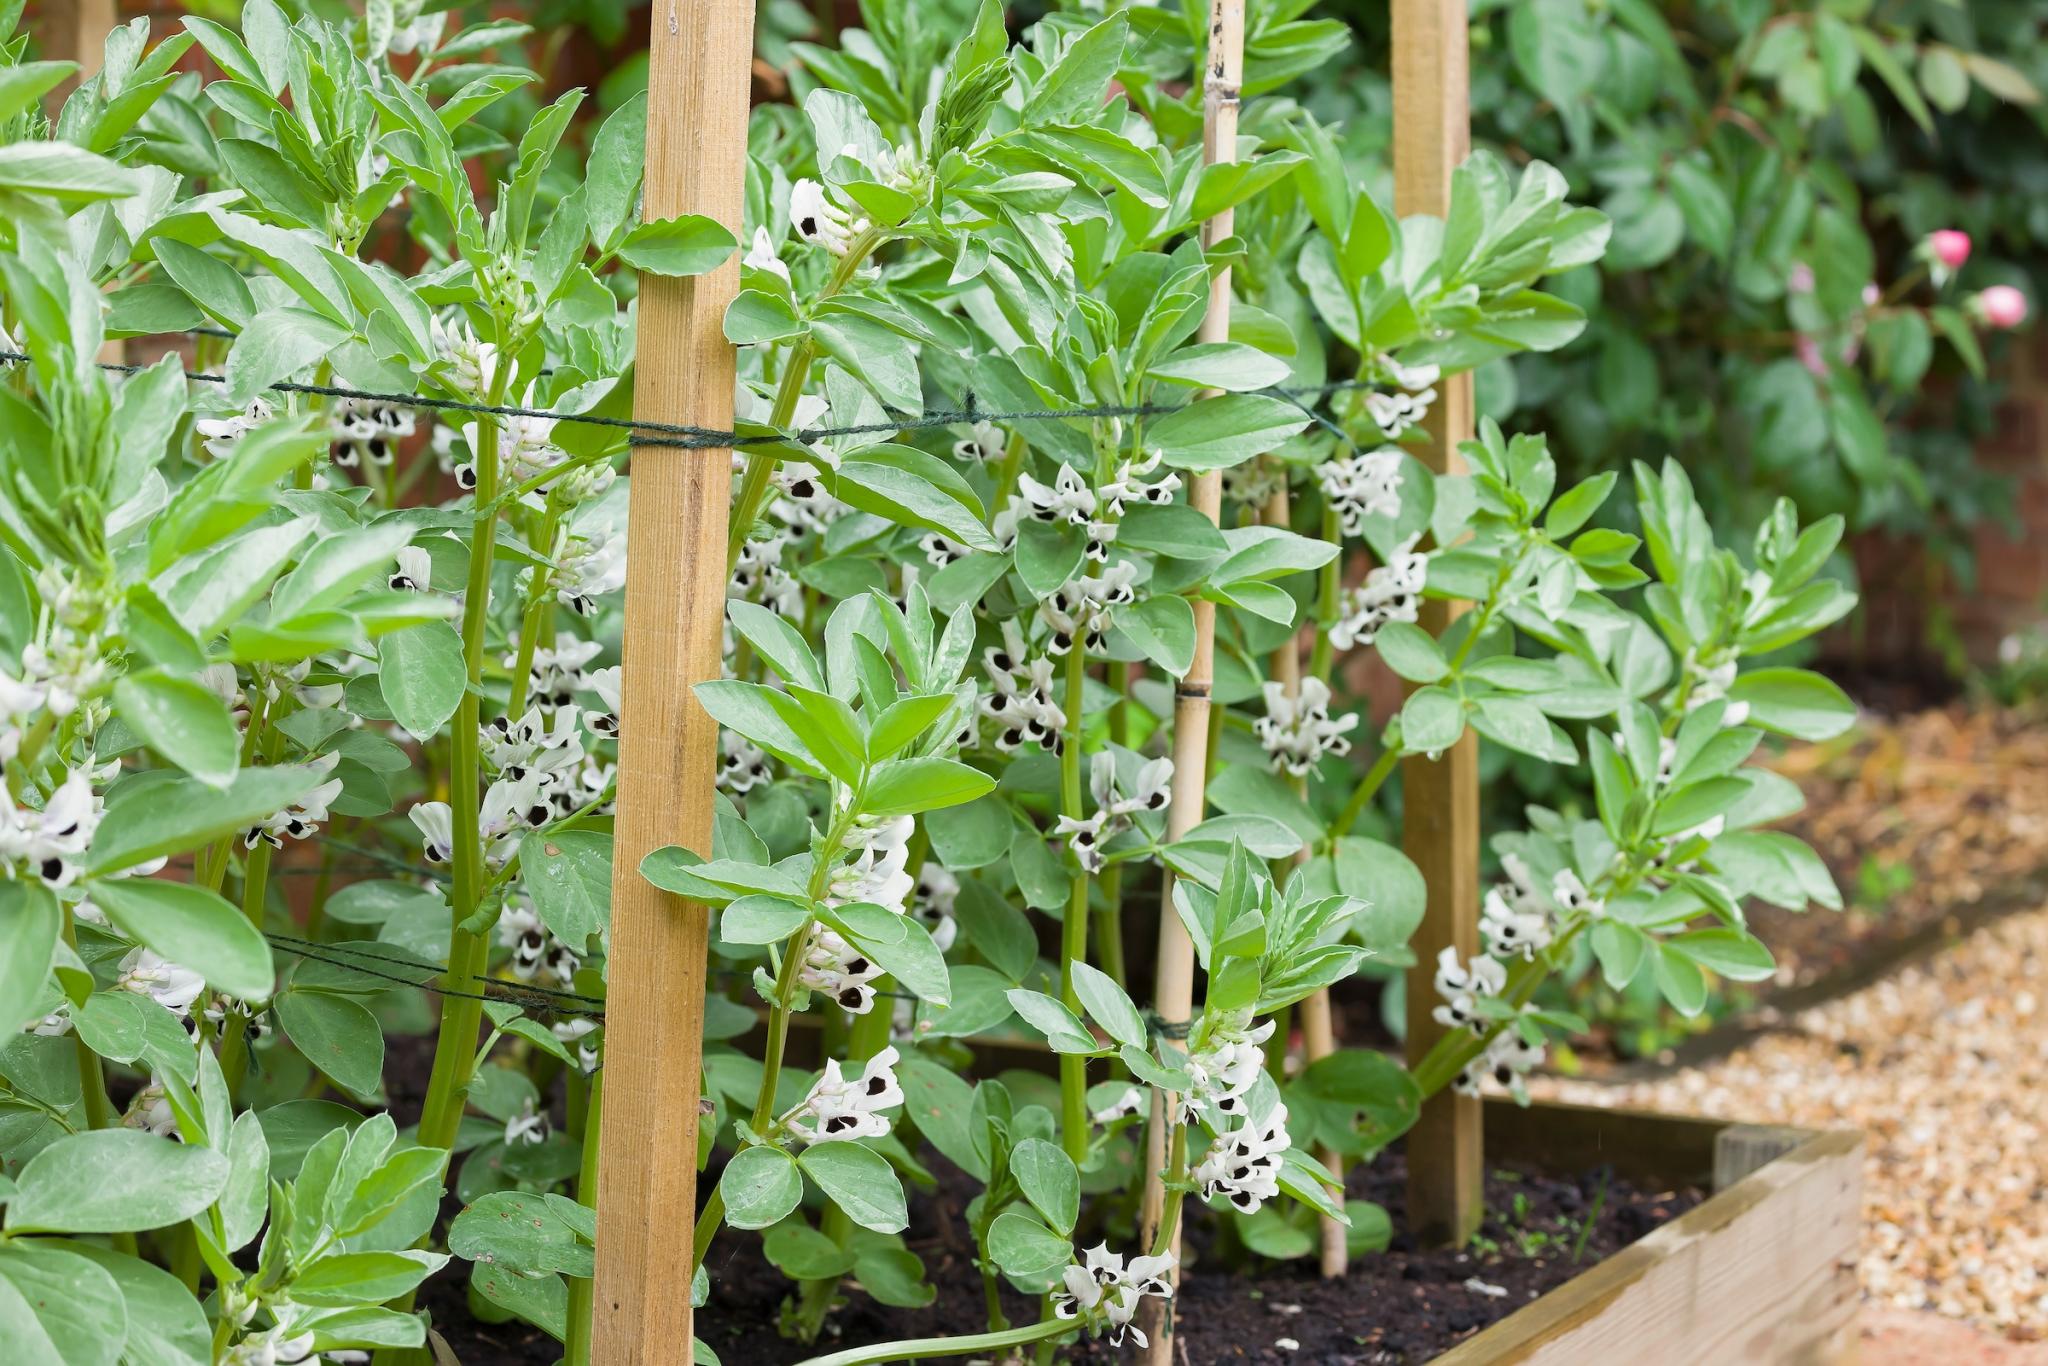
They also grow sweetly fragrant white flowers which are truly gorgeous and worth growing on their own; many pollinators including bumblebees and native bees are attracted to the blooms.

Fava bean flowering. 
Credit: Paul Maguire/Shutterstock.

Planting

Choose a sunny, sheltered spot for your beans in soil that is well-drained and fertile (fork in compost just over an inch deep). Fava beans are also tolerant of clay and saline soils and, once established, drought.

If you’re sowing fava beans in autumn to overwinter, pick a variety described as “hardy” or specifically suited to autumn sowing.

When to Plant Fava Beans

Fava beans are direct seeded in the spring or fall, when soil temperatures are between 42° and 70°F.

Spring-sown seeds will mature in about 90 days, while fall-sown seeds will mature in 240 days (over winter). 

They are similar to green peas in that they can take temps down as low as 10°F. If you plant your green peas in late March or early April, plant your fava bean seeds at the same time.

How to Plant Fava Beans

Fava beans are the biggest of all vegetable seeds, which makes them a lot easier to sow.

Sow in rows, spacing seeds about 6 to 8 inches apart within row spacing of 8 to 10 inches. You can sow the seeds by making individual holes or make a wide, shallow trench with a garden hoe. 

Once planted, cover seeds with two inches of soil.

Water in, but otherwise, there is little to be done.  Like all beans, fava beans team up with soil bacteria to secure nitrogen at their roots so this makes these beans pretty self-reliant.

Growing

If you are sowing in autumn, you want seedlings to reach no more than an inch or two high before growth stops for the winter. If it’s too late for this, delay sowing till spring which will be more successful. Or, sow them under some form of protection, such as in a greenhouse or cold frame. If seedlings do get a bit ahead of themselves, it might be worth protecting them during cold snaps using fleece. 

See our video to see how we grow fava beans and learn more about growing indoors.


Fava beans are incredibly resilient. Once the weather warms up they’ll put on rapid growth. You could just leave them be until it’s time to harvest, but there are a few things you can do to ensure healthier plants and heavier harvests.

First, offer support to taller varieties or they will flop over when they get top-heavy with beans. The easiest way to do this is to put stakes or canes at the end of each row, and tie in a couple rows of string to hem to plants in. Supporting fava beans isn’t essential – they’ll still grow if they are left to flop about, but supporting them like this does keep everything tidier. 

Keep your beans watered in dry weather and pull out or carefully hoe off any weeds, especially while the plants are still young. Keeping plants properly watered will help to avoid diseases such as chocolate spot, which can quickly spread on stressed-out plants.

The other thing we can do is pinch out the very top of the bean plants – the growing points – as the plants reach full bloom and the very first pods are set. This makes it harder for black bean aphid colonies to establish – they love this soft, young growth, and by removing it they’ll be less likely to gain a foothold on your plants. This can also help to concentrate the plant’s efforts into pod formation.

Don’t throw the tops away – you can eat them. They are delicious lightly steamed as a spinach substitute.

Harvesting

As with harvesting potatoes or tomatoes, picking the first full fava bean pods is a most-satisfying moment! Twist or tug them free, but take care not to damage the stems.

Pods can be picked when they are just 2 inches long to cook whole as a delicious springtime treat, or wait until the beans have fully developed before shelling the pods. This can take a little guesswork but a gentle squeeze of the pod case will give you a good idea as to the size of the beans inside.

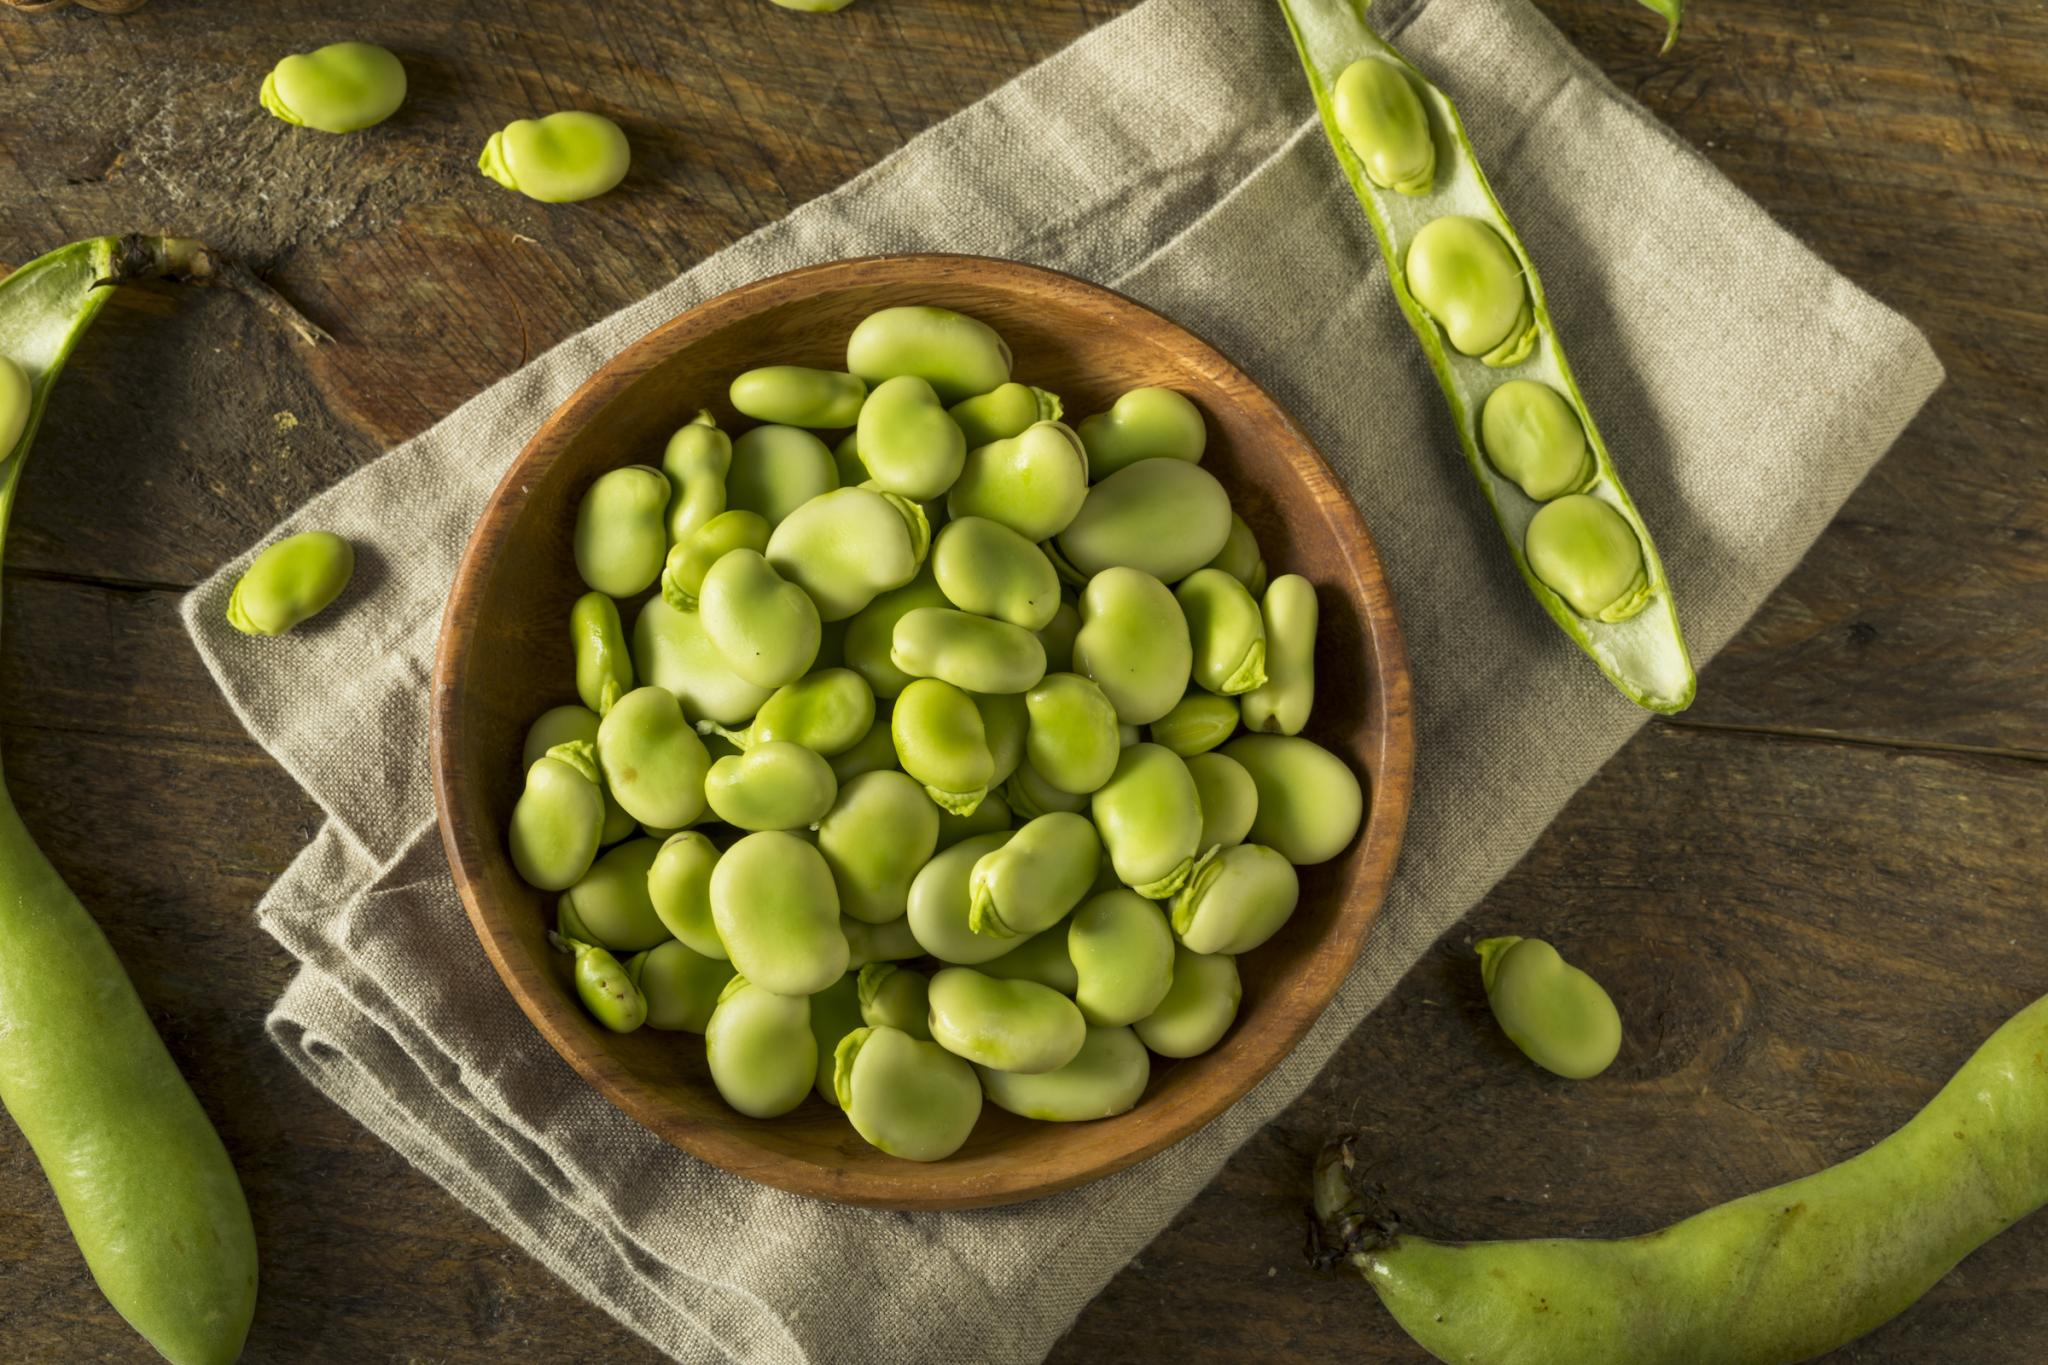
You can eat smaller pods whole, but larger pods will need shelling. We rather enjoy this process – the insides of the pods are silky smooth, almost furry, while the fat, smooth beans are so rewarding to slide out. It’s a very sensory process. Gluts are very easy to freeze.

shelled fava beans in a wooden bowl
Image credit: Brent Hofacker/Shutterstock


Gardening Products

Wit and Wisdom

While rare, note that a very small percentage of people have had a severe allergic reaction to fava beans, sometimes called favism. 

Pests/Diseases

Diseases: Fungal diseases include: Aschochyta blight (Aschochyta fabae), chocolate spot (Botrytis fabae), Faba bean rust (Uromyces vicia-fabae), and downy mildew (Peronospora viciae).

PestsAphids are the most important and damaging pests.

Cooking Notes

Cook smaller shelled beans as they are. Larger, starchier beans will need to be boiled for a few minutes before popping them out of their thick outer skin to leave the tender inner bean.

Try steaming them and serve with a white sauce; whizz them up into a spring-fresh bean hummus, made zesty with a good squeeze of lemon juice; roast them with a little salt to snack on like peanuts. Boiled, pureed or turned into a rich (and heavenly moreish) soup, those keenly anticipated first beans of the year are by far the most delicious.
About The Author

Catherine Boeckmann

Catherine Boeckmann loves nature, stargazing, and gardening so it’s not surprising that she and The Old Farmer’s Almanac found each other. She leads digital content for the Almanac website, and is also a certified master gardener in the state of Indiana. Read More from Catherine Boeckmann