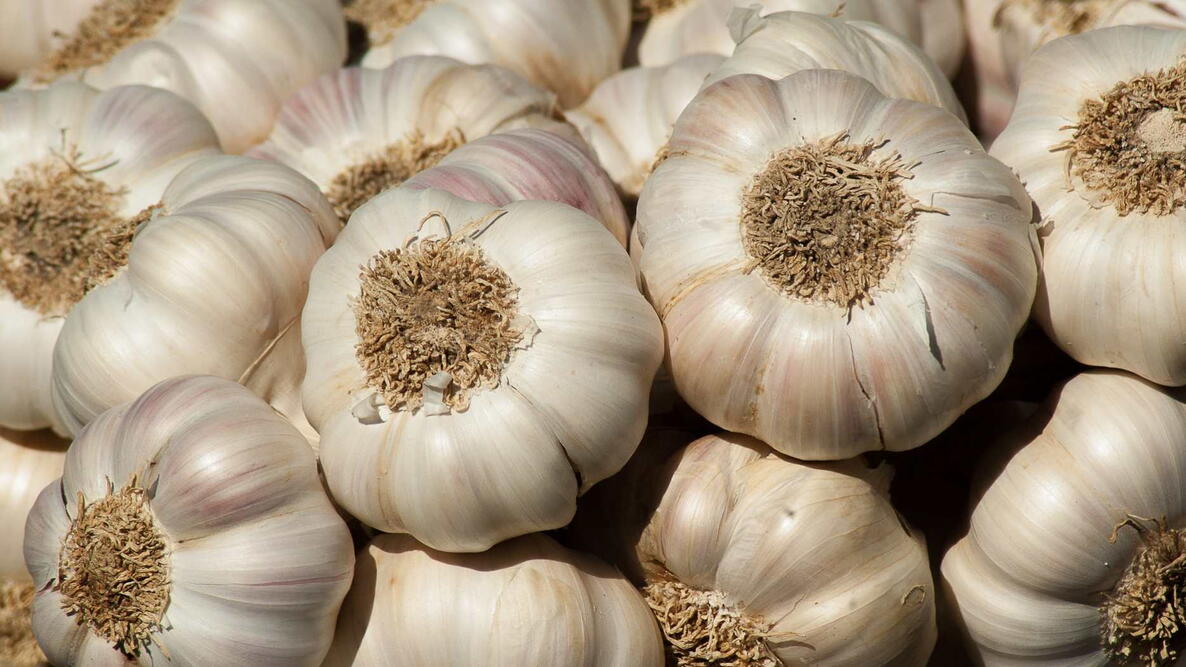
Easy garlic growing tips—from choosing varieties to planting cloves and harvesting tasty bulbs

Read Next
Planting
When to Plant Garlic
Although garlic can be planted in early spring, it’s much more common to plant it in late fall — about 1 to 2 weeks after the first killing frost. This gives plants more time to grow and develop sturdy roots and prompts better clove formation. Unlike many veggies, garlic requires a period of cold dormancy to flourish, which you can accomplish by planting it outside in fall in locations where winter temperatures stay under 40°F (or 8°C) or by placing garlic in a paper bag in the back of the fridge for 10 weeks prior to planting to mimic these natuarally chilly conditions.
In most areas, growers will start planting garlic outside at the same time they plant spring flowering bulbs - some time between October and November. However, in mild climates you may be able to plant garlic as late as February or March although the resulting bulbs won’t be as large.
| Hardiness Zone | When to Plant Garlic |
|---|---|
| Zones 1 to 6 | Early October |
| Zones 7 and 8 | Late October to November |
| Zones 9 and 10 | November to Early December |
| Zones 10+ | Put Cloves in Fridge for 10 Weeks Before Planting |
Where to Plant Garlic
Garlic thrives in full sun and should be planted in a well-draining location that receives 6 to 8 hours of sunlight per day and has nutrient-rich soil. For bigger bulbs, feed the soil with compost or aged manure before planting, and consider adding an organic amendment like bonemeal or a potassium-rich fertilizer too.
It’s very important to note that garlic struggles in wet soil that’s heavy with clay and drains poorly. In these locations, it’s usually best to keep garlic in raised beds or in pots that are at least 8 to 10-inches deep.
How to Plant Garlic
While it can be tempting to grow garlic from grocery store bulbs, this isn’t recommnded. Not only are these bulbs often treated with compounds that prevent sprouting, but they may also harbor pests and diseases that can be transferred to your garden. Instead, it’s always best to purchase “seed” garlic from reliable suppliers, or to save cloves leftover from the biggest garlic bulbs you grew last season for starting new plants!
- Before planting garlic, prep the soil by removing weeds and adding in compost, then work a couple of tablespoons of 5-10-10 complete fertilizer, bonemeal, or fish meal into the top few inches of soil in the spot where you intend to plant.
- Next, select large, healthy cloves that are free of disease. The larger the cloves, the bigger and healthier the bulbs will be!
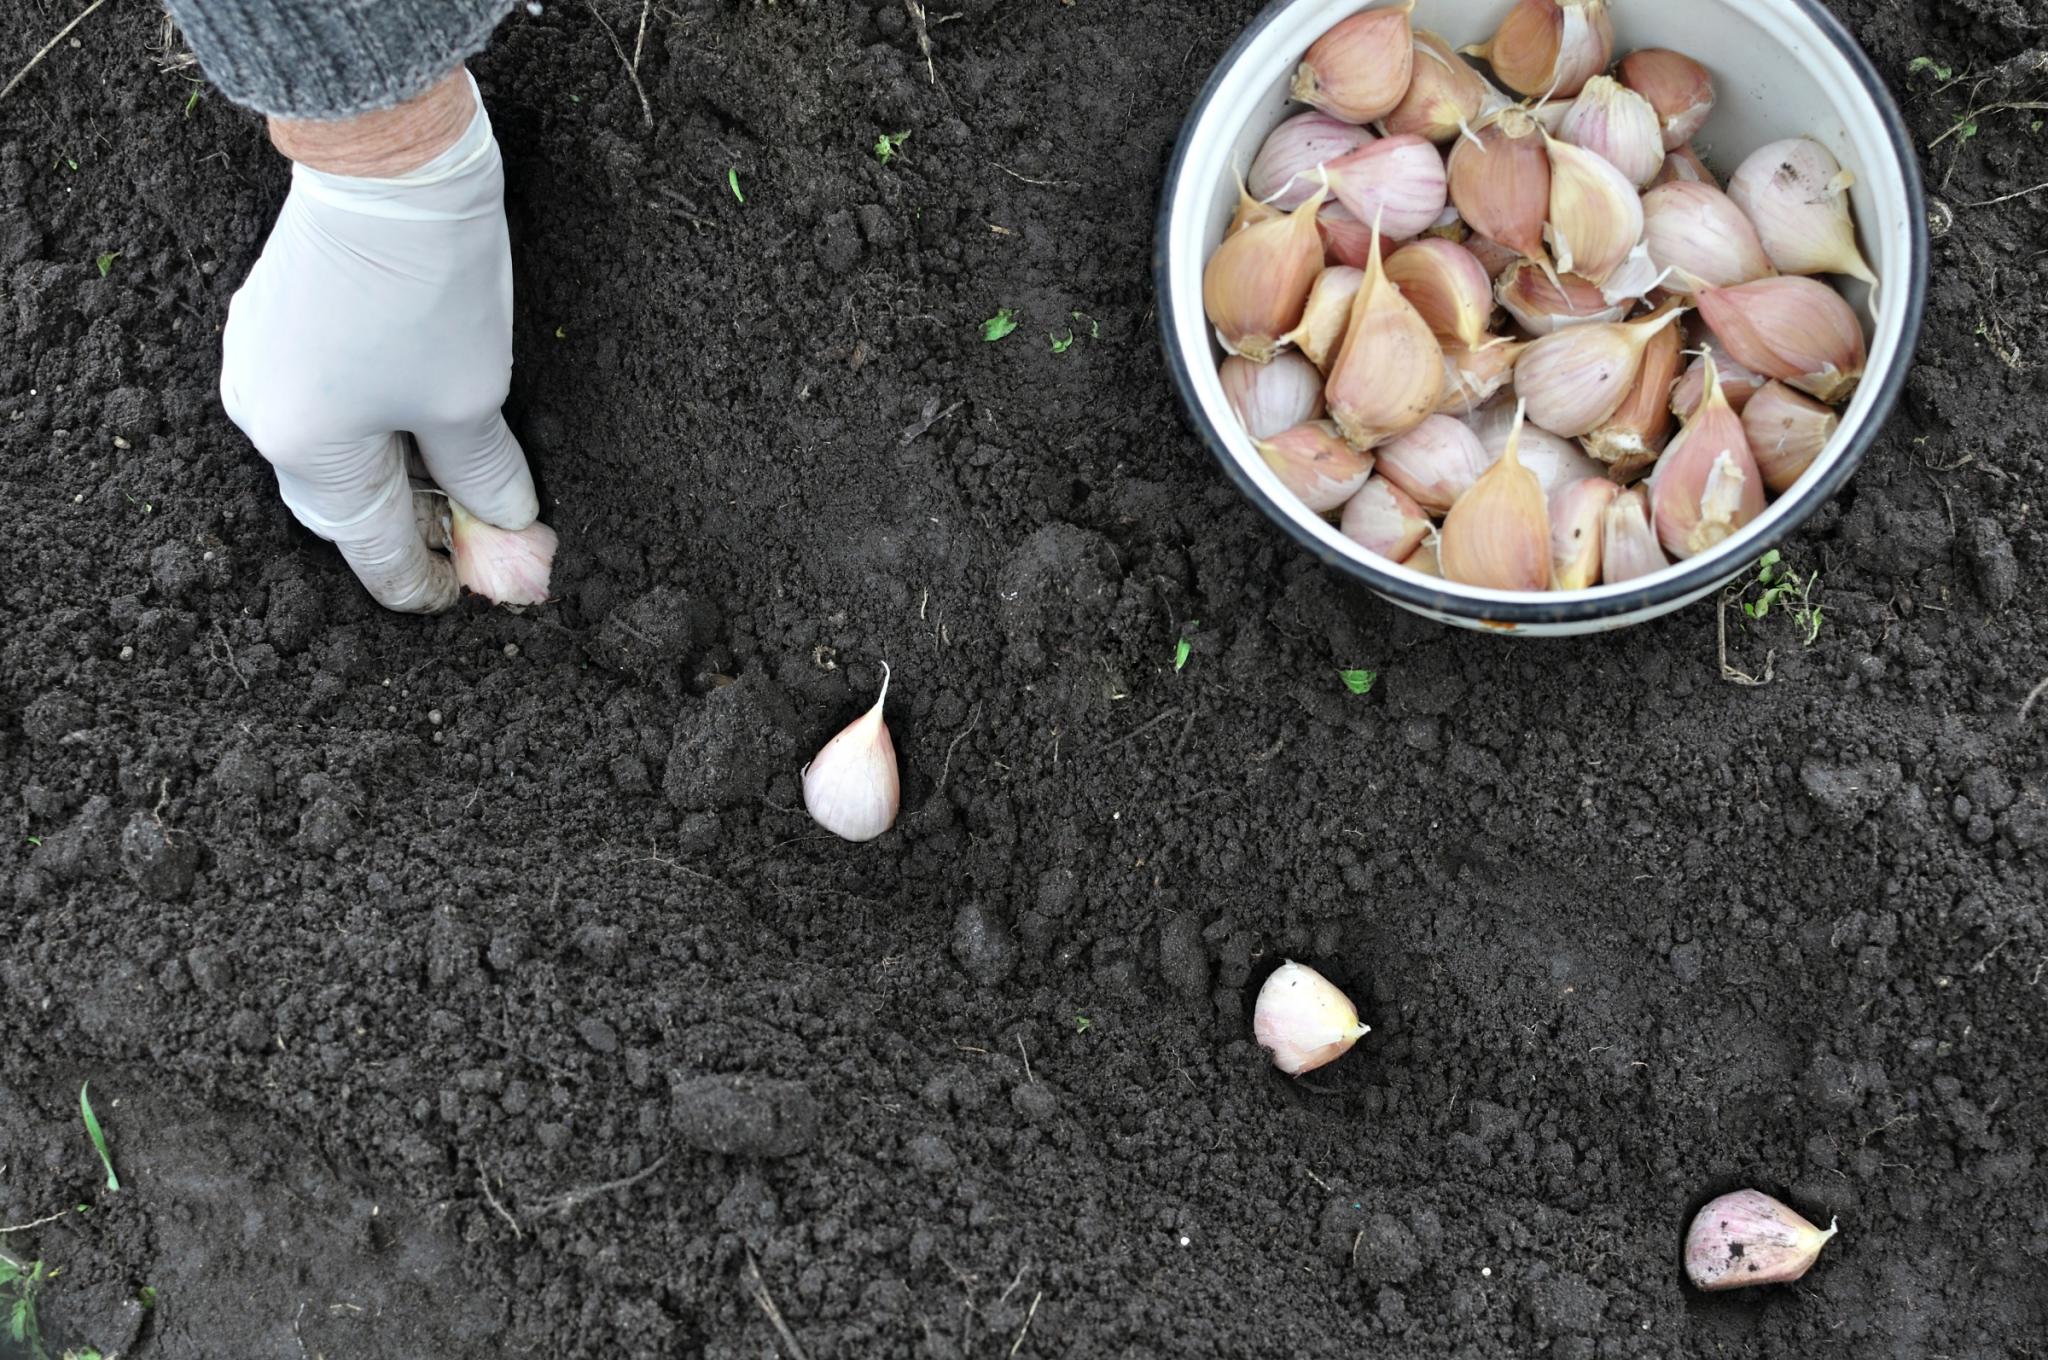
- Just before planting, crack the seed garlic bulbs apart into individual cloves and leave the papery skins on. Then, plant the cloves 4 to 8-inches apart and 2-inches deep with the pointy ends of the bulbs facing up. If you’re growing multiple rows of garlic, space the rows 6 to 12-inches apart.
Growing
Watering
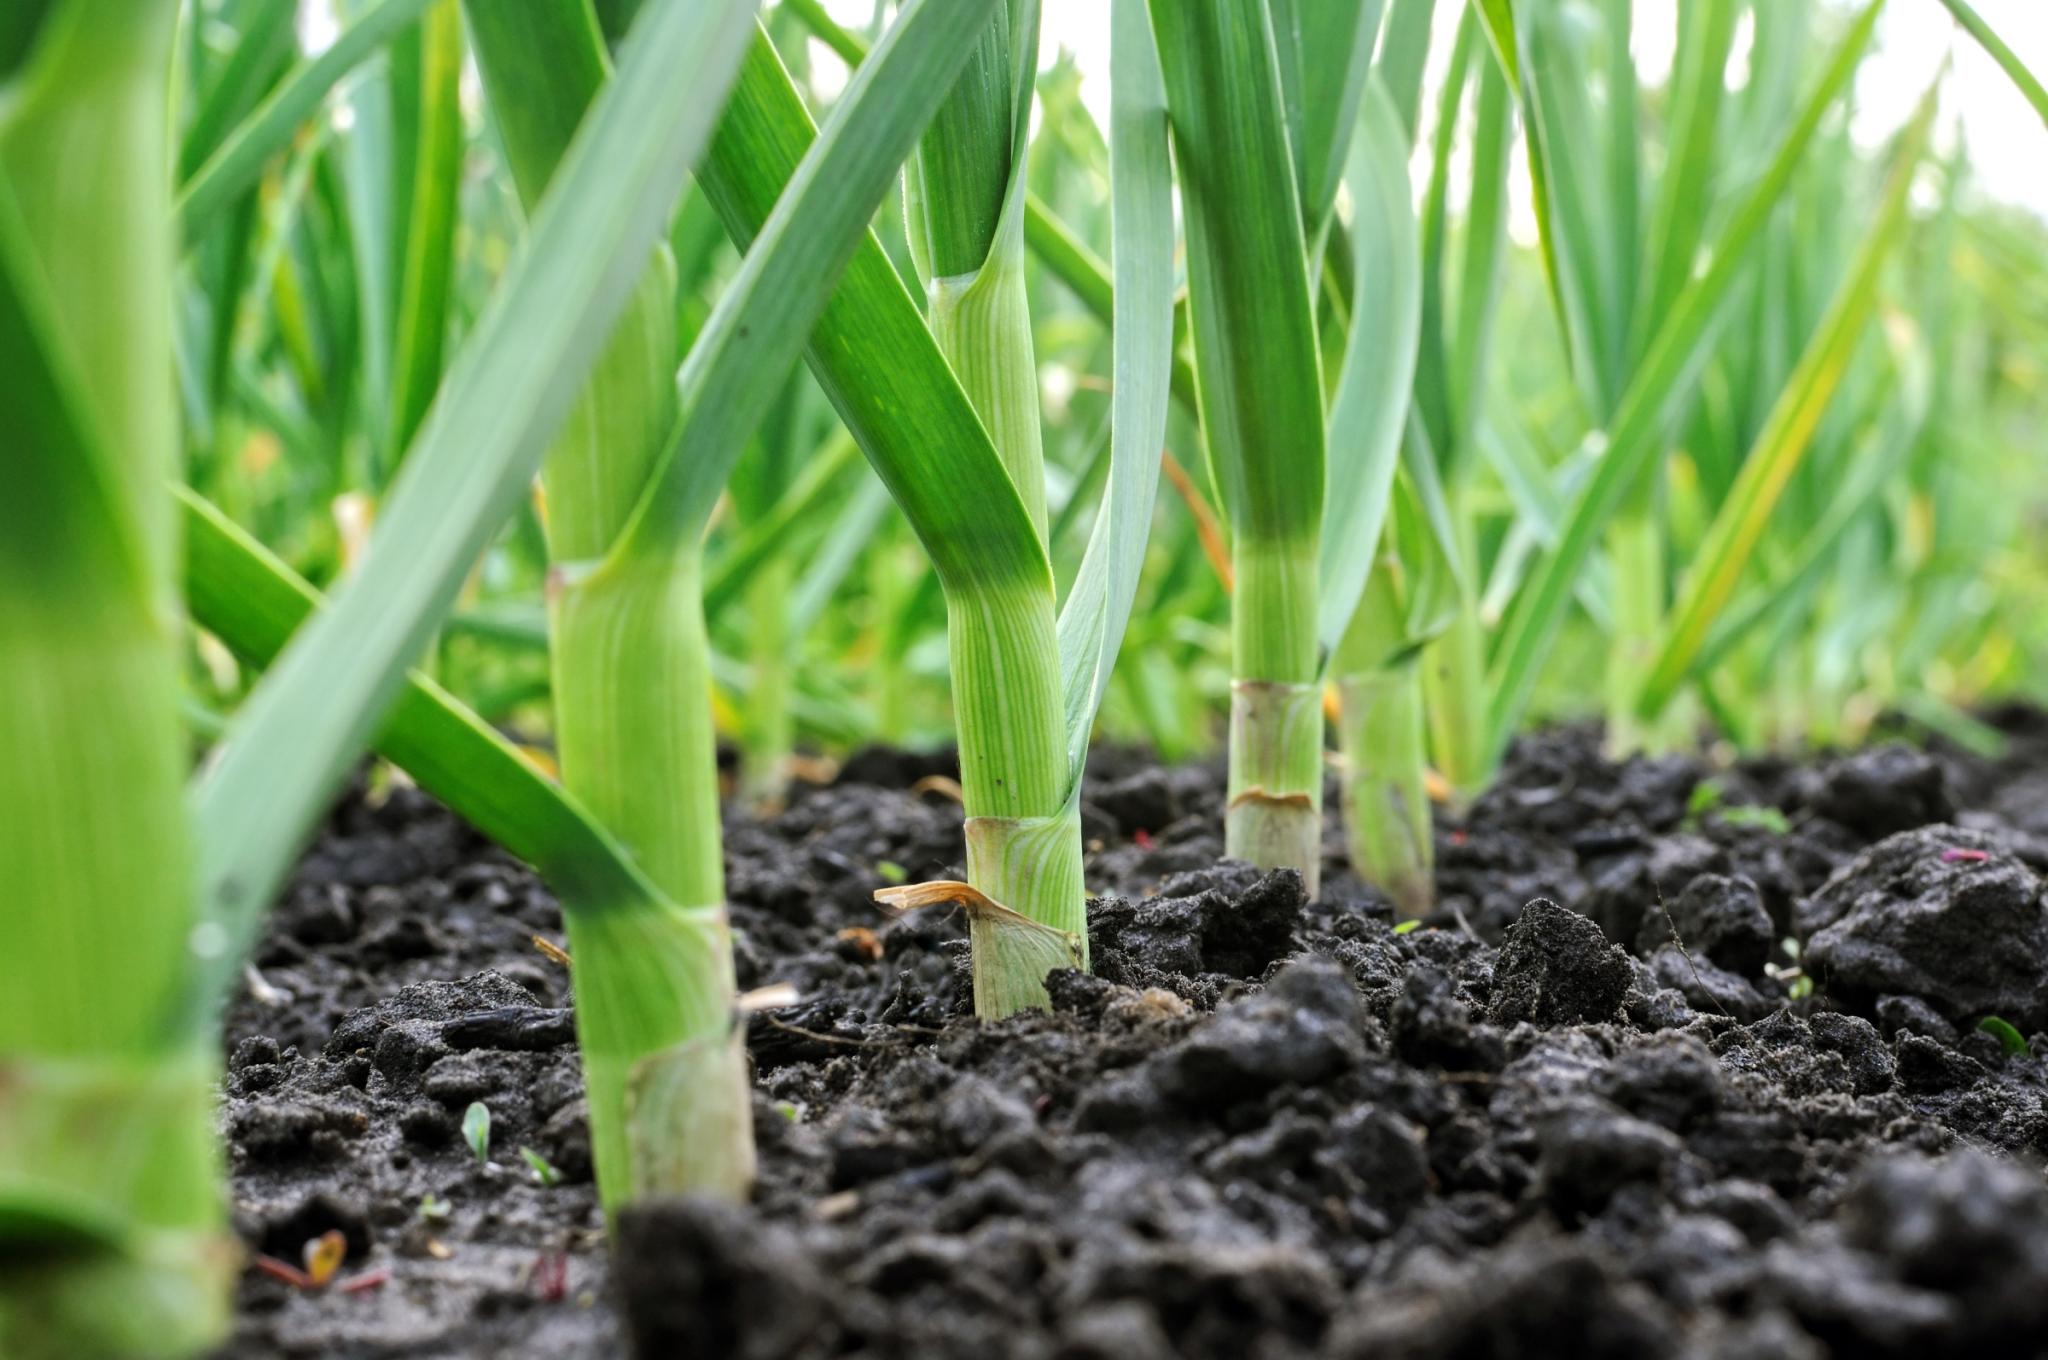
Garlic cloves should be watered once immediately after planting. Then, you shouldn’t need to water again until the cloves sprout in spring.
During the active growing season, water garlic deeply every 3 to 5 days when the bulbs are forming from mid-May through June. Then, as mid-June approaches, taper off watering to help the bulbs mature and make harvesting easier.
Fertilizing
Garlic is a heavy feeder that grows best in soil that’s been enriched with plenty of organic matter. In early spring, side-dress or broadcast garlic with a high nitrogen organic fertilizer and then fertilize your plants again when the days begin to lengthen in early May and the bulbs begin to swell.
Pruning or Maintenance
Make sure to weed garlic beds regularly as garlic doesn’t grow well with competition. These plants generally don’t need pruing, but it’s a good idea to snip off any flower shoots that emerge in spring as they can impair bulb development.
Seasonal Care
In areas where the ground freezes, garlic plantings should be mulched deeply with straw or chopped autumn leaves to ensure proper overwintering. Once the risk of frost has passed in spring, remove all but a light layer of mulch to your compost pile so the garlic shoots can grow.
Types
Garlic is typically divided into two main categories and the best garlic for your garden will depend on your growing zone and your goals.
- Hardneck garlic is particularly cold hardy and the best choice for growers in cold climates. These plants produce bigger cloves, but fewer of them, and they’re the only variety of garlic that yields edible scapes. Popular varieties include: ‘Chesnok Red’ and ‘German Red’.
- Softneck garlic tolerates heat better than hardneck varieties and is more common in southern gardeners.This variety of garlic has a more intense flavor and tends to grow bigger bulbs with smaller cloves. Softnecks are also the garlics you want if you plan to make garlic braids! Popular varieties include: ‘California White Early’ and ‘Inchelium Red.’
Harvesting
When to Harvest
Fall-planted garlic is typically ready for harvesting the following spring — some time between June and August, depending on how long it takes the specific type of garlic you’re growing to reach full maturity.
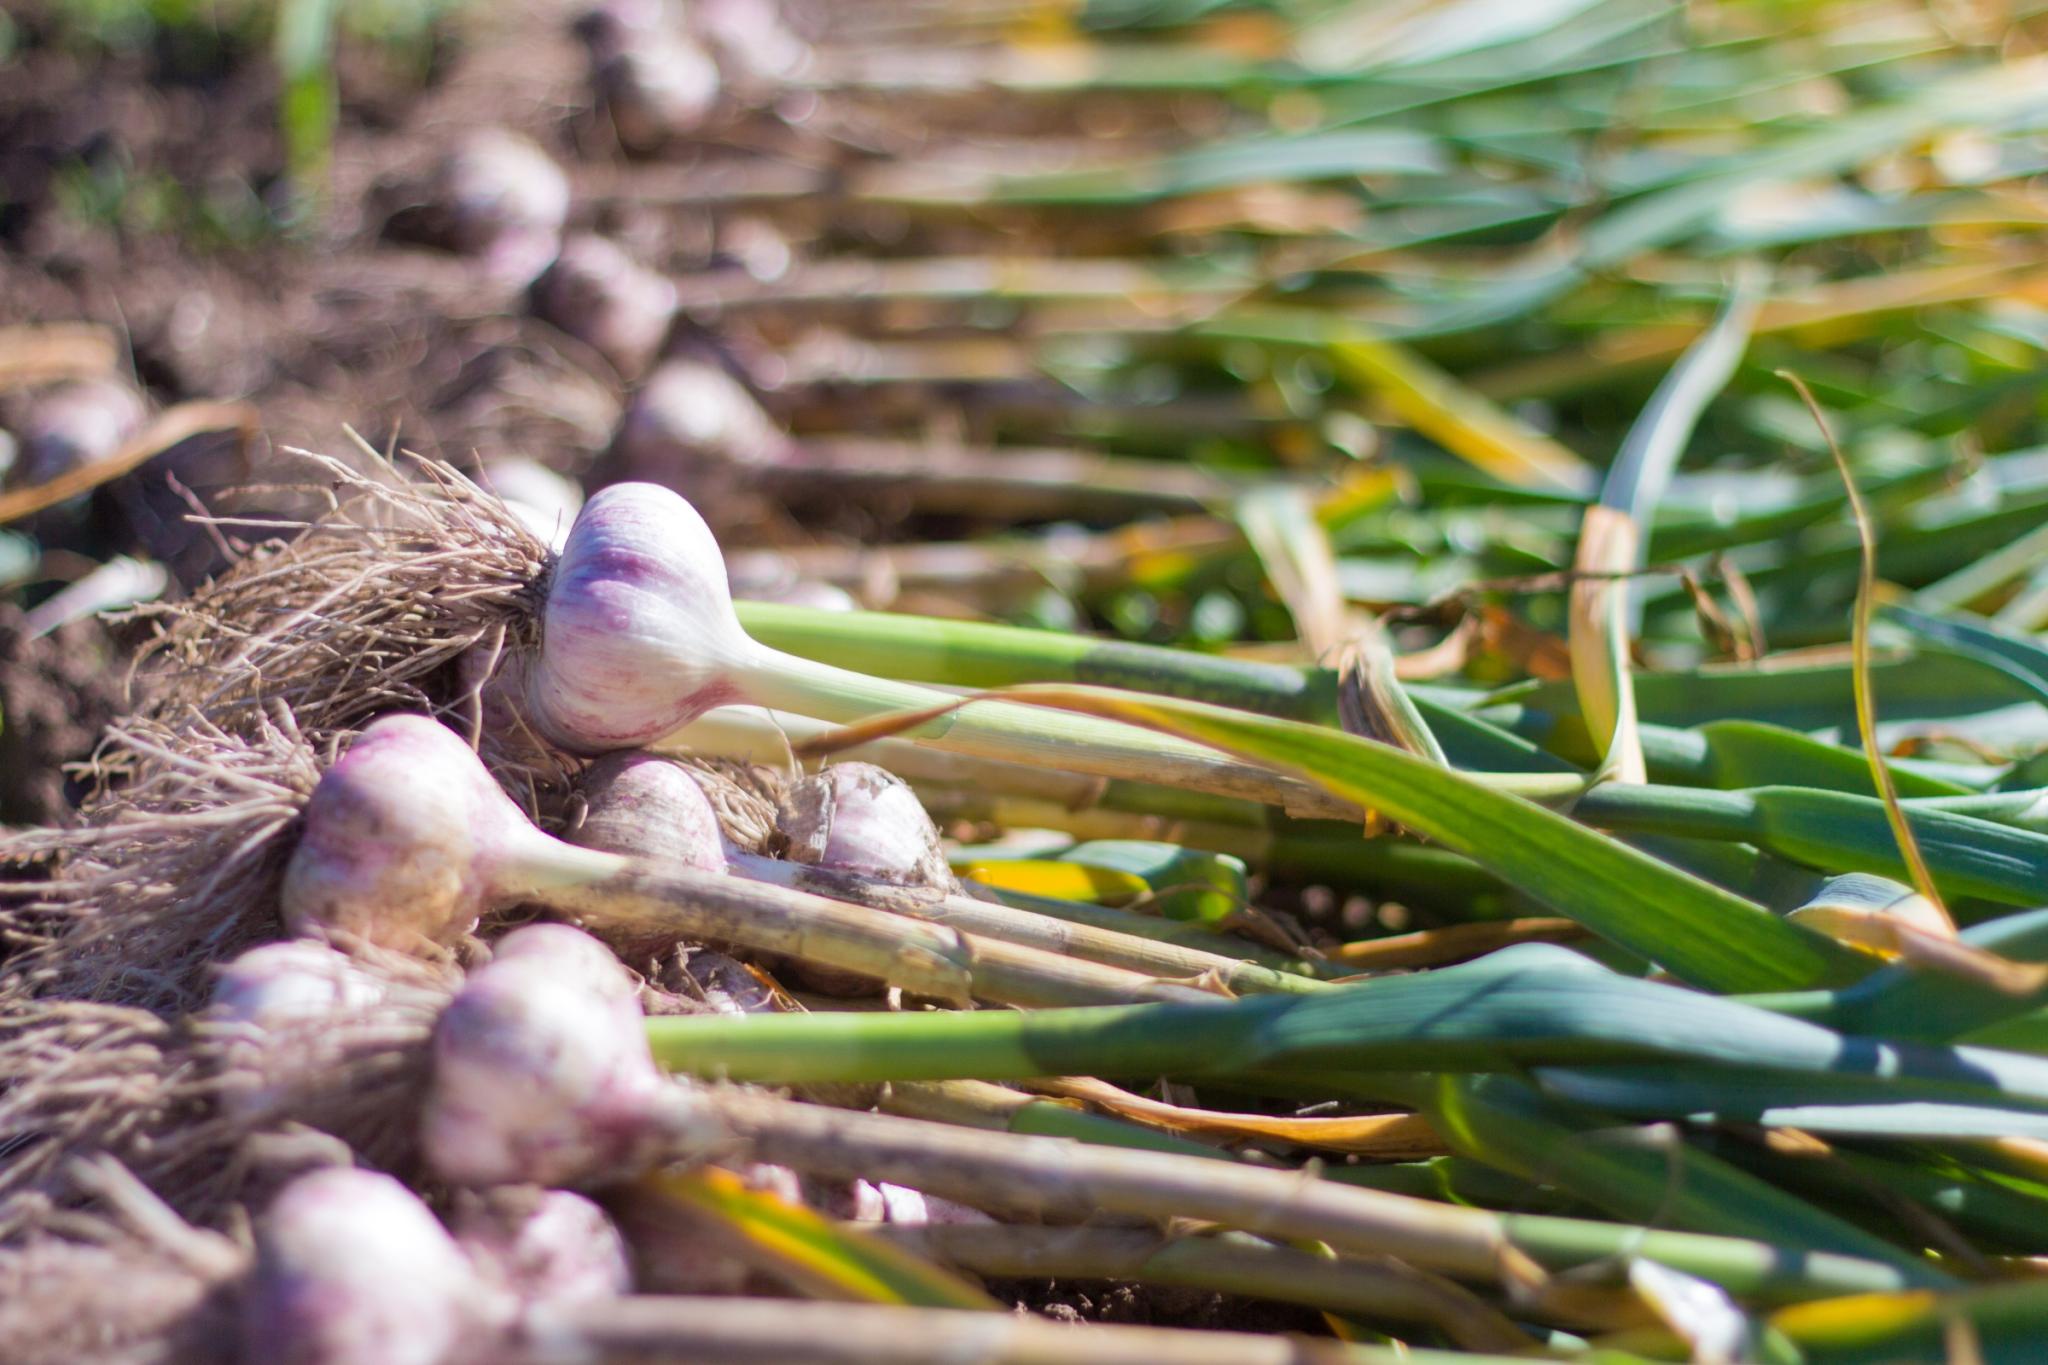
You’ll know it’s time to harvest when garlic leaves begin to yellow and fall over, but before the leaves turn completely dry. To ensure bulbs develop properly, dig up a sample bulb before continuing with the harvesting process. When mature, garlic heads should be divided into plump cloves and the skin covering the outside of the bulbs will be thick, dry, and papery.
If you’re growing garlic for scapes, harvest the scapes when they begin to curl.
How to Harvest
To harvest garlic, carefully dig the bulbs up with a gardening fork or shovel and don’t pull or yank the stems by hand. Lift the plants free from the soil and carefully brush off large bits of dirt; however, don’t remove any leaves or roots just yet.
Storage
Garlic bulbs can be used fresh from the garden and scapes are delicious in homemade pesto and stir-fries. However, if you want bulbs to last in storage, you’ll need to cure them first.
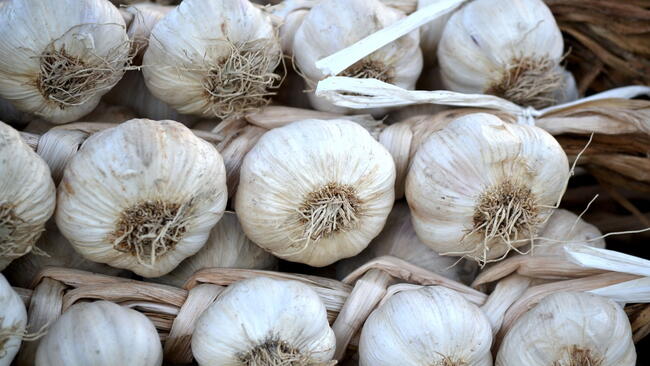
To cure garlic, spread the plants in a warm, shady, and dry spot with good air flow for about 2 weeks. You can cure them on screens or racks, or hang them upside down with string in bunches of 4 to 6. After a few weeks, the garlic should be totally dry with papery skins, dry roots, and relatively hard cloves that can be easily cracked apart. When this occurs, you’ll know your garlic is ready for storage.
To store garlic, first brush off any dirt that remains on the bulbs and don’t be tempted to clean the bulbs with water. Remove only the dirtiest of the papery skins and leave the rest of the skins as in tact as possible. Then, trim the garlic roots to ¼ inch and cut the tops to 1 to 2-inches, unless you’re growing softneck garlic and want to create garlic braids.
For proper storage, keep cured bulbs in a cool (55°F / 13°C), dark, and dry place. In these conditions, cured garlic can last for months or even until the next growing season. Humid basements and refrigerators are not ideal for long-term storage as high humidity can lead to early spoilage.
If you plan on planting garlic again next season, be sure to save some of your largest, best-formed bulbs to plant again in fall!
Gardening Products



Can you dig up a test bulb? Gently lift a plant and check bulb size. In 6b, softneck can be ready in late June. It's normal for softneck garlic to have their necks fold and split at ground level, especially as they mature and begin to reach the end of its growing cycle. After harvesting, allow the garlic to cure for a couple of weeks. If you think it's splitting early, that's often a sign that it wasn't planted deep enough (at least 3 inches, or 5 inches if not mulching). Minimize late-season irrigation: Reduce or avoid late-season irrigation to allow foliage and necks to dry before harvesting. And be sure the bulbs are well cured!

Goodness. We're so sorry to hear that, and we know how much work you must have done during the planting season. Did they eat garlic scrapes? Usually, garlic and onion are planted near gardens because it's so unpleasant to squirrels and other pests and deter them from eating. See tips for keeping squirrels out of the garden for next season. You don't mention where you live, but the good news is that a mild winter is predicted for most of the U.S. and Canada in 2024–2025.
- « Previous
- 1
- 2
- …
- 10
- Next »

Comments