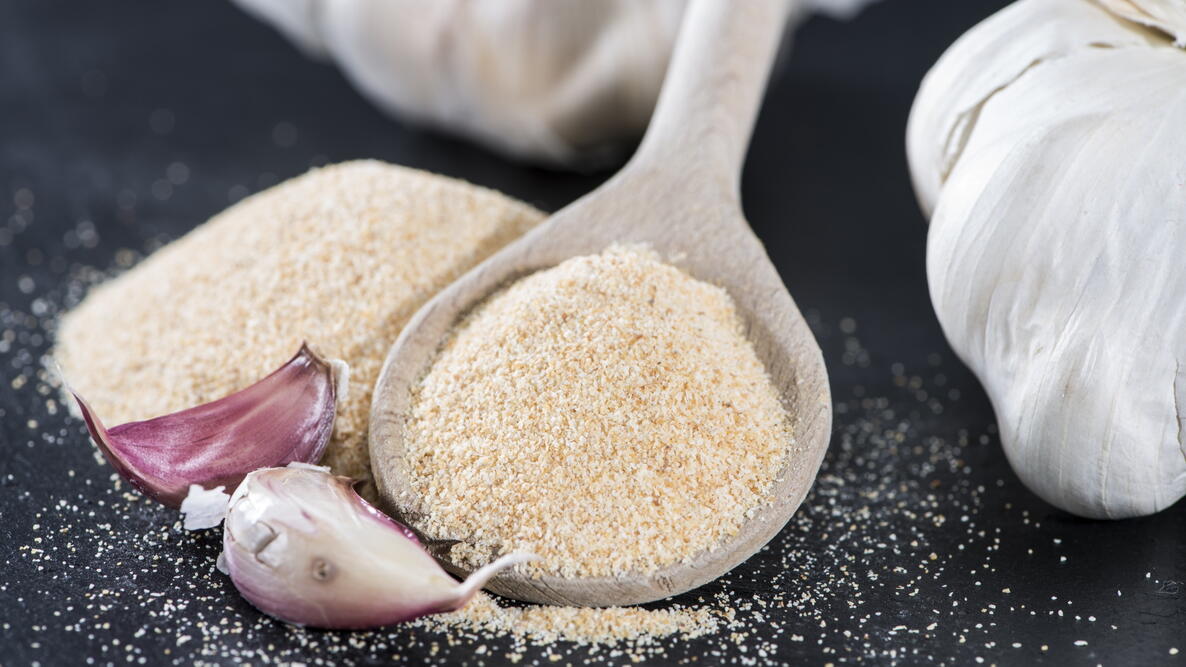

The flavor of homemade garlic powder is unbeatable—it truly tastes like garlic that has just been picked from the garden (and nothing like that prepackaged stuff). Plus, it’s ready to be used all year long! See how to dry garlic to make your own garlic powder.
Reasons to Make Your Own Garlic Powder
A lot of commercial garlic powder is pretty bad in terms of quality; it doesn’t even smell or taste like garlic and can have an unpleasant aftertaste. Some producers don’t even bother removing the skin, plus there isn’t FDA regulation around commodity spices, so it’s difficult to know what’s truly inside the bottle. Unless you buy local garlic, many of the garlic bulbs sold in stores have gone past their peak (rubbery or soft) and have lost much of their medicinal value.
Truly fresh garlic is pungent, white, hard, and full of a juicy liquid. One way to maintain not only garlic’s flavor but also its healing powers is to dry it and make it into garlic powder. There are so many ways to use garlic powder, from shaking the seasoning into salad dressings and soups, to putting it on potatoes, to sprinkling it over popcorn.
Dried garlic powder has a different purpose than raw garlic; it’s mellower and milder to enhance flavor versus the sharp taste of garlic in a main dish. Ideally, you could grow your own garlic, as it’s easy to plant your own bulbs in the fall. Otherwise, we recommend buying local garlic bulbs for the freshest flavor.
For those who wish to garden, garlic bulbs are popped into the soil in the fall and harvested in the summer once the leaves turn yellow-brown. See how to prepare your soil in our Garlic Growing Guide.
Making Garlic Powder in the Dehydrator
At harvest, I generally pick about eight bulbs of garlic at a time, bundle them tightly together, and tie them with string. I then hang the bundles for 2 to 4 weeks in a shady, airy place to begin to dry.
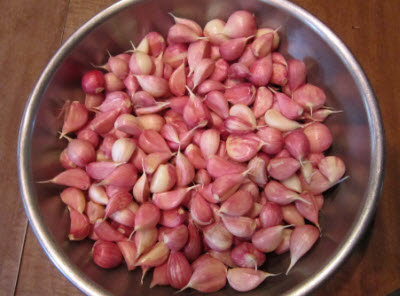
1. Separate Cloves
Whether you grow your own or buy your garlic cloves, the first step to making the powder is to separate all of the cloves. This can be a messy job, so do it all at once!
2. Peel Garlic
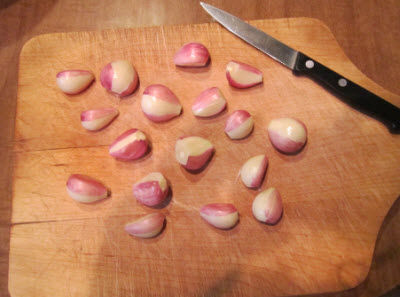
After separating the cloves, I cut the tops and the bottoms of the cloves and try to tear a strip or two of the skin.
3. Dehydrate the Cloves
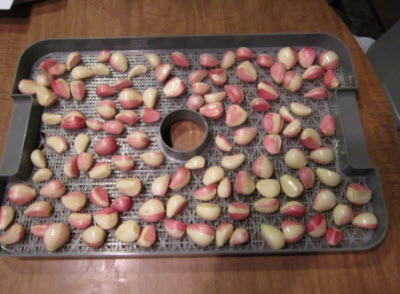
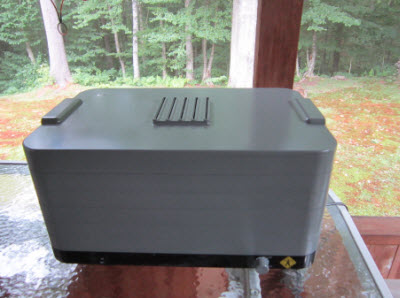
Placing these cloves in a dehydrator tray, they are put at a low temperature (below 115°F/46°C) overnight. This will help to loosen the peels and aid the next process.
4. Chop the Cloves
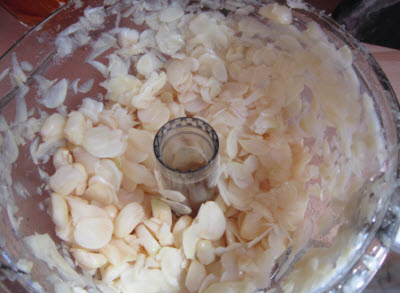
After the cloves have been slightly dehydrated, you can remove the rest of the peels. Then chop the cloves slightly. I like to use a food processor to make little chips of garlic.
5. Dehydrate the Garlic
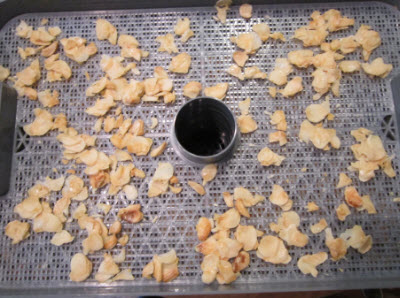
Back into the dehydrator they go for 6 or 7 days. Again, keep the temperature below 115°F/46°C, as this will help the garlic to maintain its healing properties.
Once the chips have cooled, they can be put in a tight jar until you have time to complete the process.
6. Powder the Garlic Chips
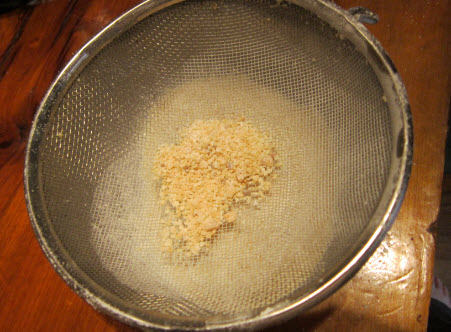
When you are ready to make the powder, put the chips in a blender (not too many at a time) and hit the “chop” button. Wait about a minute after processing before opening the blender, as there will be lots of powder floating at first. I then put the powder through a strainer so that the ultimate product is fine. The larger chips just go back into the blender to repeat the process.
7. Seal Into Jars
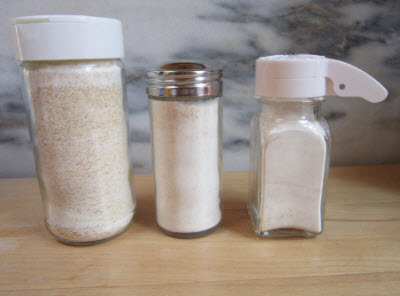
Place the powder in jars and seal them. The flavor of the resulting powder is unbeatable—it truly tastes like garlic that has just been picked from the garden. But now it is ready to be used all year long!
Making Garlic Powder in the Oven
You can also make garlic powder in your oven. To do so:
- Preheat your oven to 175°F.
- Line a baking sheet with parchment paper, then place sliced garlic on top.
- The garlic is ready after anywhere from 1 to 2 hours. Test it by seeing if a piece “snaps” when you break it in half.
- After this, you need to let the garlic cool completely.
- Grind it into a powder by using a high-speed blender or coffee grinder.
Of course, garlic powder not only adds flavor to your meals but has some glorious health benefits too. Learn more about the healing benefits of garlic.

More Like This

Hi, Cindi. If you want to use your oven, preheat it to 175 degrees F. Line a baking sheet with parchment paper, then place the sliced garlic on top. The garlic is ready after anywhere from 1 to 2 hours. Test it by seeing if a pieces "snaps" when you break it in half. Then you need to let the garlic cool completely. Grind it into a powder by using a high-speed blender or coffee grinder.
- « Previous
- 1
- 2
- …
- 10
- Next »

Comments