
Caption
New potatoes harvested from a raised garden bed.

If you’re wondering how to grow potatoes in raised beds, you’re in the right place. Raised beds provide the loose, well-draining soil that potatoes love—making them one of the easiest and most productive crops to grow.
Preparing Raised Beds for Potatoes

A successful harvest includes picking the right location, the right type of soil, and the right soil depth. The beds can be different depths, have boxed-in sides or open or closed bottoms, or be simply mounds of soil. Though we have a few boxed-in beds with wire bottoms, most of our beds are mounded soil on open ground without permanent sides.
Whatever type of bed you choose to construct, make sure it is in a spot that gets full sun for at least 6 hours a day.
Best Soil for Potatoes
Potatoes do best when planted in light, fluffy, well-draining soil on the slightly acidic side, as mentioned above. Dig in some compost or aged (not fresh) manure for additional organic matter, and do a soil test before planting to make any recommended adjustments.
Ideal Depth and Drainage
If you have a bed with a closed bottom, ensure it is at least 12 inches deep and has good drainage. Metal watering troughs make excellent raised beds once you have drilled drainage holes in the bottom.
Choosing the Right Seed Potatoes
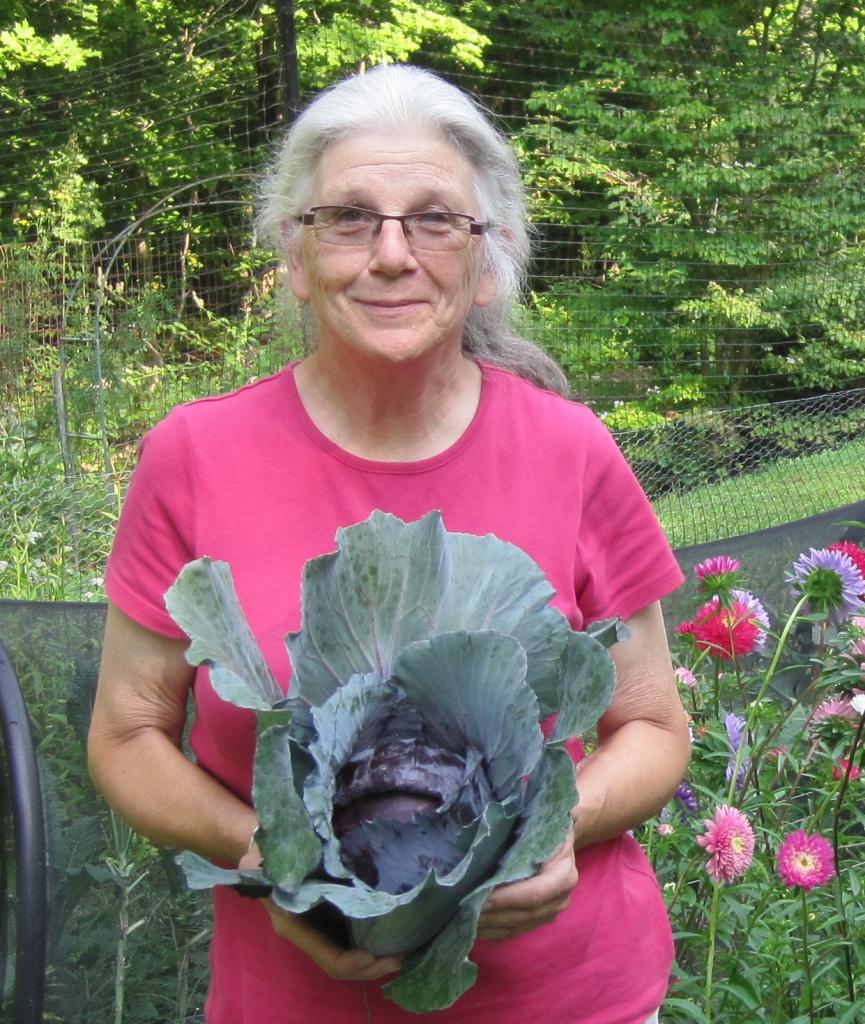
For the best outcome, purchase seed potatoes at your local garden center or, for more variety, order from a mail-order company that specializes in seed potatoes. Note: They are not actual seeds but small potatoes, especially suited for planting, that have been certified to be free of disease pathogens, unlike the sprouted spuds in your kitchen.

Potatoes are grown from seed potatoes, which are small tubers, not seeds. Photo Credit: Miriam Doerr Martin Frommherz
Generally, the same potato varieties can be used for raised beds and in-ground rows. What’s more important is to select a potato type that suits your climate and the length of the growing season.
- For an early-yielding, all-purpose potato, look for ‘Yukon Gold’ or ‘Superior’.
- Fingerlings are waxy and great for roasting; our favorite is the high-yielding ‘Austrian Crescent’.
- Try taters with colored skin, such as ‘Red Norland’ or blue ‘Caribe’, for boiling.
- Some varieties, such as ‘Adirondack Blue’, ‘Purple Majesty’, or ‘Yukon Gem’, have not only colored skin but also colored flesh; these are fun for salads.
- Prefer a dry, mealy baking potato? Go for a russet potato like ‘Caribou’, ‘Goldrush’, or ‘Rio Grande Russet’.

Planting Potatoes in Raised Beds (Step-by-Step)
- Pre-sprout your seed potatoes a week or two before planting by spreading them out in a cool, bright spot to green up and develop short, strong sprouts that won’t break off when planting. This is called chitting.
- Plant small potatoes, about the size of a hen’s egg, whole. Cut the larger ones into pieces with at least two sprouts each. To prevent rotting, let the cut pieces dry for a day or two before planting potatoes in raised beds.
- Time to dig! Depending on the width of your bed, you can usually make at least two 6-inch-deep trenches, spaced 1 foot apart, down the length of the bed. Pile the soil along the edges of the trench to use later.
- Space one potato every 12 inches, sprouts up, and cover with 1–2 inches of soil. The number of potatoes you can plant is based on this spacing; do not crowd.

Hilling and Caring for Potato Plants
- As the sprouts grow, gently add the reserved soil—from digging the trenches—to the base of the plants. This is called “hilling.” In lieu of hilling with soil, you can instead use weed-free straw piled thickly enough around the base of the plants to keep sunlight from reaching the developing spuds. They need to grow in the dark to prevent them from turning green. Green potatoes are not edible.
- Add straw. As long as mice, voles, and chipmunks are not a problem in your area, using straw works well and makes for easy harvesting.
- Tend the bed. Be sure your potato plants get an inch of water a week, whether from rainfall or irrigation.
- Keep an eye out for striped potato beetles; hand-pick or knock them off into a container of soapy water to keep them from eating your plants. Inspect your plants regularly for orange eggs, and crush them before allowing them to hatch into disgusting larvae. The larvae will make a meal from the leaves, stressing or killing the plants before they can produce any spuds.
Harvesting Potatoes
After the plants have flowered, you can gently dig around the base of a plant or two for small new potatoes, a delicious treat! Otherwise, let the plants grow until the tops die down in late summer/early fall before digging up your long-awaited crop of fresh, organically grown potatoes.

Digging up the taters: A garden fork is the perfect tool for lifting the buried spuds, but try to avoid spearing them. If that happens, just set the pierced ones aside to eat first.

How to Cure and Store Potatoes
Storing your spuds: To help them develop thick skin for longer storage life, spread your potatoes out in a dark, dry place for a week or more to cure. Don’t bother washing potatoes; they keep longer if left unwashed. We place ours in trays and cover them with newspaper to keep out any light. You don’t want them to turn green and become inedible. Simply brush off excess dirt and store them in a cool, dry, dark place.
Tips for a Bigger Potato Harvest
- Soil is the key. Growing potatoes in your raised beds will give you control over the soil. You can tailor it to their needs, which is essential if you have heavy clay, compacted, poorly draining, or infertile soil. A raised bed allows you to create a loose, loamy soil in which potatoes thrive. Potatoes in raised beds should never be planted in wet soil. Wait until the spring soil has dried out. For my location, planting is mid-May. Get a soil thermometer and plant as soon as the soil is 50°F. Plant early in the morning.
- Disease prevention. A soil pH of 4.8–5.4 will discourage potato scab from forming. Avoid adding fresh manure, lime, or wood ashes, which would alter the pH and increase the chances of scabby potatoes. What is scab, you ask? It is a plant disease that produces rough, dark patches on the surface of the potato. The damage is cosmetic and doesn’t usually affect yield. The spuds are still edible after you cut the spots off.
- Quick start. Potatoes are planted before your last frost. Raised beds will warm up faster in the spring, enabling you to plant earlier than you could in a ground-level bed. You don’t have to worry about late spring frosts because the soil will protect your little spuds.
- Easy to dig. Your perfectly prepared potato bed will be easy to dig in, which you will appreciate when it comes to planting and harvesting.
- Bigger harvest. In many side-by-side experiments, potatoes grown in raised beds are often larger and have higher yields than those grown in open rows or containers. We recommend organic seed potatoes for a better harvest because they haven’t been treated with chemicals, making them more resilient and disease-resistant.
Frequently Asked Questions
How deep should a raised bed be for potatoes?
A raised bed should be at least 12 inches deep for growing potatoes. This allows enough room for tuber development and proper hilling. Deeper beds (15–18 inches) can support even larger harvests.
How far apart should you plant potatoes in a raised bed?
Plant seed potatoes 12 inches apart in rows spaced about 12 inches apart. Crowding reduces airflow and can lead to smaller yields.
How many potatoes can I grow in a 4x8 raised bed?
In a standard 4x8-foot raised bed, you can typically plant 24 to 32 seed potatoes, depending on spacing and layout. Proper soil preparation and hilling will help maximize yield.
Do potatoes grow better in raised beds?
Yes. Raised beds provide loose, well-draining soil, which potatoes prefer. They also warm up faster in spring, allow earlier planting, and make harvesting easier.
Can you grow potatoes in shallow raised beds?
Potatoes can grow in beds as shallow as 8–10 inches, but yields may be smaller. If using a shallow bed, mound additional soil or straw as plants grow to give tubers more room.
Do you have to hill potatoes in a raised bed?
Yes. Hilling protects developing tubers from sunlight, which can turn them green and inedible. You can hill with soil or use thick layers of straw as an alternative.
When should you harvest potatoes in raised beds?
You can harvest new potatoes shortly after flowering. For full-size potatoes, wait until the foliage dies back in late summer or early fall before digging.
How often should potatoes be watered in raised beds?
Potatoes need about 1 inch of water per week, either from rainfall or irrigation. Consistent moisture is important during tuber formation.
Potatoes are an easy and rewarding crop, whether in a raised bed, in a container, or in the ground. I’ve even planted in grow bags.
Check out our complete Growing Guide to Potatoes for more information.


Comments