

Potatoes can take up a lot of space in the garden, but growing potatoes in containers is a simple solution. From trash cans to grow bags, learning how to grow potatoes in pots lets you enjoy a big harvest in a small space.
When to Grow Potatoes in Containers
You can start growing potatoes in pots in early spring! Wait at least 2 weeks after the last spring frost in your area. See the Almanac’s Frost Calculator.
Start With Seed Potatoes
If you have never tried growing your own potatoes, nothing could be easier. Pick up some certified seed potatoes at your local garden center. (Seed potatoes are not “seeds.” They are very small potatoes used to grow potato plants.)
Potato varieties are distinguished by color, flavor, and how soon they are ready for harvest. Early varieties are good because you get your rewards sooner, but late varieties will produce higher yields if properly cared for. Many container gardeners prefer small “new” potatoes in pots versus large russet types. Learn about the best potato varieties to grow.
Can You Plant Grocery Store Potatoes?
If you aren’t fussy about the type of potato and have some in your kitchen that are sprouting in their bag, these can be planted. Many folks say to avoid grocery store potatoes, but we’ve grown some excellent crops of potatoes from grocery store spuds. There is a greater chance of disease since they aren’t certified to be free of pathogens.
Chitting Potatoes for Container Growing
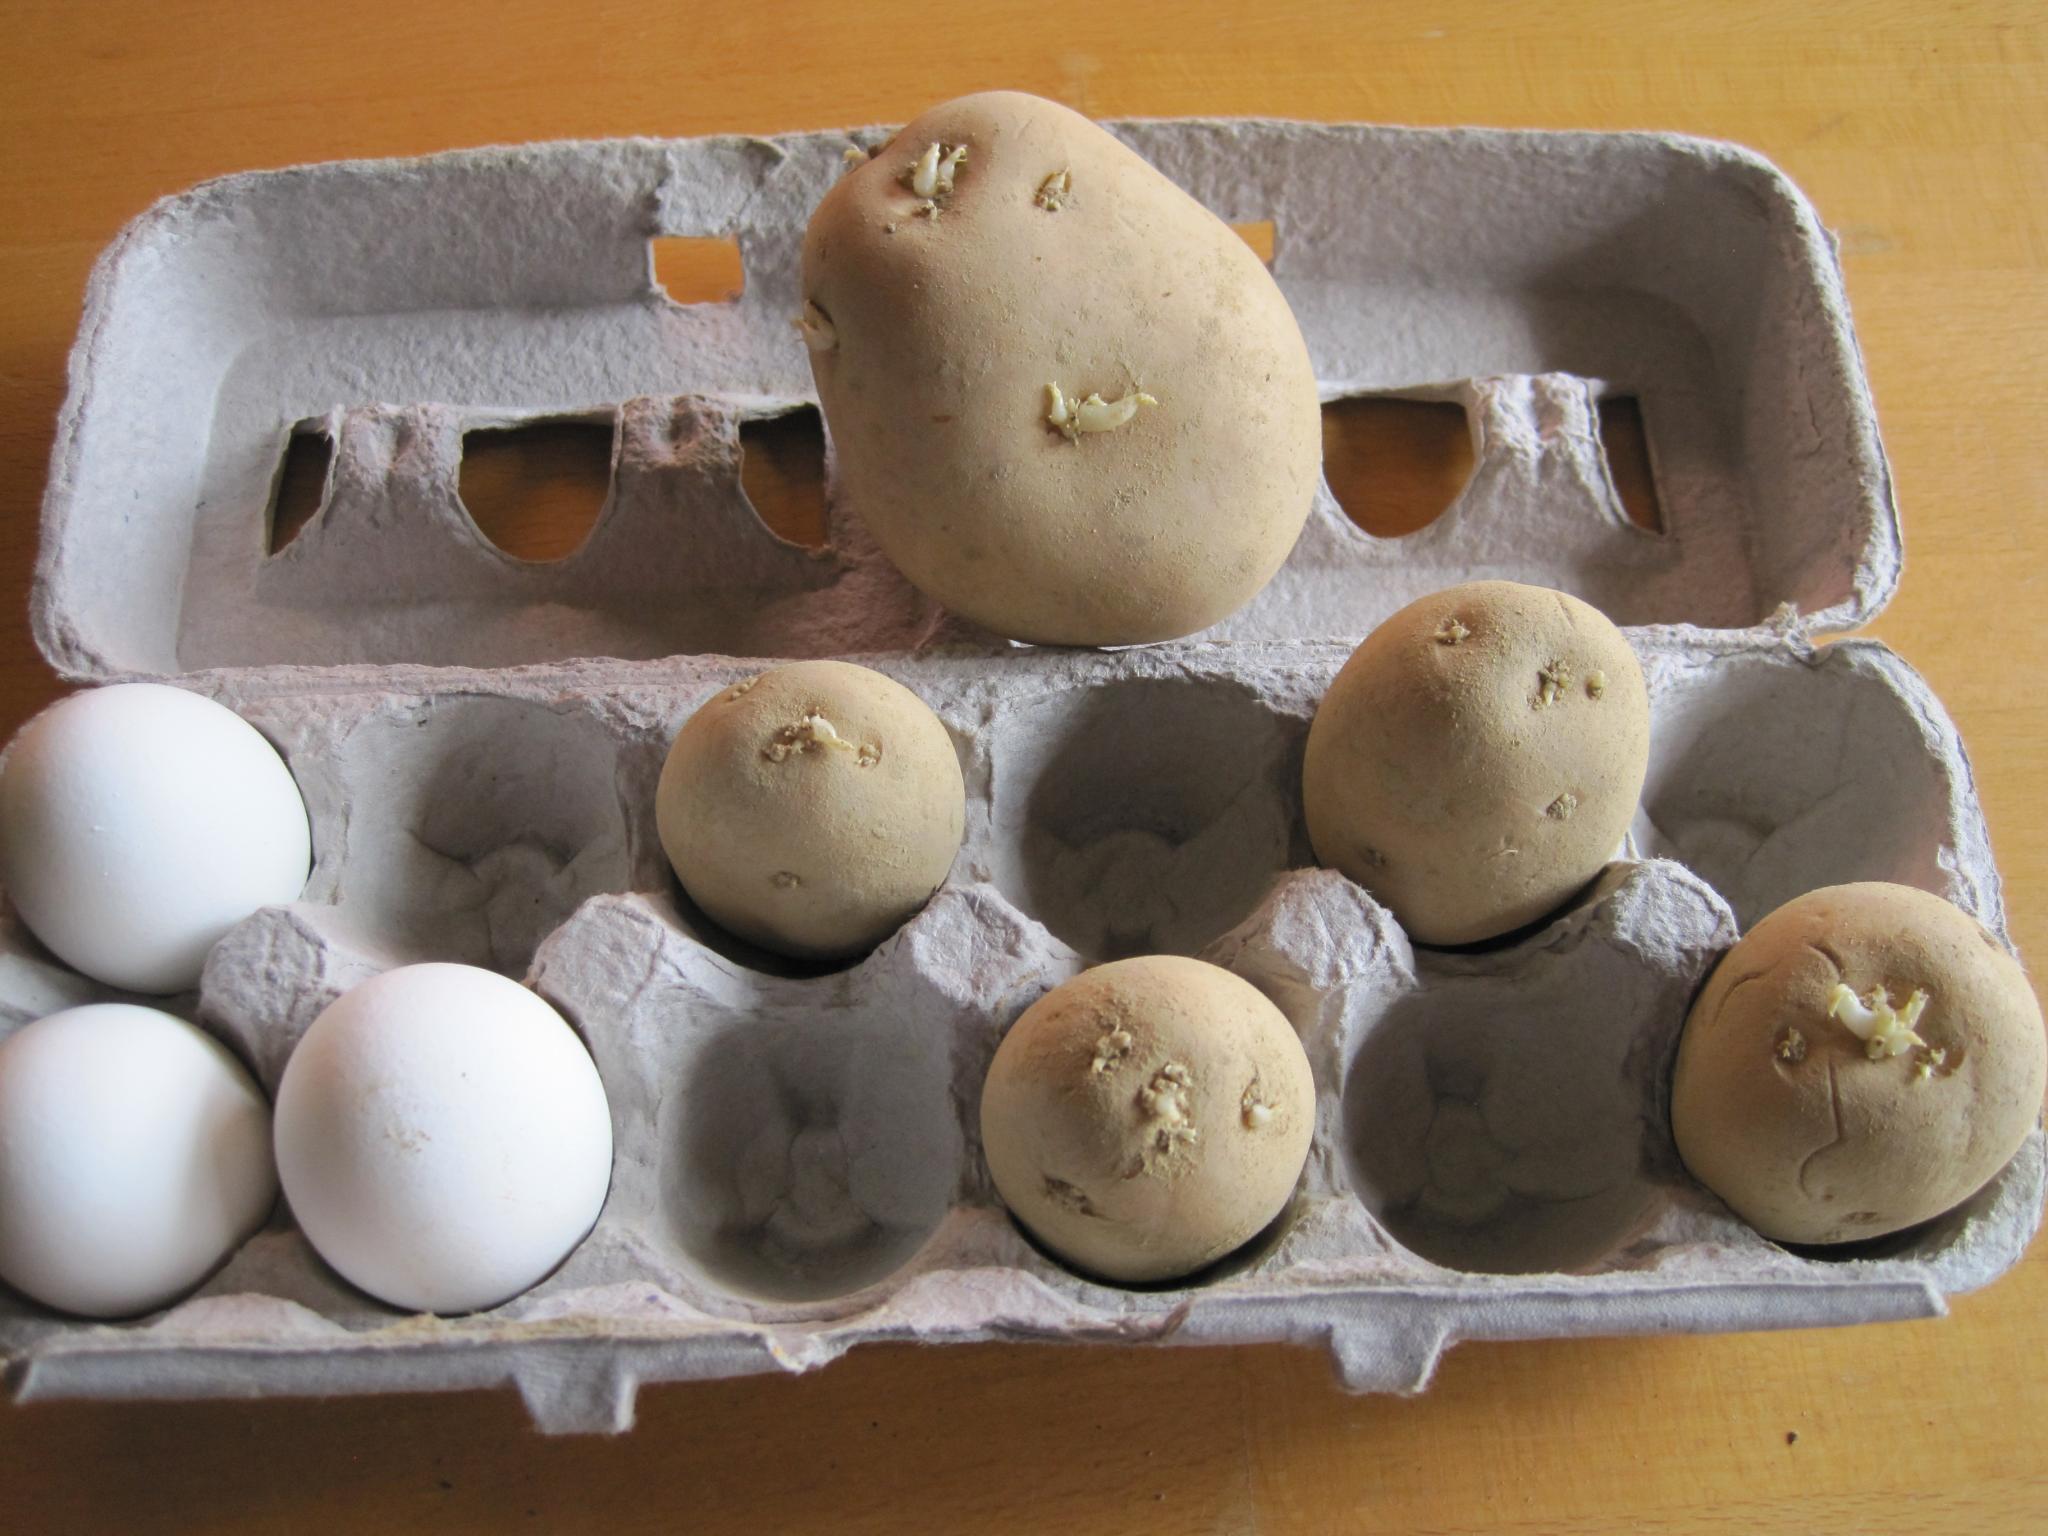
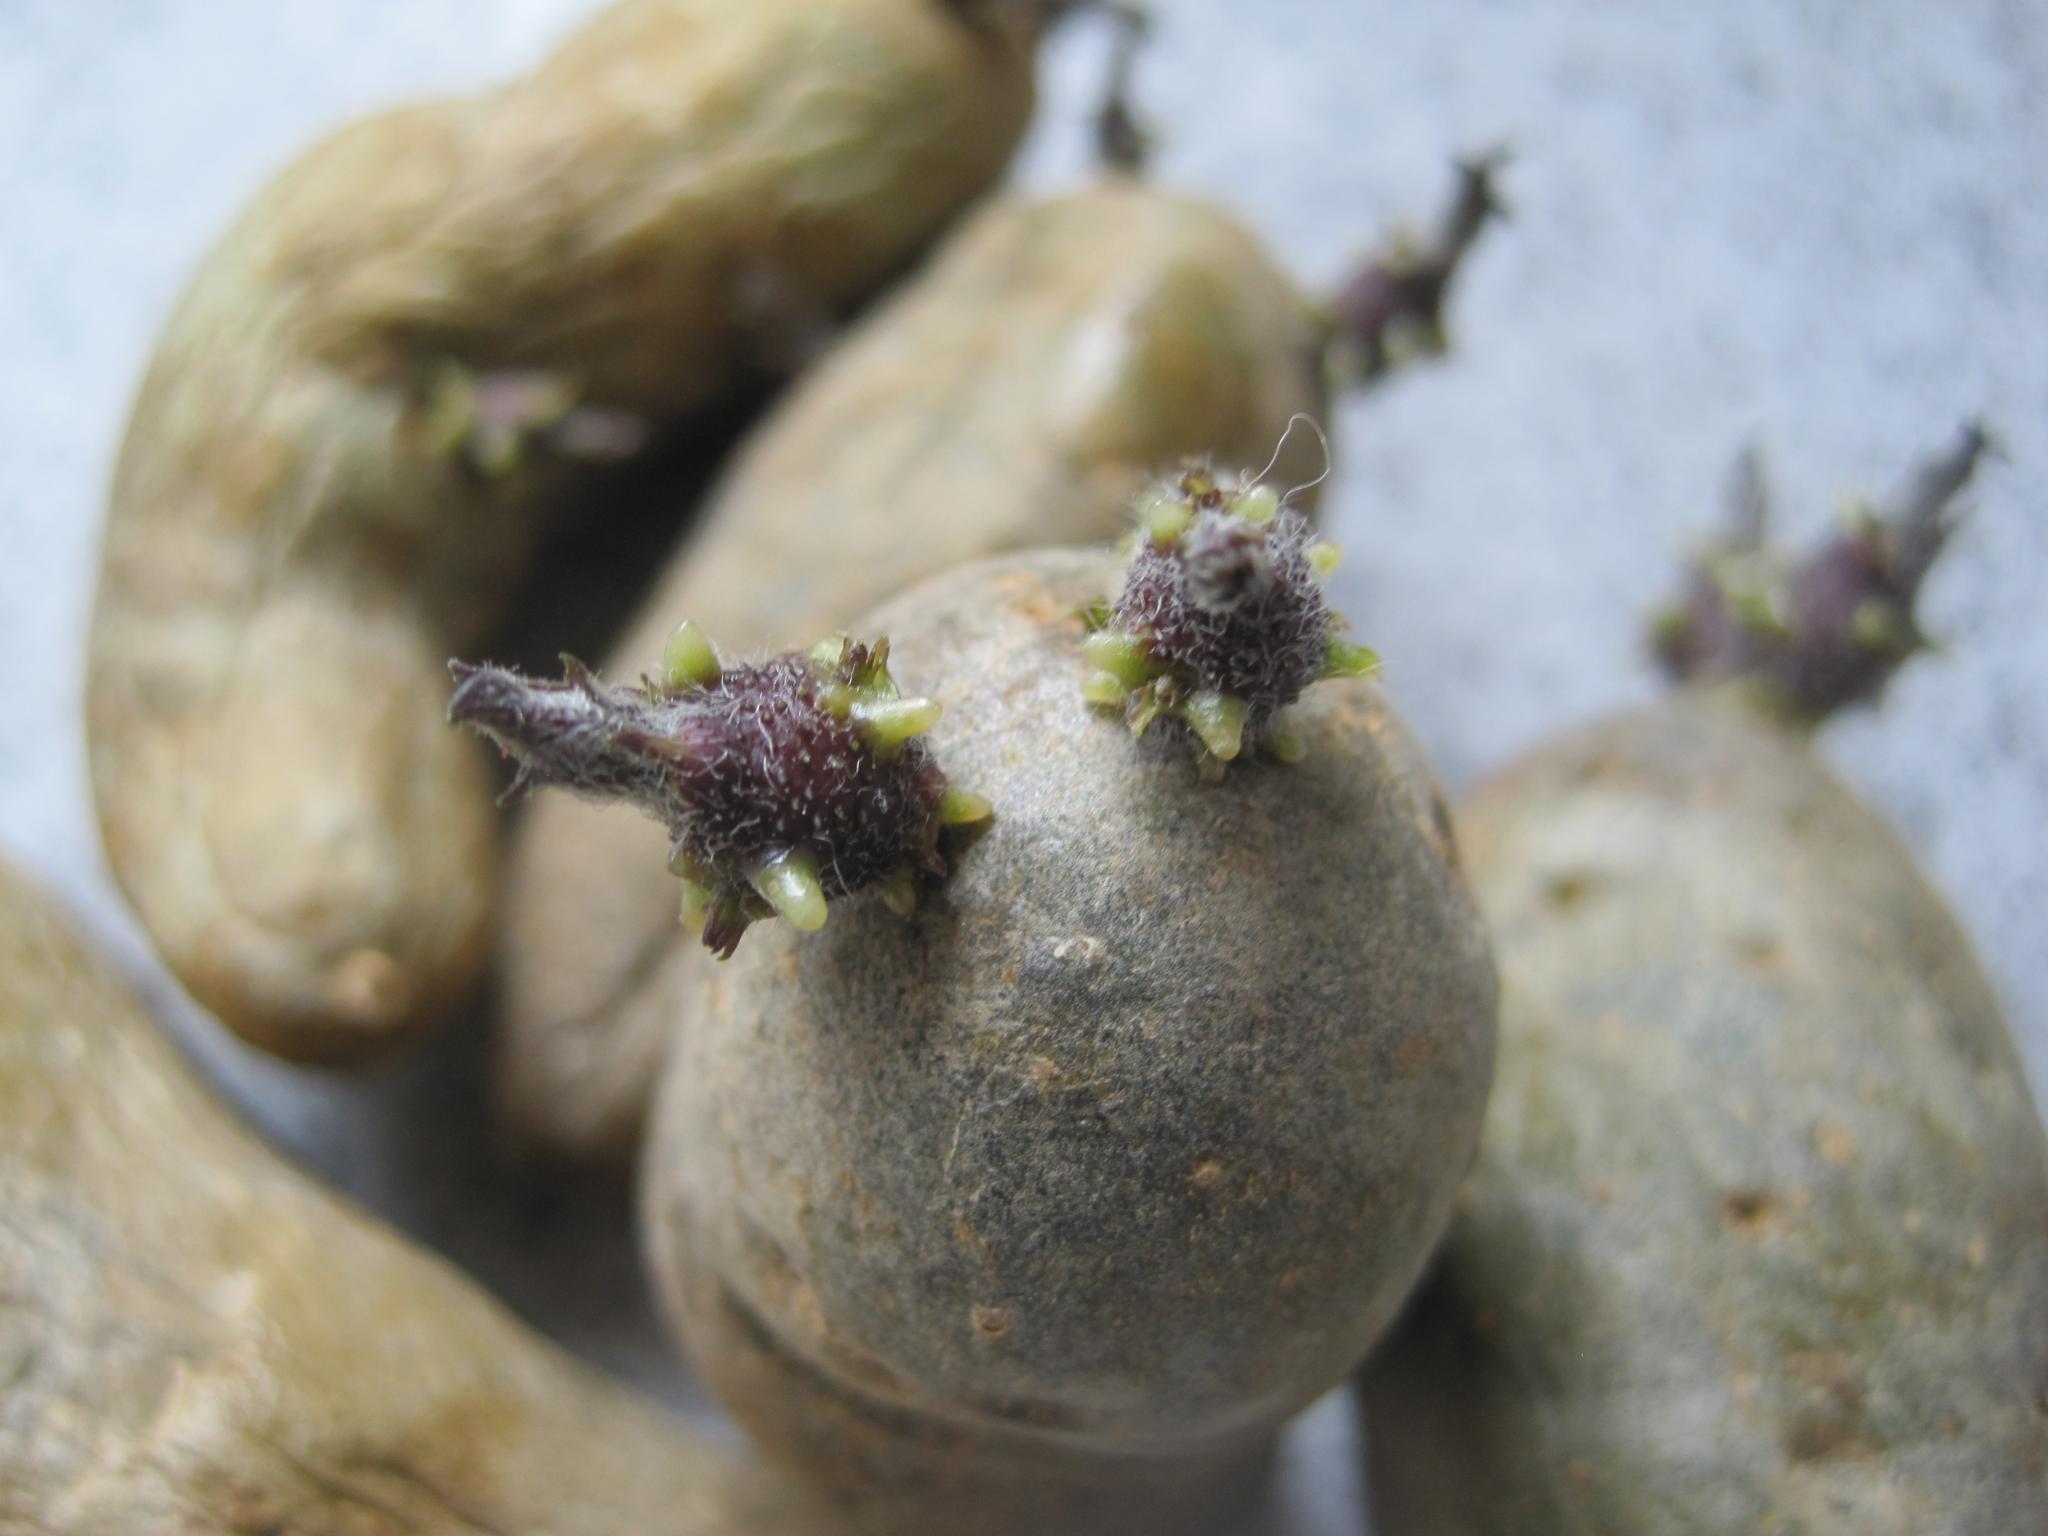
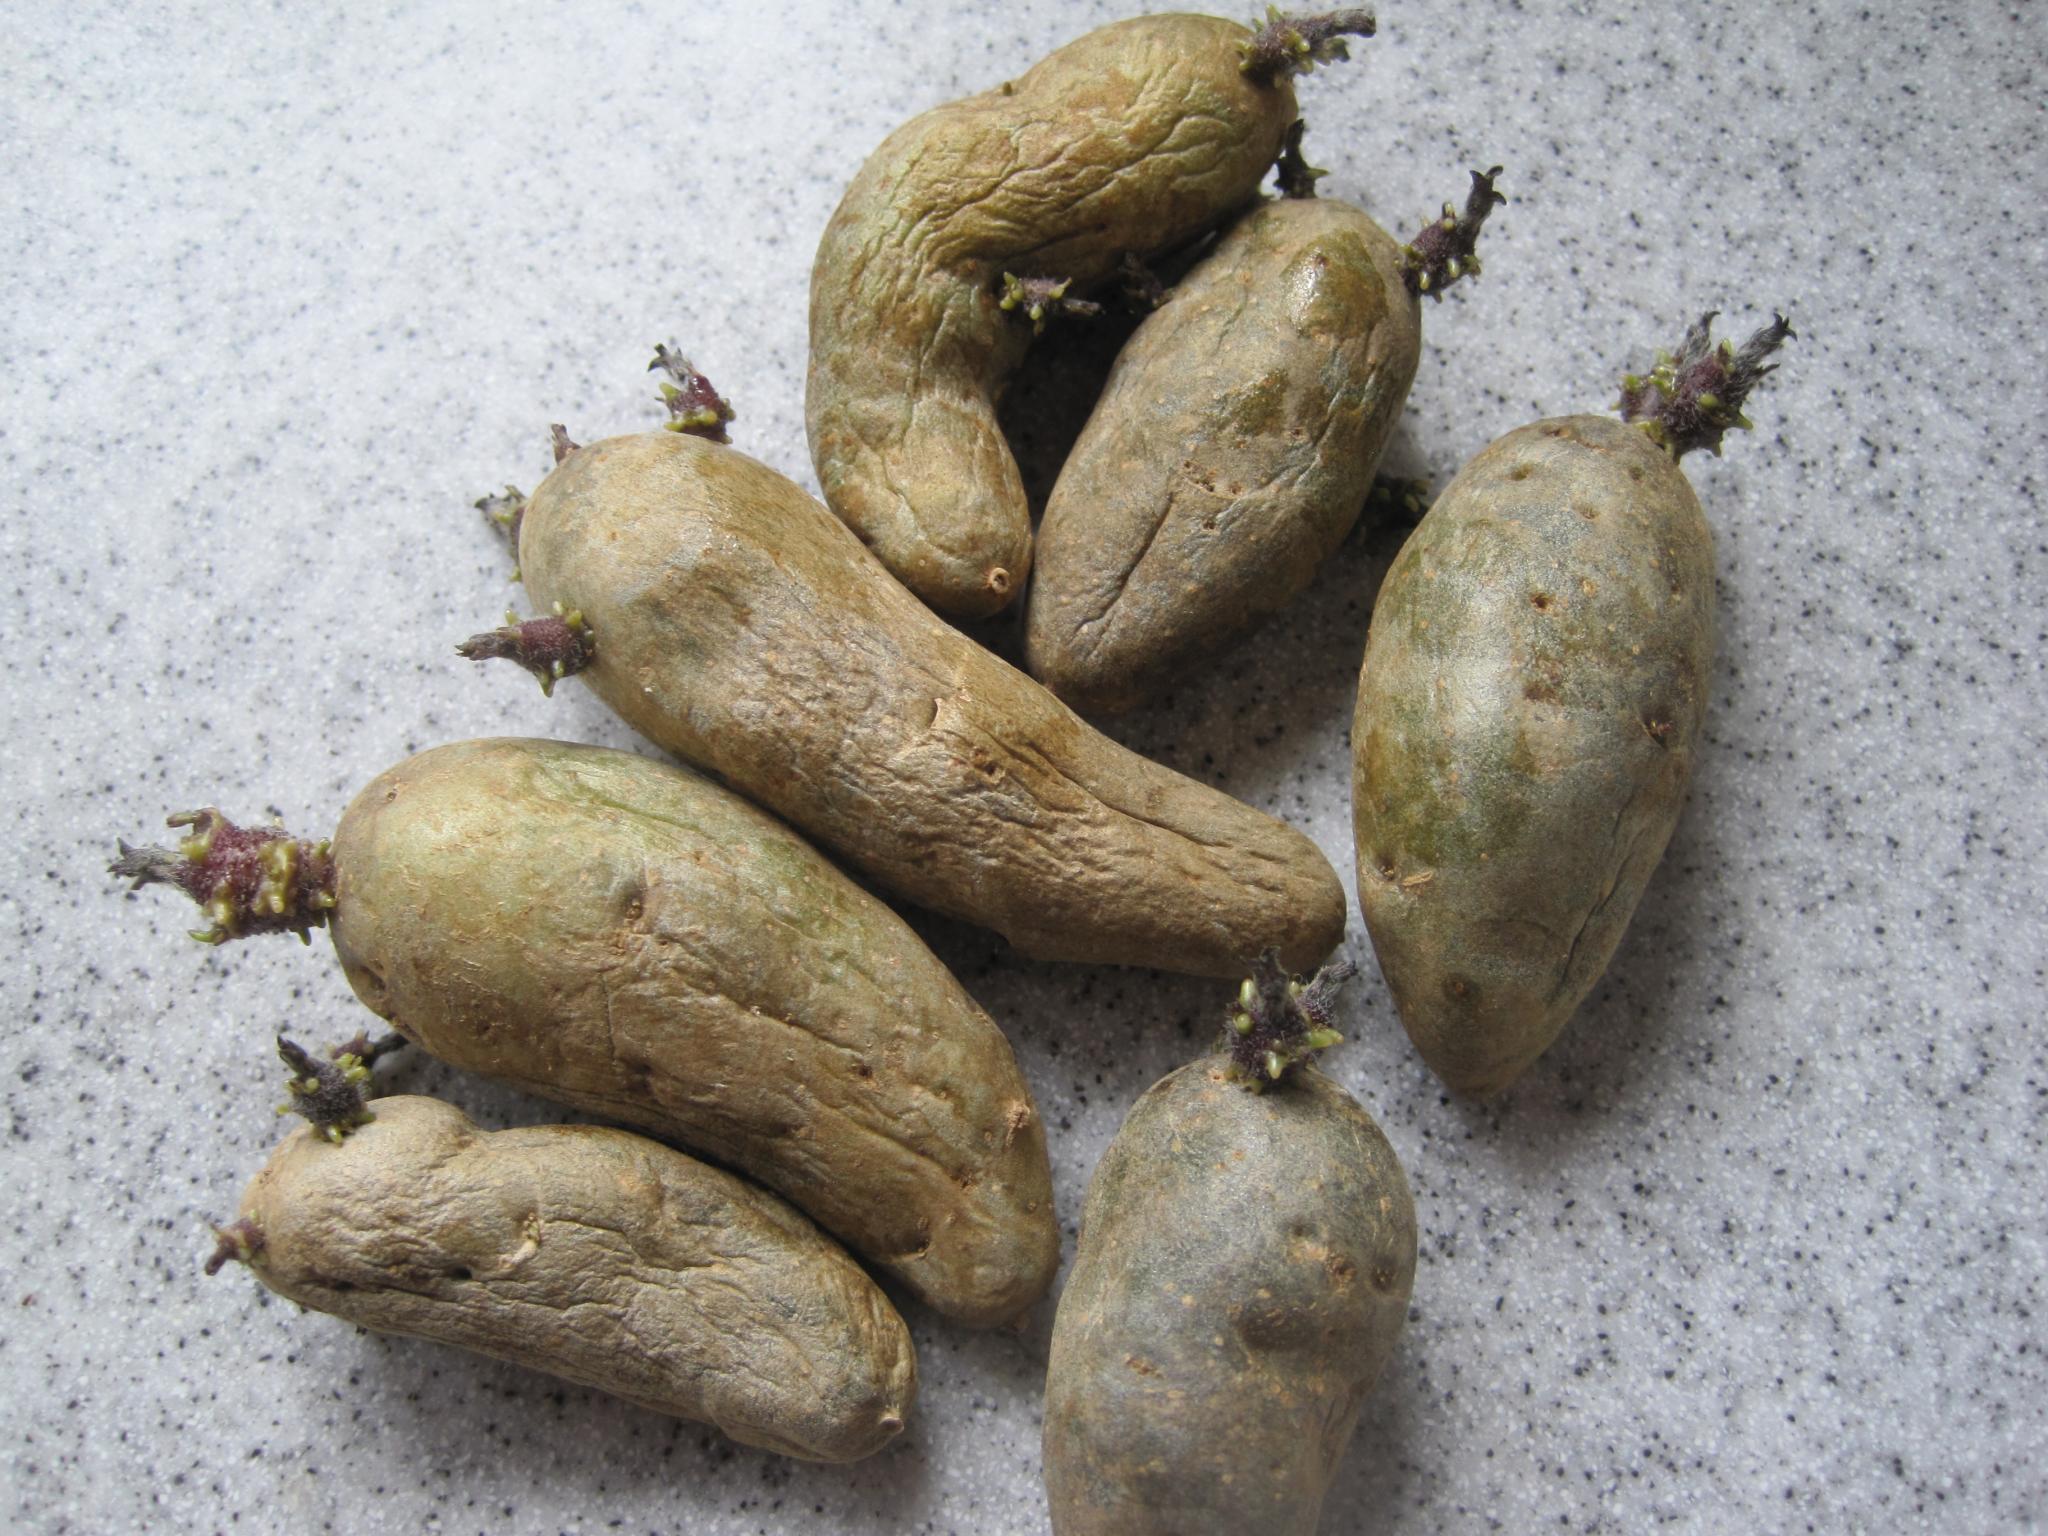
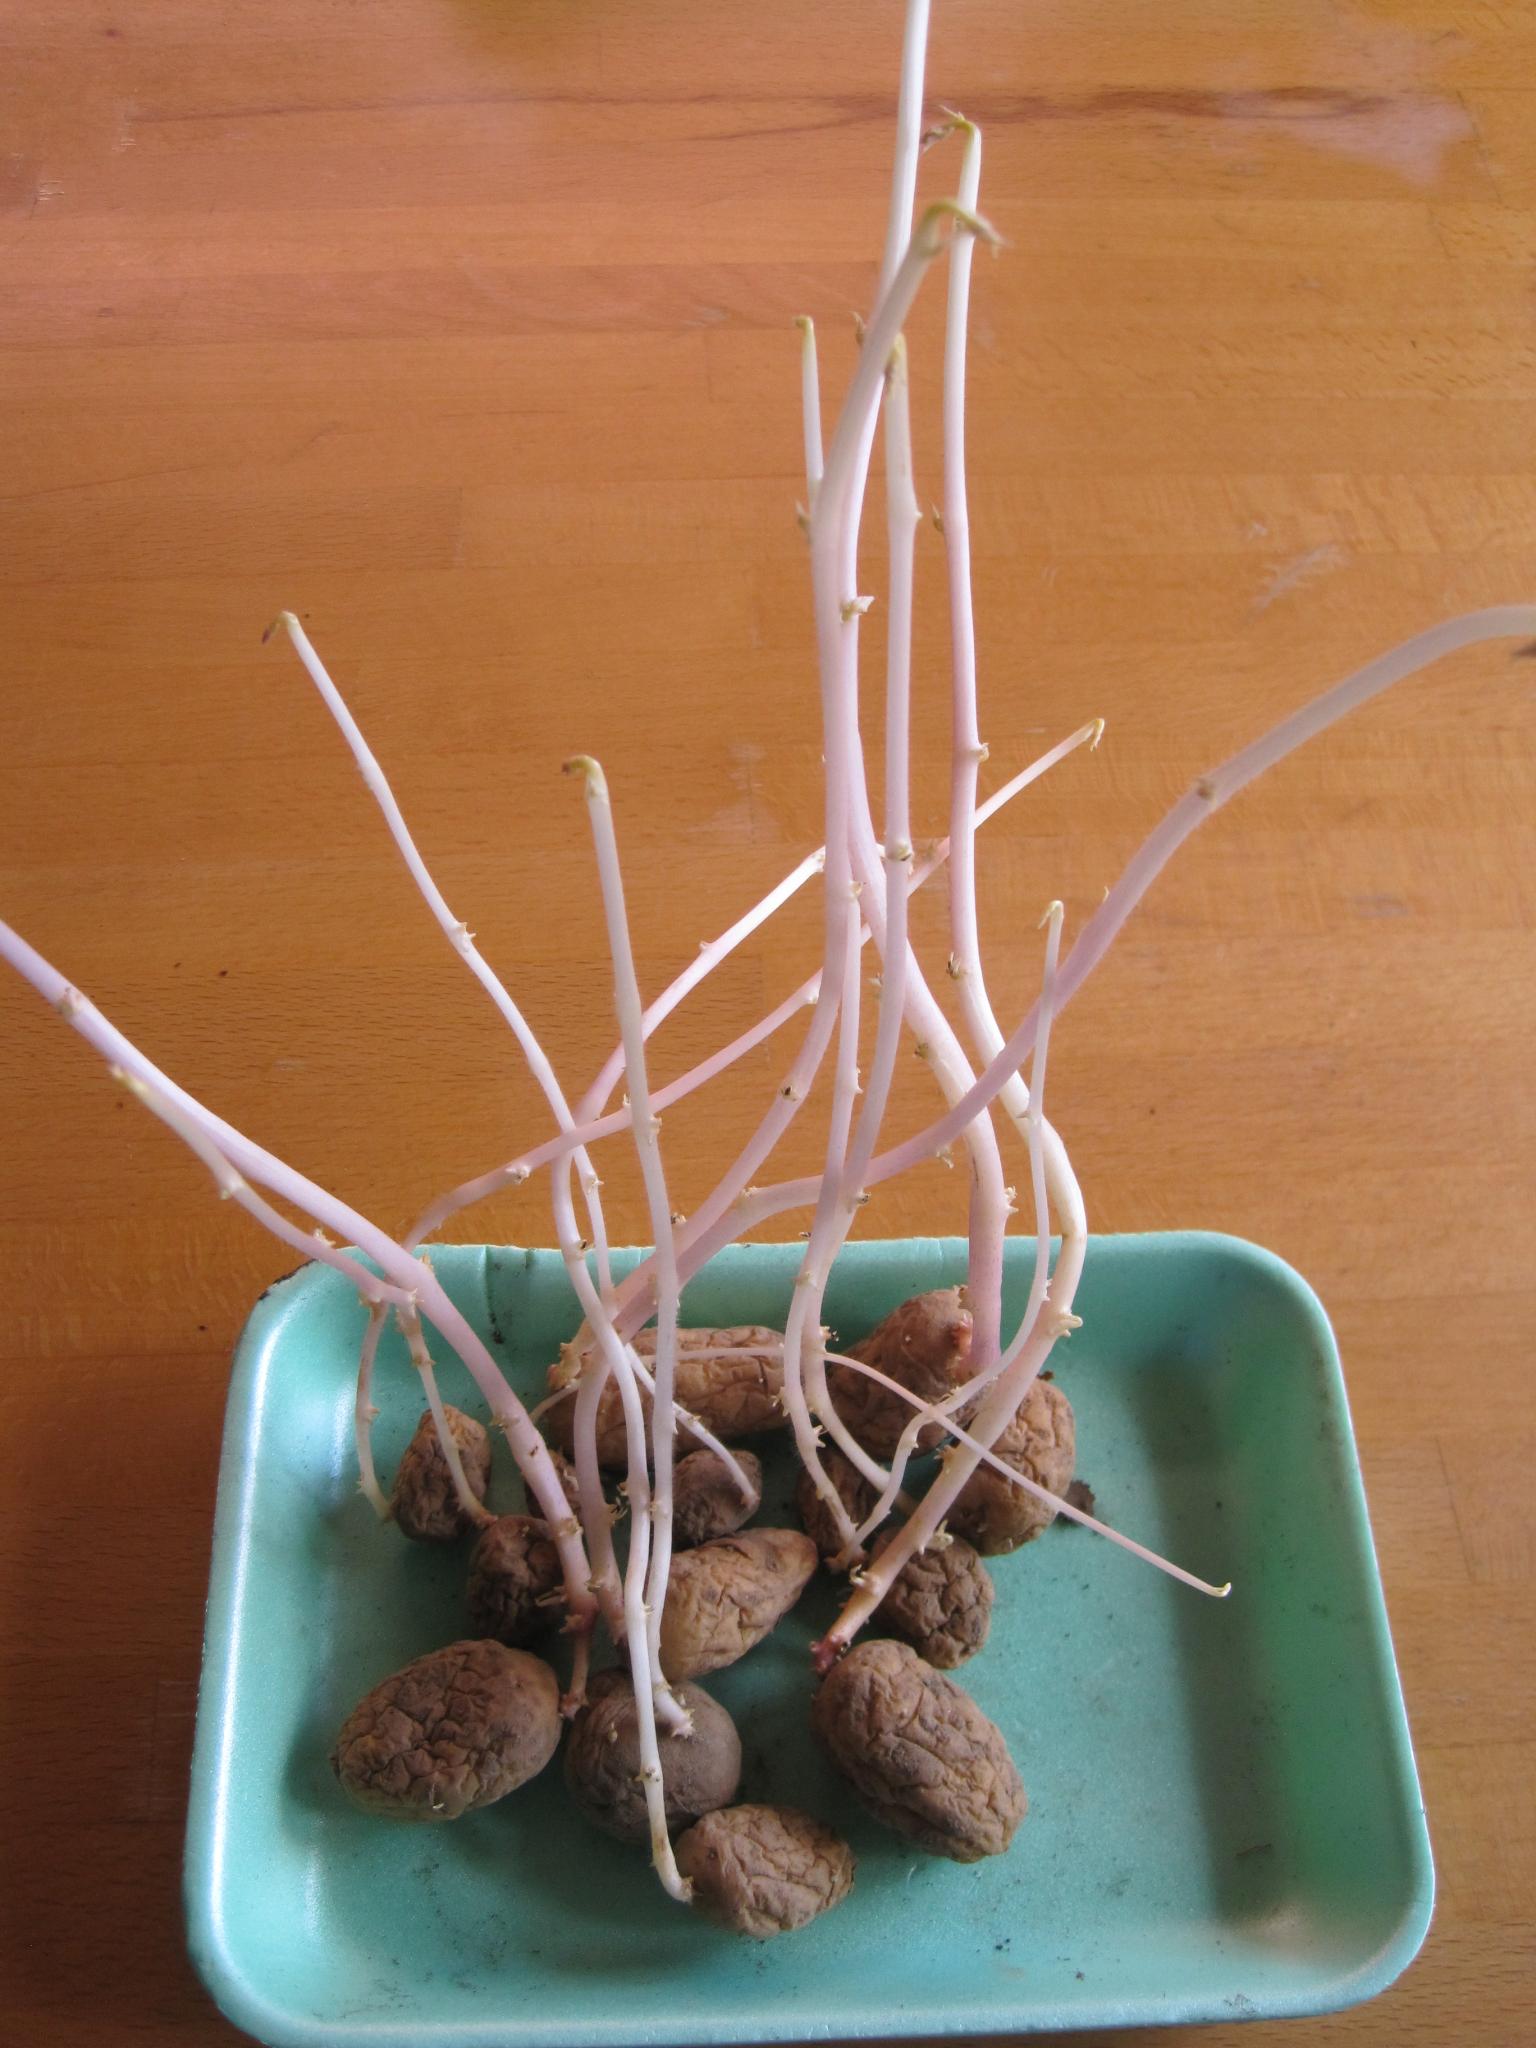
If you live in a cold climate, it may be worth “chitting’ your seed potatoes, which is a way to get them to sprout early. Lay them out in a single layer, so the ends with the most “eyes” (those dimples where the shoots will sprout from) face up. Then just place them in old egg cartons or on a tray and leave them in a cool, bright place until they sprout.
Large seed potatoes can be cut into smaller pieces to make them go further. Make sure each piece has at least two ‘eyes’ and allow the cut to air dry for a day before planting.
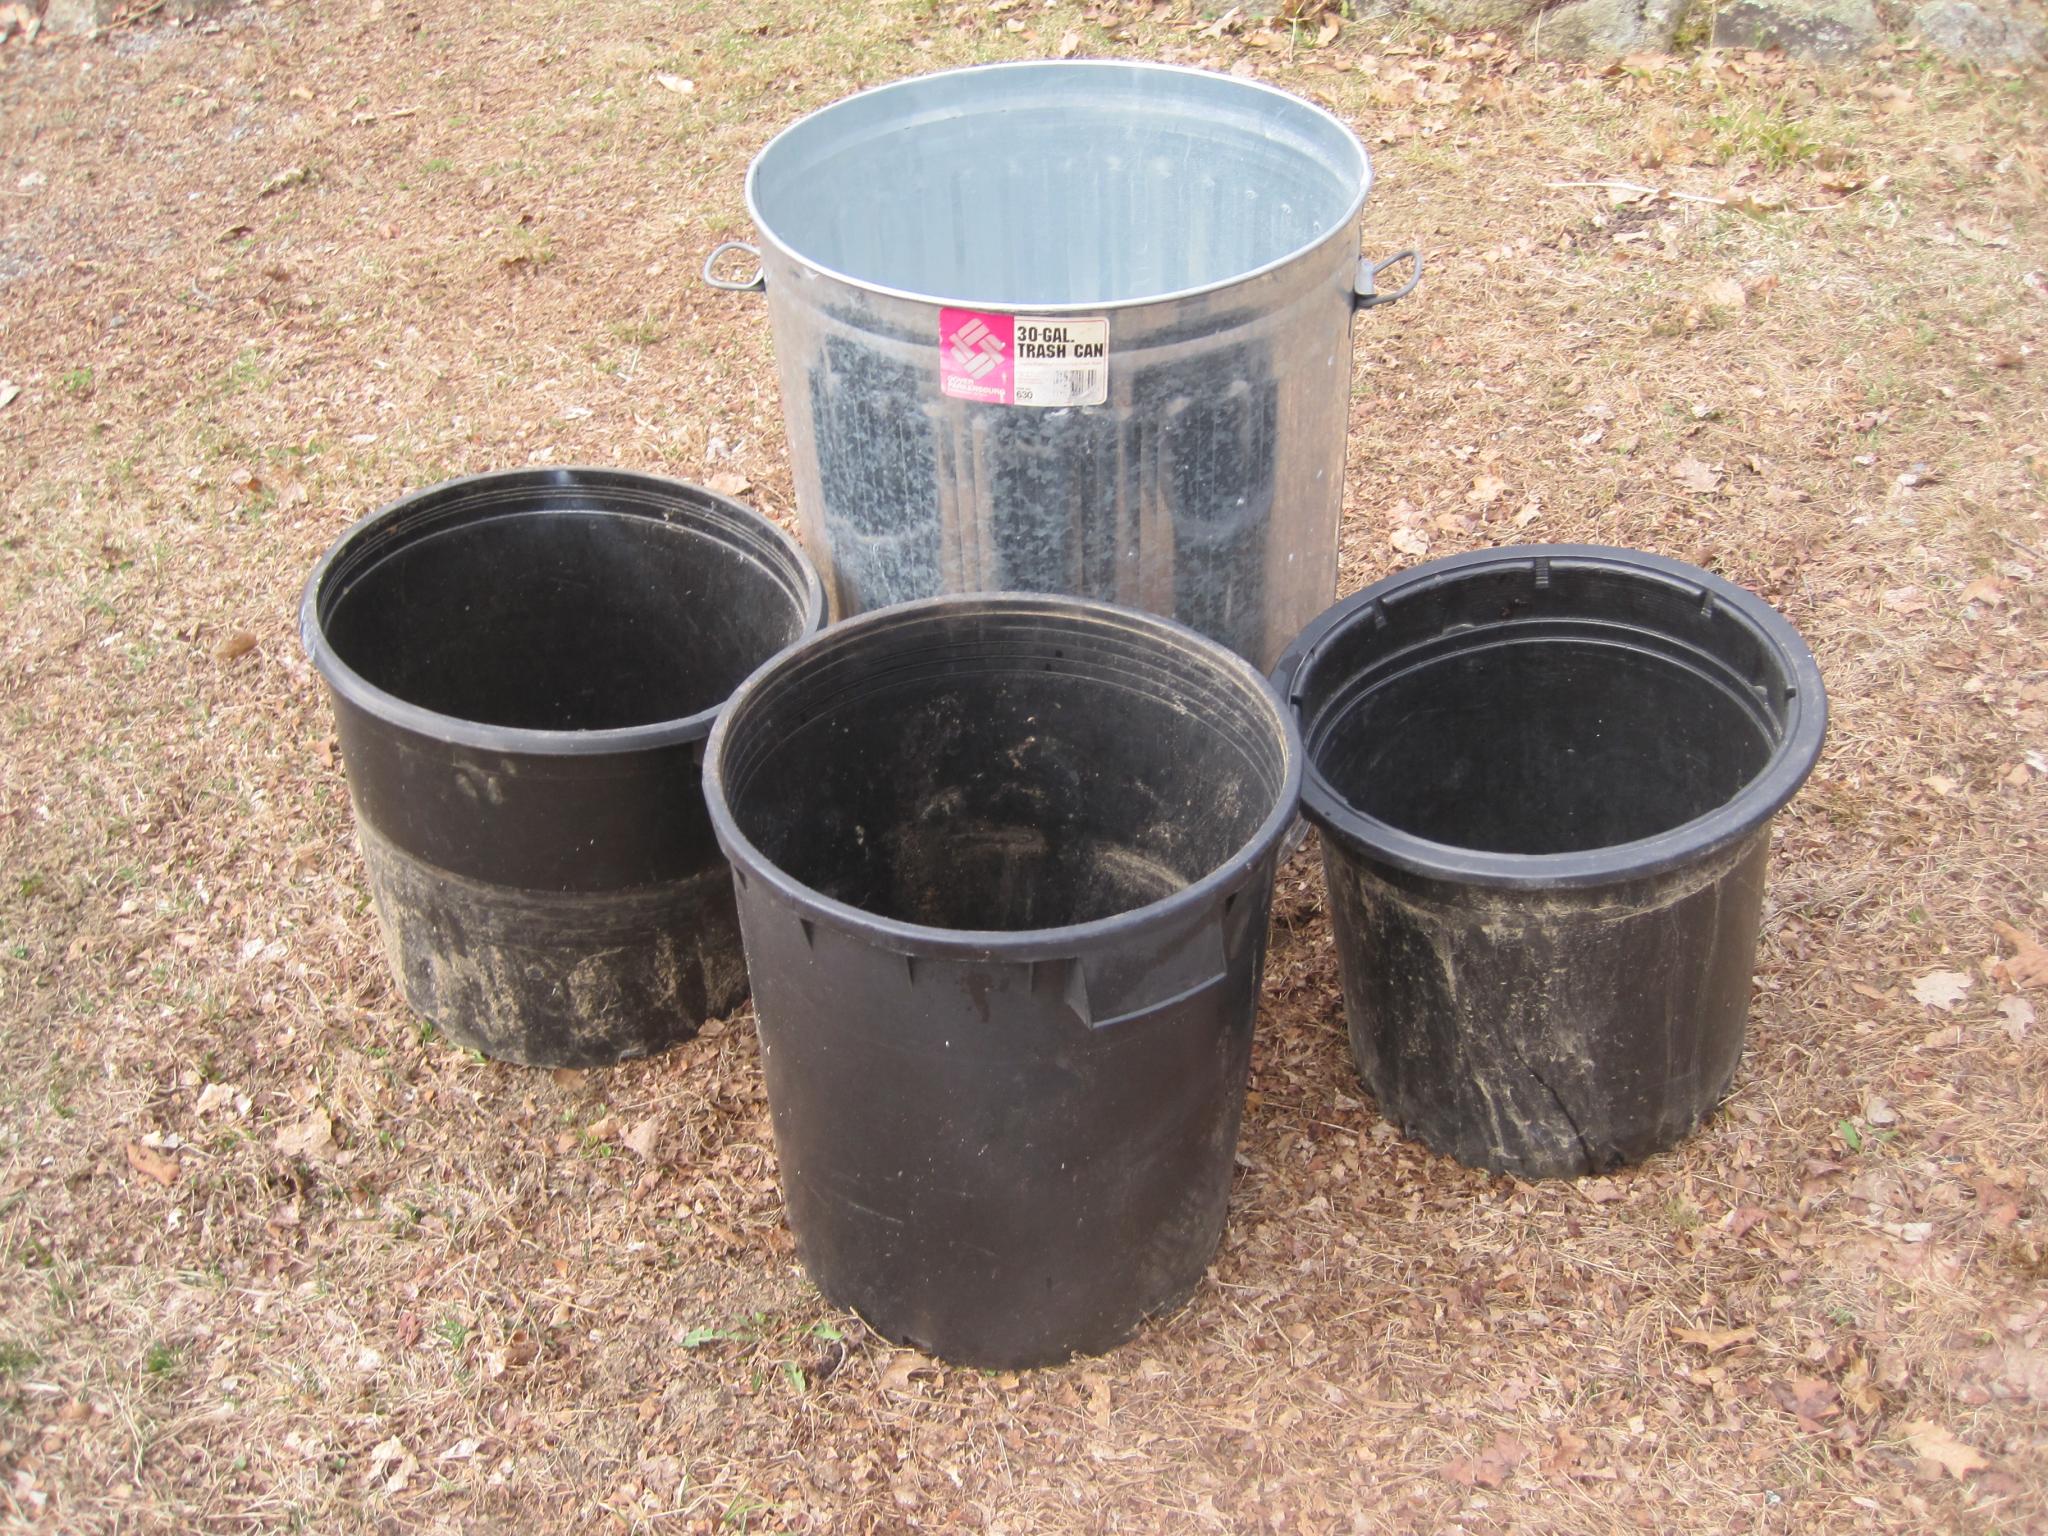
Best Containers for Growing Potatoes
Any large container can be used for growing potatoes as long as it has good drainage and is opaque. Trash cans are great, especially ones on wheels. Just be sure to drill lots of drainage holes in the bottom and a few inches up the sides. See our humorous video showing our former editor planting potatoes in a trash can!
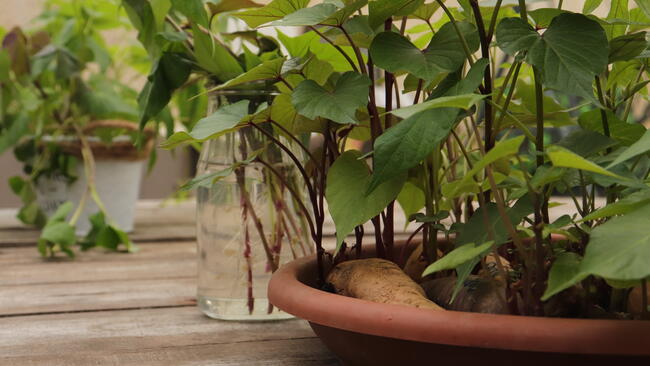
The container needs to be at least 14 inches deep with a 10- to 15-gallon capacity. Avoid getting much larger as it gets difficult to water evenly. You’ll need 5 gallons of soil volume for each plant. If your container has a diameter of 20 inches, you can fit four plants.
Below are grow bags being marketed specifically for growing potatoes; they’re a little pricey, but you can create a similar thing from a plastic “burlap” bag or by using landscape fabric to form a container.

Some folks grow successfully in old tires adding a new tire to the tower as the plants grow. Just beware that tires can leach undesirable chemicals into the soil. Some folks line the tires to avoid this issue.
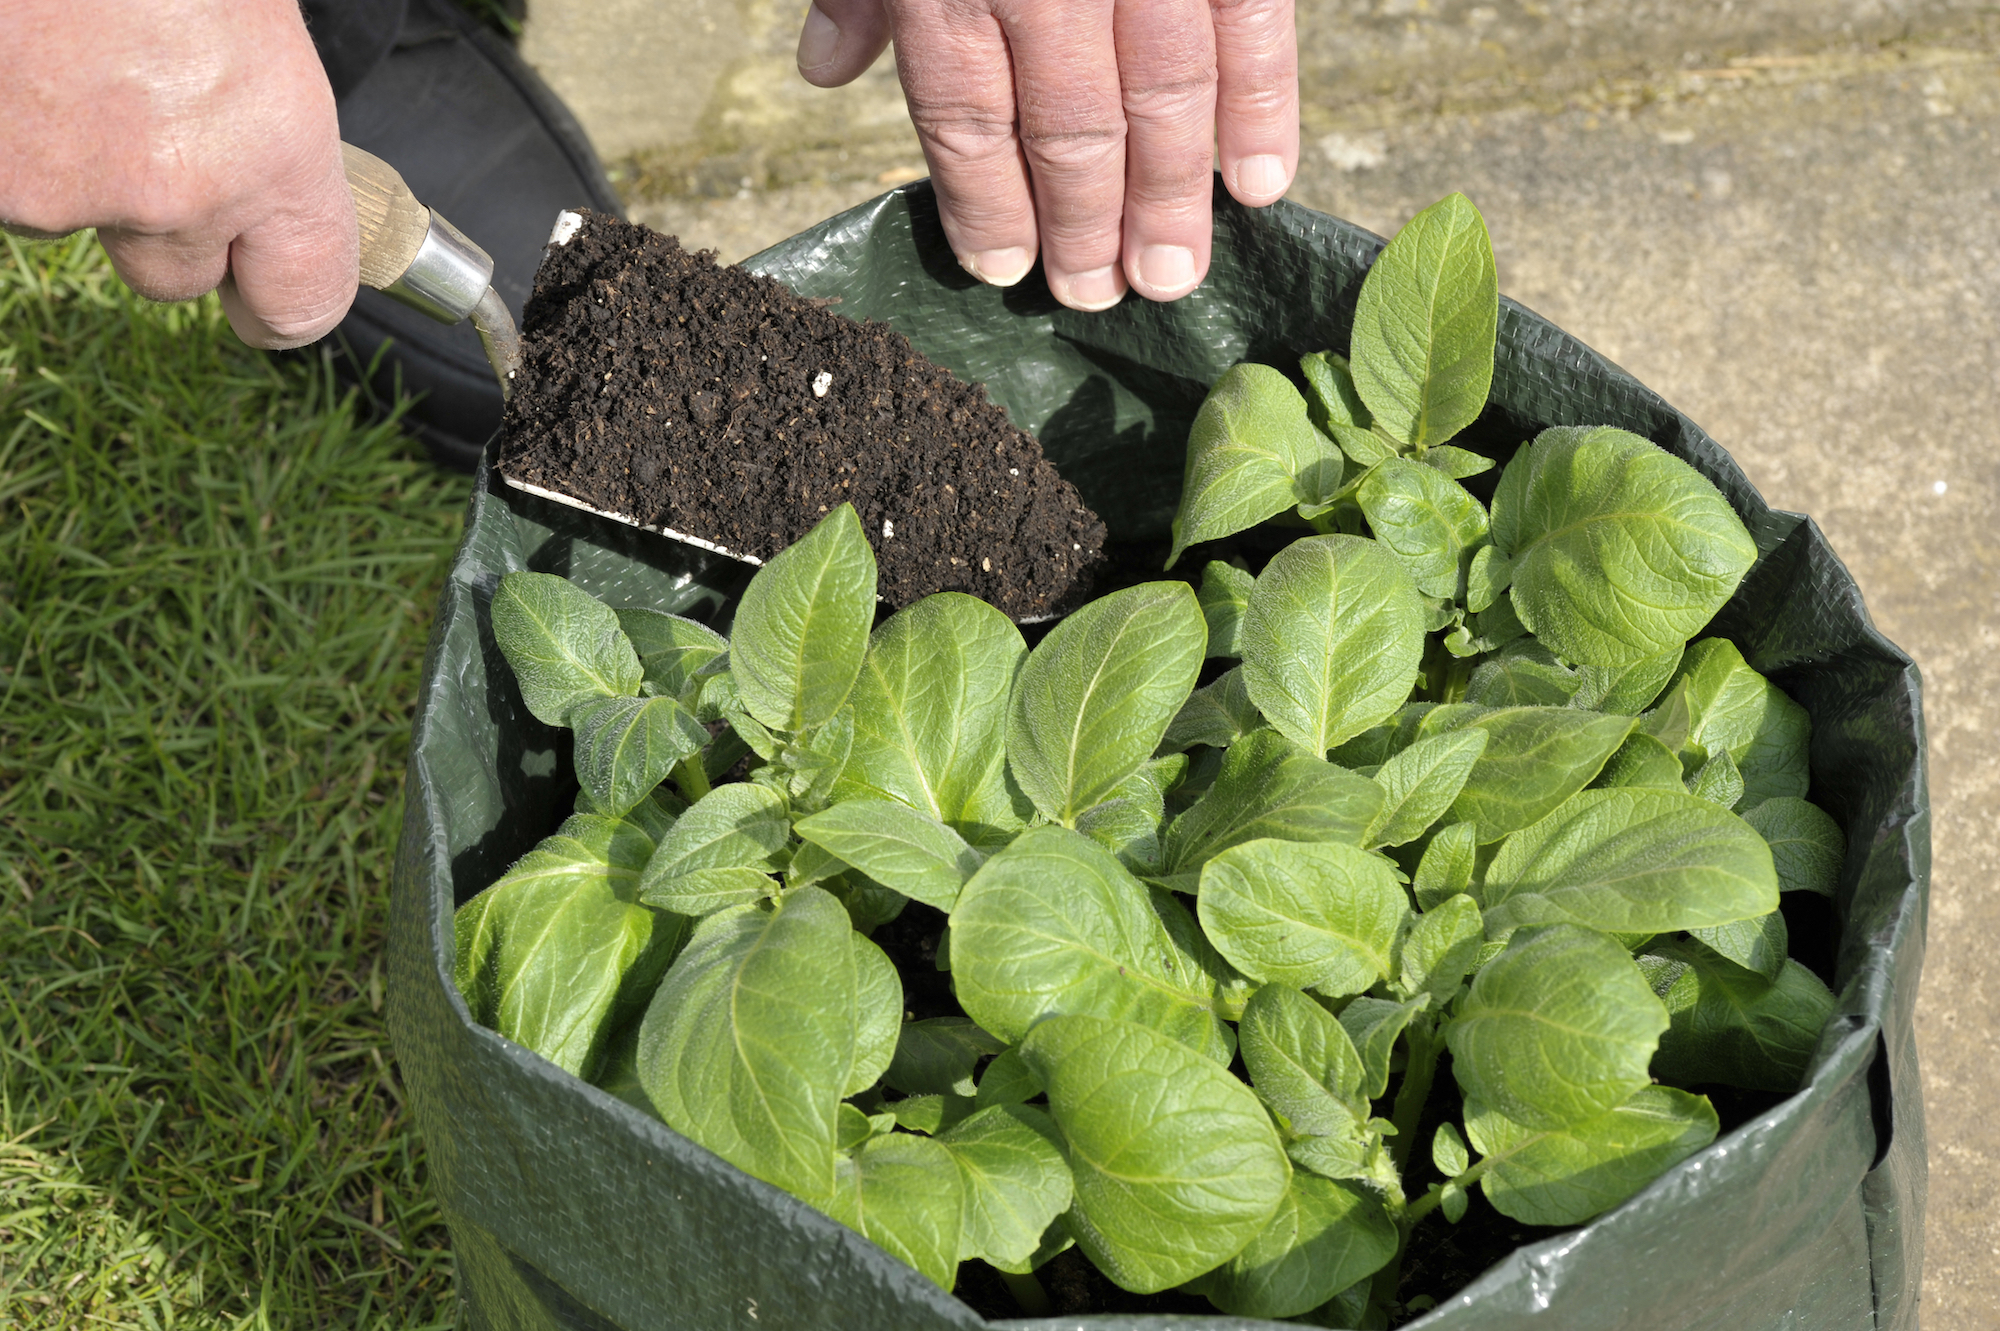
How to Fill Containers
To fill your container, you’ll want to use half “soilless” potting mix and half well-rotted compost to enrich the soil. You can find bags at garden centers. Never use fresh manure.
Also, if you’re planting in a container (rather than the ground), do NOT use soil. It compacts in a container, doesn’t drain well, causes rotting, and often carries weed seeds or disease. Potting mix retains moisture but also drains well; compost adds fertility.
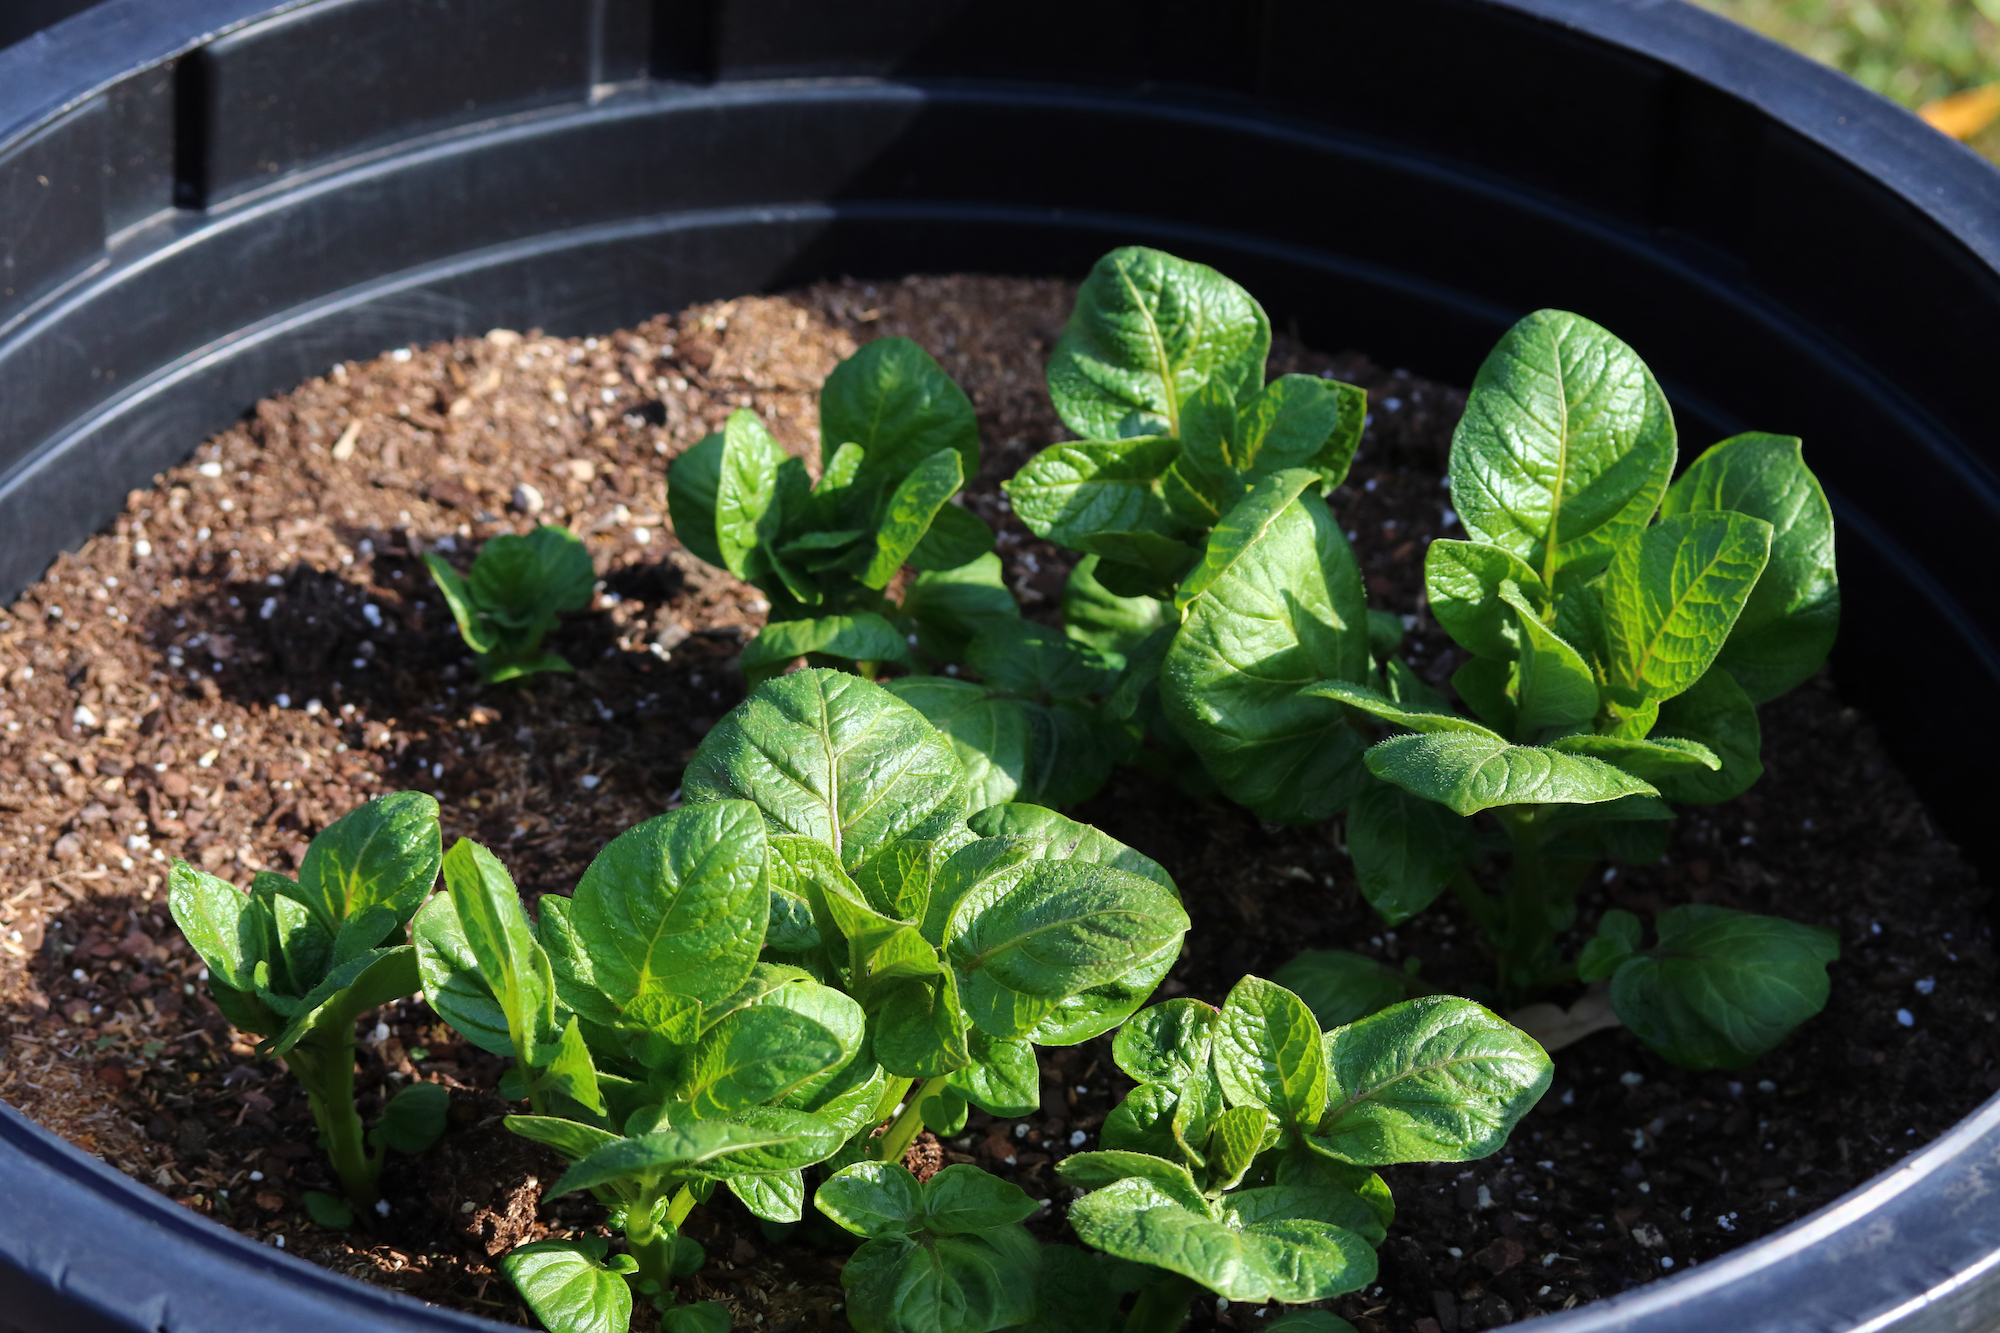
How to Plant Potatoes in Pots
Position your potato pots where they will get 6 to 8 hours of sunshine a day.
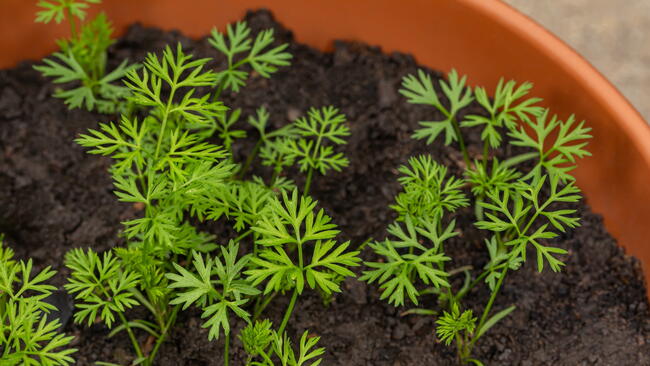
- Fill your container with 4 to 6 inches of soil. Potatoes prefer a slightly acid soil so leave out the lime, which encourages scab.
- Plant each piece and cover with another 2 inches of soil.
- Plant pieces 5 to 6 inches apart and 3 to 4 inches away from the sides of the container.
- As the plants grow, gently add soil around the base of the plants; it is okay to cover some of the leaves as long as the top 2/3 or so of the plant still sticks out of the soil.
It is important to keep the plant stems covered as they grow because your potatoes grow on short runners called stolons that form on the sides of the underground stalk. The longer the stalk, the more potatoes you’ll get, especially if you are growing a late-season variety. If you are using a really big container like a trash can, you can substitute shredded paper, peat moss, or straw for some of the soil to lighten things up; this is important if you are growing on a deck or balcony.
Watering and Feeding Container Potatoes
Fertilize the plants with diluted fish emulsion every 2 weeks or so. Stay away from high-nitrogen fertilizers, which will encourage leafy growth instead of potato formation.
Water whenever the top 1 to 2 inches of potting soil feels dry to the touch, and apply enough water for some to escape out of the bottom drainage holes. The aim is for moist, not soggy.
When and How to Harvest Potatoes in Containers
If you can easily dig around the plants without disturbing the roots too much, you can pick some of these small new potatoes to eat. They’re tender and delicious!
Or, wait until the tops of the plants completely die down in the fall to harvest the full crop, or harvest after the first frost in the fall.
If you wish, gently tip the entire container or trash can onto a tarp, then gently sift through and unearth those treasures. Do this in a shady area, as tubers should not be exposed to light. Don’t be too rough; potatoes can bruise.
Also, do not wash your potatoes until you are ready to eat them or you risk rot. Just brush off most of the soil before storing in a dark, cool place such as a basement or root cellar.
For a minimum amount of effort, you can treat your family to the gourmet delight of home-grown potatoes. Their flavor and texture are far superior to store-bought spuds.
See the Almanac’s complete Guide to Growing Potatoes if you have more questions.
Have you tried growing potatoes in containers? Share your favorite setup in the comments!


Comments