Many readers ask us how to remove grass or clear a weedy space when preparing a new garden plot. We’ll explain methods for removing grass and weeds in the fall and spring—you can turn your lawn into a garden!
Choosing the Best Garden Location
Before you clear your lawn or land for a garden, let’s start with five basics of choosing a good gardening location:
- Most vegetables and flowers need 6 to 8 hours of sunlight a day.
- Avoid land with lots of invasive grasses (such as Johnson grass and invincible Bermuda grass); it will be very difficult to succeed in fully removing everything.
- Choose a level spot. Avoid floodplains or steeply sloped areas, as they can present challenges related to water and access.
- Soil must drain well; if it pools water easily or grass won’t grow there, that’s not a good sign.
- Heavy clay soil will also be challenging; in this case, we would recommend raised bed gardens.
We will break this section into two areas: 1. simply removing lawn grass and weeds for a garden and 2. clearing unused land for a larger-scale garden or small farm.
When to Remove Grass and Weeds
You can do this project in the spring or in the fall.
- The best time in the fall to give your soil time to recover and get nourished by organic amendments (compost) over winter into spring.
- However, if it’s already spring and you want to start a garden immediately, see our “quick version” further down this page.
You can do it all just prior to planting, too, but you may have more weeds pop up over the season.
How to Remove Grass in the Fall
Directly below are three methods to use in the fall. See further below for spring projects.
1. Smothering Method
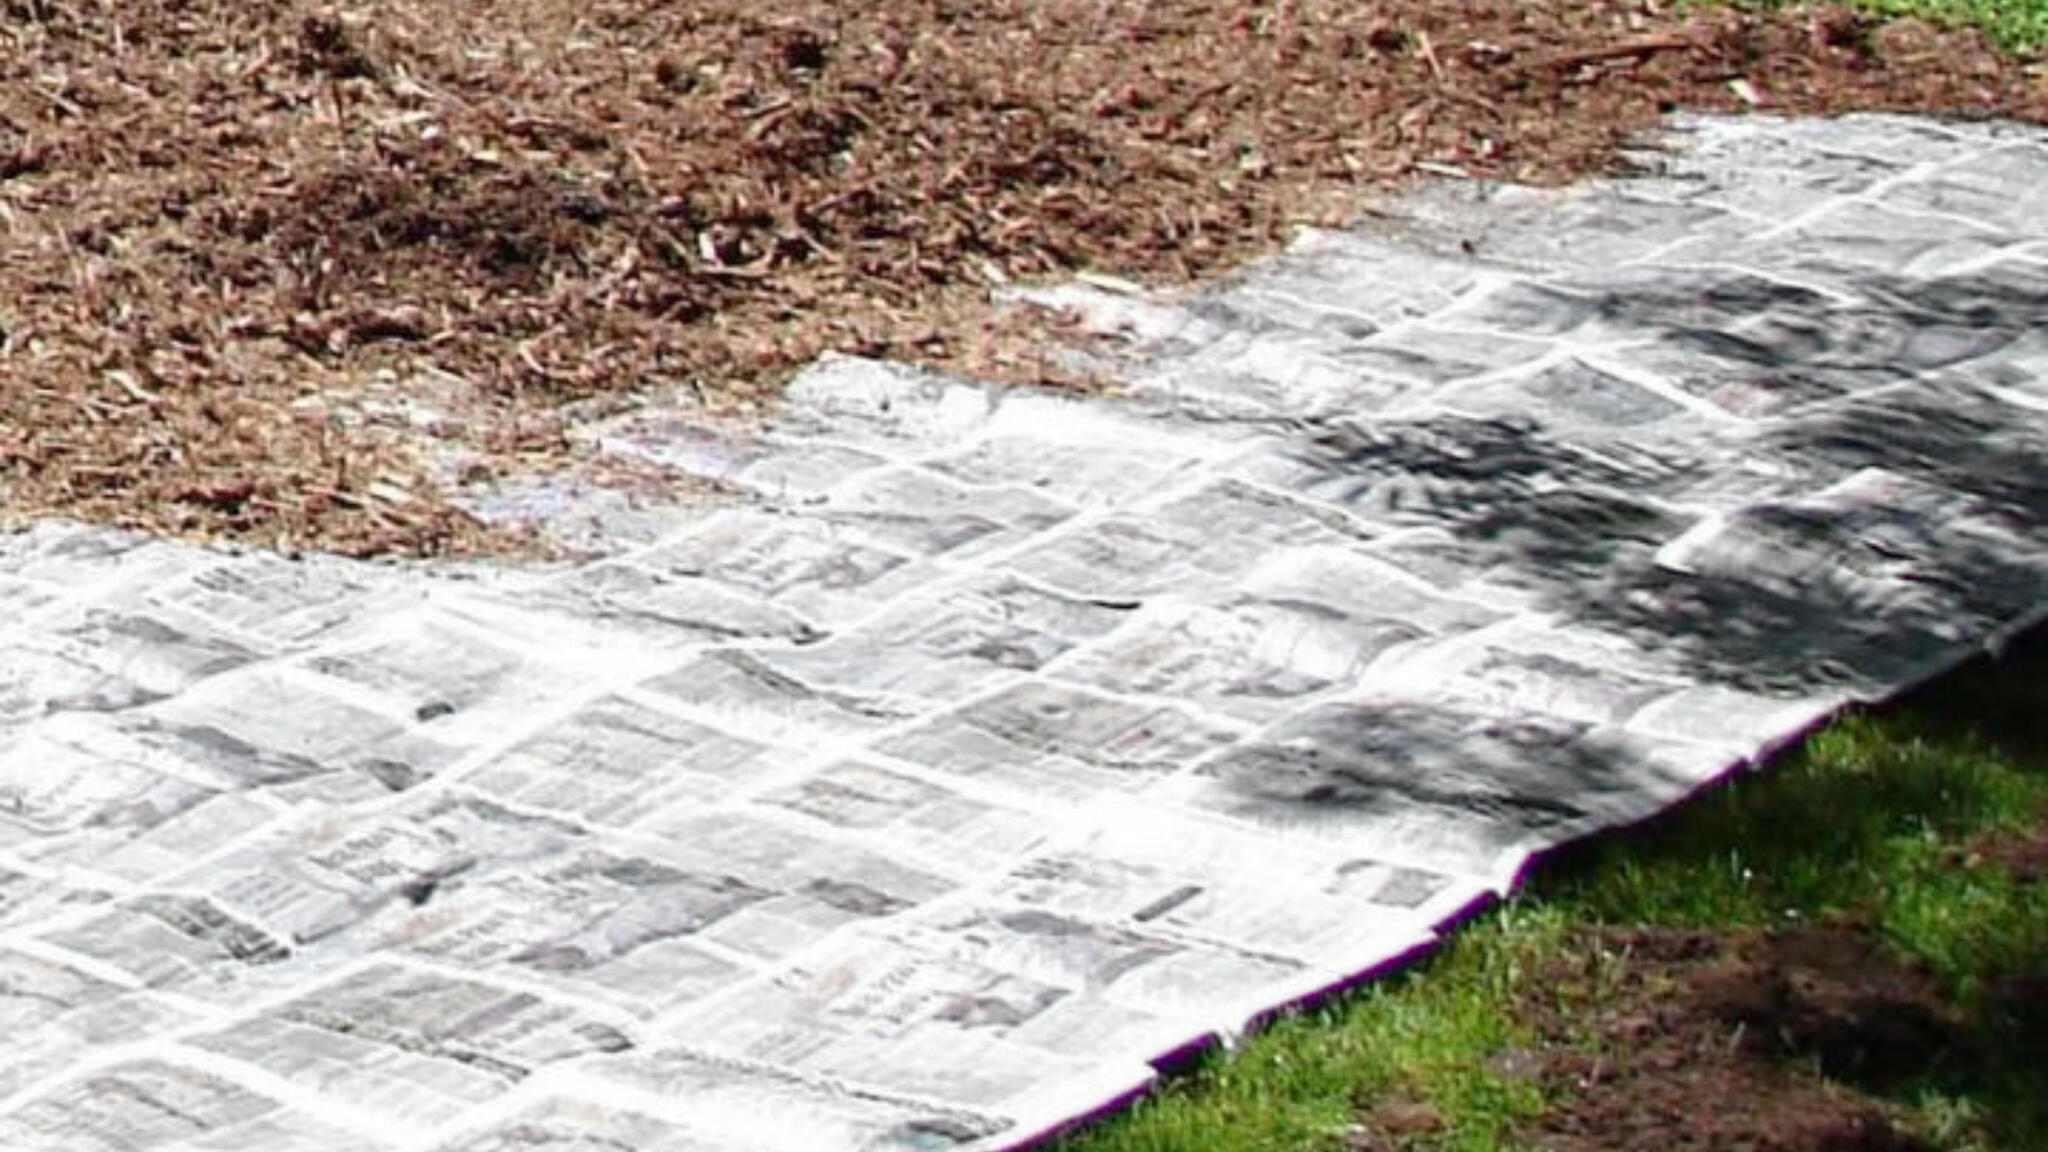
This is the common method, and biodegradable cardboard is used to smother grass and weeds.
- Define your garden bed. Outline the garden’s shape with a hose, string, or rope. A rectangle is easiest.
- Start by clearing the surface of any debris and any rocks larger than a hen’s egg. Mow down grass or cut back weeds to the ground.
- Cover the plot with layers of cardboard or 8 to 10 sheets of newspaper, overlapping the edges by at least 6 inches. If you’re using newspaper, ensure the sheets have black ink only (no color). The cardboard needs to be unwaxed. Mark out paths between the beds using thick cardboard laid with generous overlaps. This will help to kill off the weeds between growing areas. You can cover the cardboard with bark chips or similar later.
- Thoroughly wet the cardboard to help it break down. The cardboard will serve as a further barrier to weeds, exhausting and eventually killing most of them. Once the growing season gets underway, you’ll find that any weeds that manage to make it through will be much easier to remove.
- Now add a thick layer of well-rotted organic matter. Add compost 3 to 4 inches thick over the paper or cardboard to hold it down. Fast-forward a few months, and any grass and weeds below will have rotted down, returning all that wonderful nitrogen back to the soil. Earthworms will work to gradually incorporate the organic matter into the soil below gradually. You’re left with loose, dark, moist soil with no weeds.
If the organic matter in your bed is still lumpy at planting time, start vegetable seedlings off in plug trays or pots to plant out once they’ve grown a sturdy root system. This will also make it easy to space plants out at exactly the right distance, saving you time thinning out rows of seedlings.
See our full video showing you how to create a no-dig garden.

2. Solarization Method
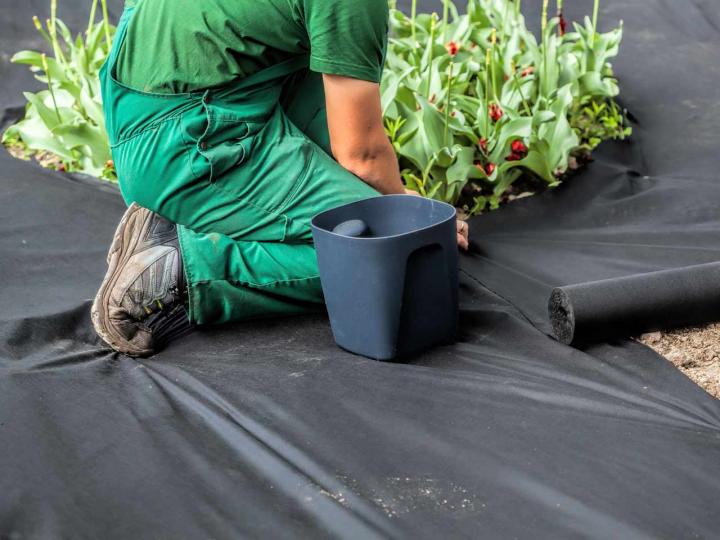
Use the power of the Sun! Cover the area with a clear or black plastic tarp anchored to the ground. For best results, leave the covering in place for several weeks of hot weather. The ground beneath the plastic will heat up to temperatures that will scorch living grass, as well as weeds, seeds, and soil bacteria. Within about 4 weeks, your grass should die and begin to break down. You can then dig the dead grass into the soil, add compost or other soil amendments if you wish, and plant your garden bed.

3. Manual Method
Though this method requires more physical effort, it’s also very effective and quick. Have a sharp spade on hand. Water the lawn a day prior to grass removal. Slice under the sod with the spade and cut it into 1-foot-square sections or manageable pieces. Remove each section by sliding the spade beneath the segment and levering it up and out of the ground. Discard grass, consider adding the pieces to your compost, or using them to patch bare spots elsewhere. Remove any remaining weeds or chop them with a hoe or mattock and rake them up, or use a commercial weed barrier.
Work compost into the soil when you first start a garden. This will improve soil fertility and drainage. Apply a 1- to 2-inch layer of organic material over the garden. Then, level out the soil with a hoe or rake before planting. Do not step on your soil, or it will become compacted.
How to Remove Grass in the Spring
Here is a “quick” method for spring timing that works well for us!
Smothering Technique
Follow the smothering technique above using layered newspaper. This quick technique assumes you have decent soil (versus weedy, neglected, spent soil).
- Soak the newspaper layers with water.
- Place plants at a proper distance (as indicated by your plant labels).
- Cut through the wet newspaper to dig a small planting hole for each.
- Plant and spread excess dirt on paper.
- Cover all newspaper with a few inches of mulch. If you are planting a vegetable patch, covering it with straw (versus mulch) is another option.
If you have clay soil, you can also build raised beds right on the lawn and line the bottoms with cardboard to smother the grass—a technique that makes it possible to fill the beds and start gardening right away.
The next step is to ensure your soil is healthy. See our advice on soil preparation and testing.
Then, There’s the “Back to Eden” Technique
Organic gardener Paul Gautschi popularized the “Back to Eden” method. He uses wood chips to mimic Mother Nature’s infinite ability to recycle nutrients.
- Build a bed with thick layers of newspaper over cleared ground. Wet it down.
- Top with about 4 inches of compost, then add a layer of wood chips about 2 inches deep, taking care not to mix the two layers.
- Then, push aside the wood chips to plant into the compost beneath.
Of course, you could use other materials, such as leaf mold or hay, in place of wood chips. The secret of this top layer is to slow down evaporation and constantly feed the soil below so that no additional fertilizers are ever required.

A Word on Soil Testing
Before starting a new plot, one important step is to test your soil. Not only do you want to ensure a lack of chemicals in the ground, but you also need to know if your soil is deficient in essential nutrients or if your soil’s pH (acidity or alkalinity) isn’t in the right range for growing. Otherwise, all of this work could lead to disappointment.
We recommend contacting your state’s local cooperative extension for a soil test (usually free or very low cost). Test results will tell you which amendments you must add to your soil to grow healthy vegetables and flowers. For example, soil pH is adjusted by adding ground limestone or sulfur. See how to take a soil test.
Clearing a Field or Land for Crops
If you’re reclaiming a large piece of property, especially one that has been neglected or weedy (weeds indicate neglect), here’s how to clear the land.
- The first job is to cut brush and small trees back to the fence line. Even if you can’t do anything else right away, do this before the trees get the soil acclimated for the pine cycle that will follow. Each bush and tree is part of the cycle and prepares the soil for the next stage. Catching it before the soil has changed significantly is half the battle.
- Using a heavy-duty pair of lopping shears, cut small growth straight across and as close to the ground as possible. A sharply cut sapling stub will go straight through a tractor tire or the sole of a shoe. Larger saplings and tree stumps will have to be pulled out.
- Walk the area and mark the location of any rocks. The larger rocks were most likely plowed around once upon a time, and you may choose to take the route, but it’s best to remove as many rocks as possible.
- To see how big a rock is, hit it with a crowbar. If it makes a high-pitched *DING*, that normally indicates a larger rock that needs to be dug or pulled out; if it makes a duller sound, it is probably removable with a normal shovel or even your bare hands.
Restoring Your Soil
- To stimulate the soil, plant manure crops or “cover crops.” Even if you don’t use them for food or forage, they help restore the soil to make it better suited for crop growing.
- Rye is the best-known green manure crop. Others that enrich the soil include alfalfa, clover, cowpeas, mustard, oats, timothy, and winter peas.
- The legumes return nitrogen to the soil along with organic material and are a good choice for long-term soil development. Winter rye is good to plant in the fall and plow 2 to 4 weeks before spring planting. White clover is good for bees if you let it flower before plowing under. Alfalfa is expensive to plant, but its deep roots do wonders for your soil. Trefoil is a good choice for wet areas.
- Cowpeas, mung beans, and mustard are good for spring planting. They germinate in cold soil and are planted as soon as the ground thaws. In 4 to 6 weeks, they can be plowed under. These are a good option for preparing a vegetable garden if you can’t get to your land in the fall.
- Allow 2 or 3 weeks between plowing under and planting. A rear-tined rototiller will chop the vegetation well and incorporate it into the soil. The principle of a green manure crop is that as it decays after being plowed under, all the nutrients it uses while growing return to the soil. It also adds vital organic matter, so all soil types, from sand to clay, respond positively to this treatment.
- Unfortunately, the return of organic material to the soil isn’t a one-time project. It must be continuous, in the form of planting or fertilizing with compost, leaves, or animal manure, if the decay process is to continue.
Rotation Planting
- Once you’ve fertilized your field (each year’s mulch plowed under helps, so do shredded leaves), you can improve it by rotation planting. This means dividing your land or garden into several areas and planting different things, changing them each year. Alfalfa, corn, and wheat are good choices to rotate. Even if you don’t use the crops for food, your soil will be improving instead of deteriorating.
That’s about all you can do in your first year. Repeated each year, however, this process will turn even solid clay or sand into a fine garden in about 5 to 6 years. If that seems like forever, don’t worry about it! That doesn’t mean you have to wait that long to harvest vegetables. Most gardens grow under less than optimum conditions, and the harvest still turns out great! Your garden will be easier to care for and more productive each year.
Do you have any tips or tricks for removing grass to make a garden bed? What is your favorite method? Tell us in the comments!


Comments