
Cold frames let you extend the growing season by protecting tender vegetables from frost. We’ll show you how to make a simple cold frame and use it to protect your plants this season.
What Are Cold Frames?
At their simplest, cold frames are bottomless boxes that are set over plants in the garden to protect them from cold weather. They are usually built low to the ground and have a transparent roof to let in light.
Why Use a Cold Frame?
Cold frames protect plants from strong winds and cold temperatures. Gardeners use cold frames to extend their gardening season—both in the autumn to protect plants for a few more weeks and in the spring to get a jumpstart on sowing seeds. Cold frames can also be used to “harden off” seedlings that were started indoors.
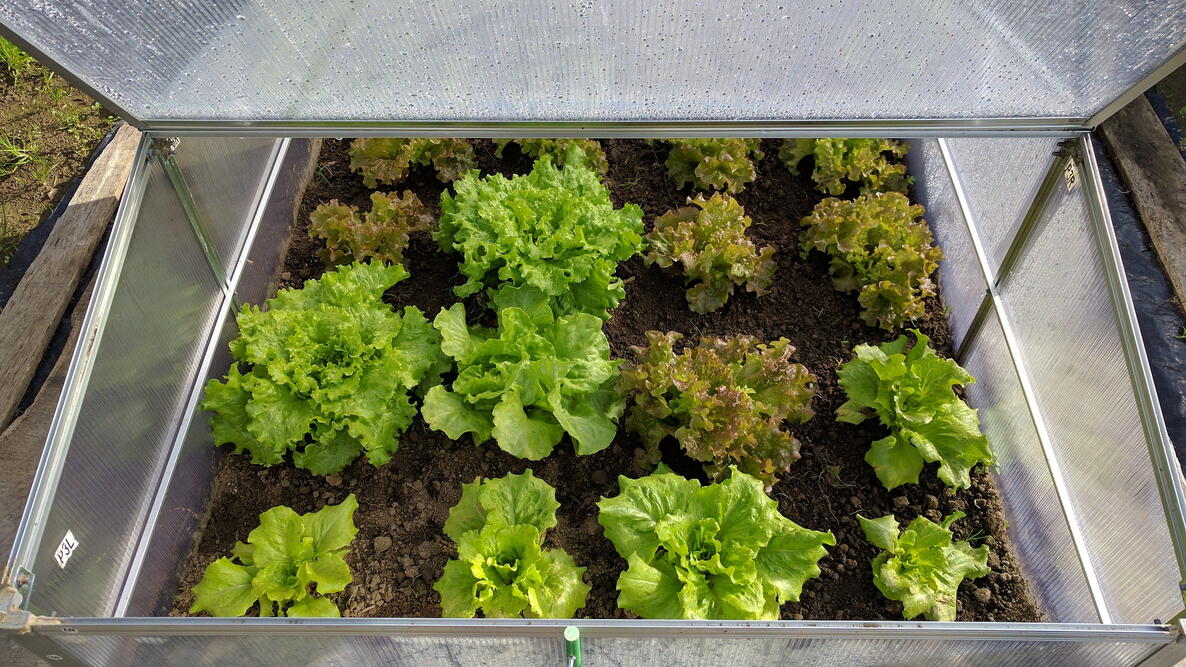
- Try sowing seeds of crops such as radish, lettuce, endive, and scallions directly in the frame for an early or late harvest.
- You can even raise them there all summer as long as the cover is removed when warm weather arrives.
- Consider growing winter lettuces or other salad greens, like spinach or kale.
How to Make a Cold Frame
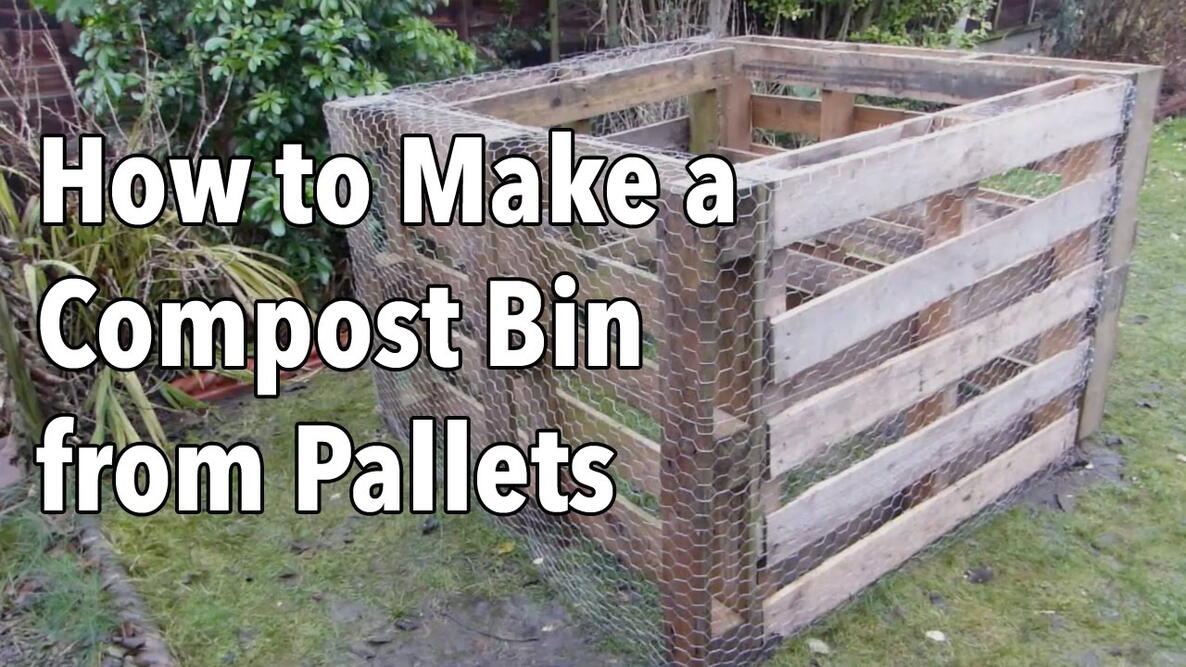
Cold frames can be bought or constructed from timber and plastic, but concrete blocks or bricks can also be used. You can even construct a simple, bottomless wooden box and set it in the garden or atop other good soil in a sunny location. Watch our video, below, for step-by-step building instructions!
Cold Frame Materials
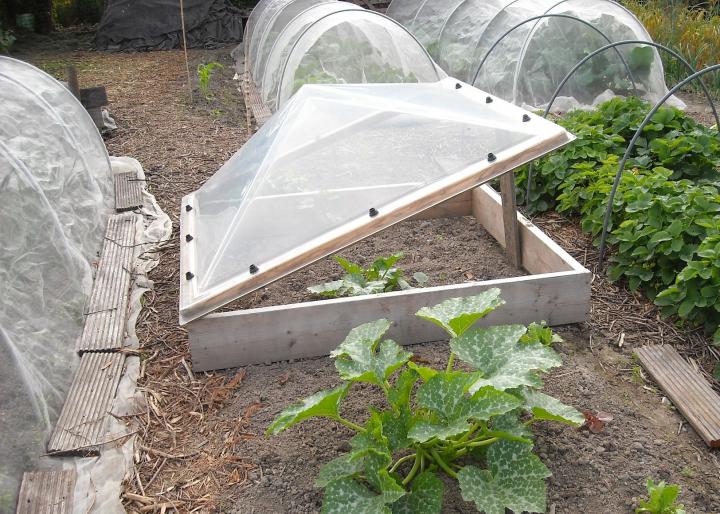
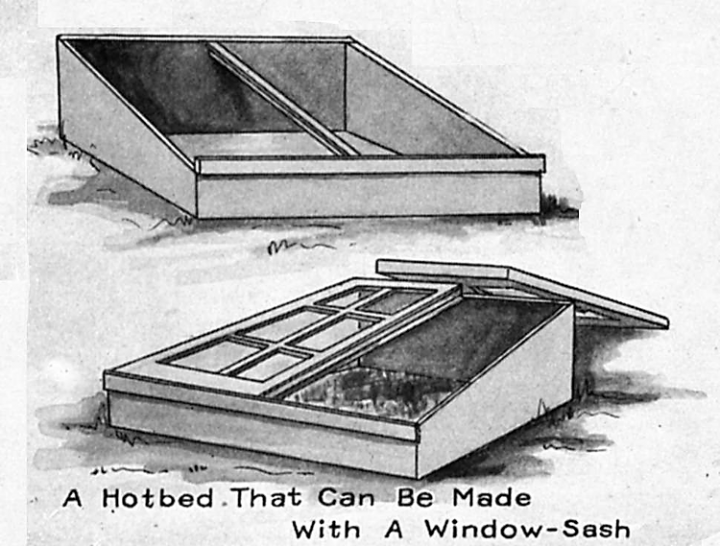
Start by sourcing your lid. A salvaged window or windows is the usual choice, but a clear door, such as a shower door, will also work well. You’ll also need some strong hinges to fix the lid to the wooden frame.
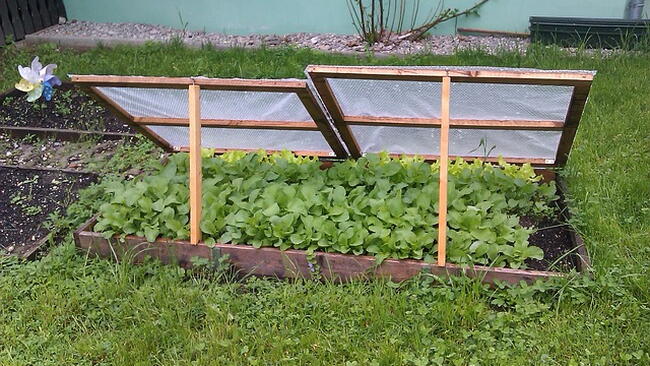
Source some lengths of pressure-treated lumber and cut them to match the dimensions of your lid or lids. In our project, we’re using three boards at the front, then four at the back. Making a slope like this will let in the maximum amount of sunlight. Seven shorter boards are used for the frame’s sides. The seventh length is cut in half diagonally to give two identical triangular boards—one for each side, to match the slope.
All of the boards will need to be screwed to four corner posts. To prop open the lids on sunny days, you’ll also need two battens, one short and one longer.
To put the frame together, you will need some wood screws, a drill, and a screwdriver.
How to Build a Cold Frame: Step-by-Step
- Screw the sideboards onto their corner posts. Use two screws at both ends of each board. You will find it easier to drill pilot holes before screwing the boards into place.
- Screw the narrow end of the triangular top boards down into the board below.
- Screw the front and back boards to their corner posts.
- Carefully position the lids onto the frame so the lid and frame are flush at the back.
- Screw on your hinges. Longer lids may need several hinges along their length.
- Screw the lid supports into place on the inside of the frame. The short one should go on the front of the frame, and the longer one on the side. They screwed on just loosely enough to enable you to swivel them up to prop open the window.
- You can also screw some handles on the front ends of the lids if necessary.
Cold Frame Building Tips
- Most gardeners use wood to build the frame, since it’s readily available and is easy to cut to the required size using hand tools. If you’re lucky enough to find scraps of hardwood, then use this, as it will last longer than softwood.
- Avoid old wood that’s been treated with creosote or similar non-earth-friendly products, especially if you’ll be positioning the cold frame directly on the soil. The wood can always be painted with a non-toxic paint if you’re worried about it looking scruffy.
- Top the box either with glass (perhaps an old storm window) or a frame covered with clear plastic. Thicker materials will provide more insulation, of course. Old windows and shower doors are classic subjects for this project. Hinge the cover or add a sliding lid so that it may be opened for ventilation on warm days.
- If you have high-sided raised beds, you could add a sheet of glass on top to construct a temporary cold frame.
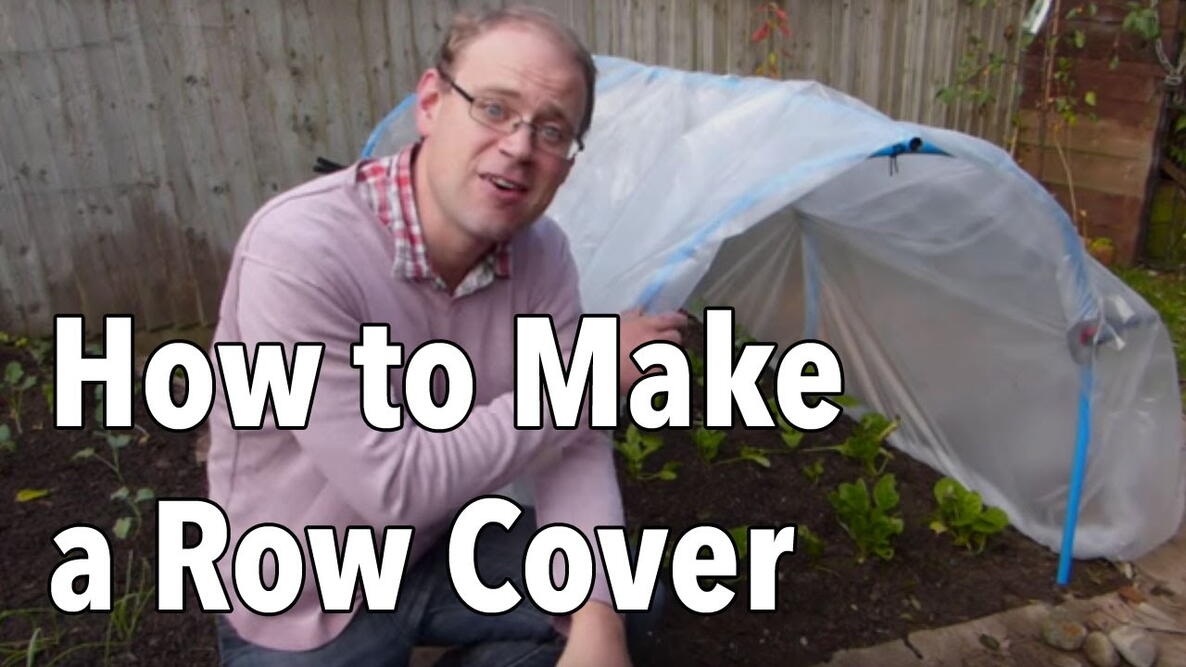
- Temporary frames or “cloches” can also be made by leaning old storm windows tent-style over the plants along the length of the garden row.
- For those of us with limited time and/or DIY skills, try cutting the bottoms out of plastic milk jugs and placing them over individual plants, holding the jugs in place with mounded soil. During sunny days, remove the caps for ventilation.
How to Make a Hotbed
A hotbed is a cold frame that is heated. Some gardeners use electric heating tape or cables, but the age-old method of using horse manure or compost works well, too.
- For a non-electric hotbed, excavate 18 to 24 inches under the frame and add fresh manure or compost.
- Turn and moisten this material every couple of days for a week until it settles, then cover it with 6 inches of soil.
- As the manure or compost decomposes, it will generate enough heat to protect against early or late frosts.
Do you use a cold frame or hotbed in your garden? Share your technique in the comments below!

More Like This

- « Previous
- 1
- 2
- …
- 10
- Next »
Comments