

Whether you’ve just brought home the perfect pumpkin or carved a grinning jack-o’-lantern, you’ll want it to last as long as possible! Warm days, cool nights, and moisture can all cause pumpkins to fade, shrivel, or rot before the season’s over. With the right harvesting, cleaning, and storage methods, you can keep your pumpkins looking fresh—inside and out—well beyond Halloween night.
Before carving, here’s how to choose and harvest pumpkins that last.
How Long Do Carved Pumpkins Last?
Fresh vs. Carved Pumpkins
- Freshly harvested or store-bought pumpkins last 1 month at room temperature and 2–3 months in a cool, dark, dry place. (See our Pumpkin Growing Guide.)
- Once carved, pumpkins only last 3–5 days, less in warm weather.
Tip: If you want your jack-o’-lantern to look great for longer, consider surface carving or painting instead of hollowing it out.
Harvesting Pumpkins for Maximum Freshness
Picking the Right Pumpkin
- Harvest when fully mature, with a deep, solid color and hard shell.
- Avoid soft spots; choose a pumpkin with a solid stem. Don’t forget to examine the bottom and all sides!
- The shell should be hard and not easily punctured by a fingernail.

Harvest Tips
- Pick on a dry, sunny day—your pumpkins will thank you.
- Cut the stem with pruners, leaving a 3–4 inch “handle.” Never lift by the stem, especially with giants!
- Don’t pick up by the stem—especially for giant pumpkins—it continues to feed nutrients even after cutting.
- Pumpkins will ripen off the vine if stored correctly.
- Bring pumpkins in before the first frost—cold can damage them quickly.
- Cure them in a warm, dry spot (about 80–85°F) for 10 days to toughen the skin and extend storage life.
- If the weather cooperates, you can even cure them in the field—just keep them off damp soil on straw or boards and watch out for frost or rain.
- Store in a cool, dry place (50–55°F) with good airflow, and they’ll last all winter.
6 Tips to Keep Your Pumpkin From Rotting
Clean and Hollow
- Wash pumpkins with cool, soapy water before carving.
- Remove seeds and scrape out all strings and moist flesh to slow mold growth. An ice cream scoop is a great tool for this job!
Preserve Your Pumpkin
- Wipe the pumpkin with coconut oil, including the front, insides, and carved edges. According to a reader’s test using coconut oil (instead of bleach), coconut oil slowed rotting much faster, plus it’s biodegradable and wildlife-friendly!
- Seal cuts with petroleum jelly to slow moisture loss (skip if using real candles).
- Avoid real candles; their heat accelerates rotting.
Display & Storage Tips
- Move or cover pumpkins to protect from extreme temperatures.
Extra Hacks to Extend Pumpkin Life
Over the years, our readers have developed more than a few pumpkin-carving hacks of their own. Here are some suggestions from Almanac readers:
- Vinegar-water spray: Wipe down all surfaces of the pumpkin with a vinegar-water solution (1 part vinegar to 1 part water) to kill bacteria and fungal spores. You can then spray the pumpkin daily with this solution.
- Ice bath: Can refresh a pumpkin starting to degrade. Be aware that you can only do this once, as pumpkins don’t respond well to repeated temperature changes.
Beginner Pumpkin Carving Tips
“Farmer Mike” Valladao has been carving pumpkins since he saw a giant, 612-pound specimen at a festival. His tips:
- Angle the knife: Angle the blade of the knife toward the center of the pumpkin to create a “shelf” for the top to rest on; otherwise, the top will fall straight into the pumpkin.
- Hollow from the back: You don’t have to carve out the top! You can hollow out the pumpkin from a hole in the back instead so that the look of the face isn’t affected.
- Outline designs first: Draw a line down the center to establish symmetry. Then sketch the nose, the approximate center of the face.
- Use paring or steak knives instead of serrated blades: You don’t want to bend the knife.
- Always use two hands: one to control the blade and the other to control the pressure when you cut (and thus the depth).
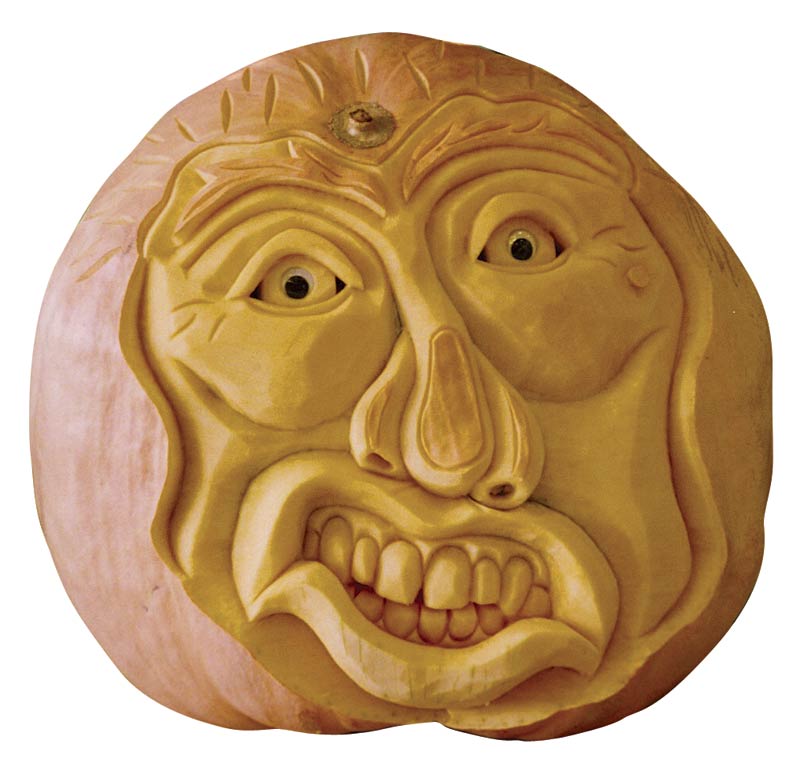
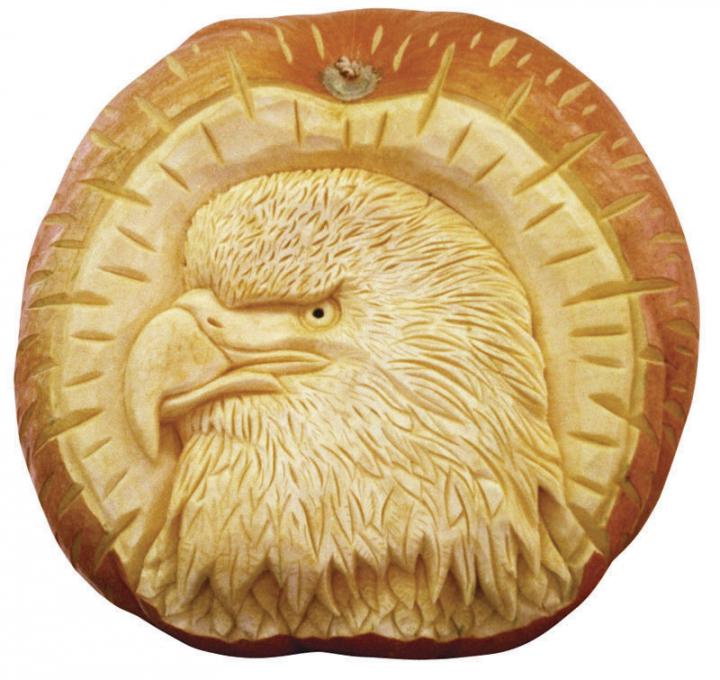
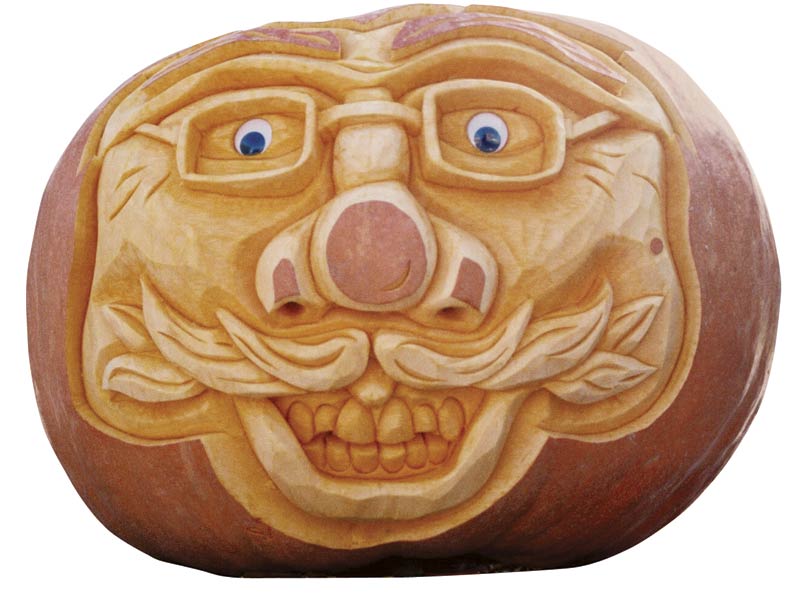
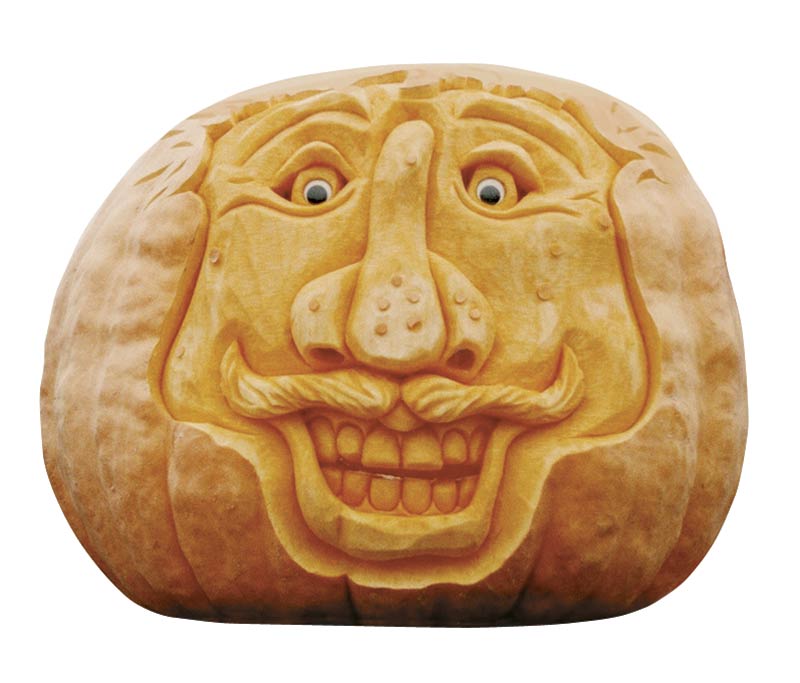
Advanced Pumpkin Carving Techniques
For the more adventurous carver, try making a 3-D pumpkin face. You will need more than a knife. It helps to have a clay loop tool, which you can buy at a craft store.
- Peel the skin where you want the face, then carve beneath the drawn lines—just as you would peel a carrot. Then draw your design on the pumpkin. Follow the lines, carving beneath the line, digging out the feature. For example, cut a line for a mouth and carve below.
- Exaggerate features for depth, like teeth or cheekbones. (If you aren’t sure what teeth really look like or how the gum line works, smile and look in the mirror.) Take care not to jab the blade into the pumpkin; you don’t want to cut all the way through the rind—except to determine its depth.
- Clay loop tools help sculpt detailed features.
Not many can carve quite like Valladao, who’s a seasoned pro, but we thought we’d share some of his amazing creations for inspiration! Susan Valladao took all the photos:

We hope you have fun carving pumpkins this year. We sure did with our kids!
Disposing of Pumpkins Responsibly
If your pumpkin hasn’t been treated with anything toxic, add it to your compost pile or feed it to livestock and wildlife.
Save seeds to roast into a tasty treat—or save seeds to plant next year!
Find more seasonal ideas on our Halloween page!

More Like This


Great tip!
Comments