Who says fresh food is just for summer? With a little planning and a few old-school tricks, you can turn your pantry, cellar, or freezer into a treasure chest of garden gold. From crisp carrots in January to jam-sweet berries in March, here’s your complete guide to making the harvest last long after the leaves have fallen.
Which Vegetables and Fruits Can Be Stored
In general, many vegetables simply need a cool, dry, dark, well-ventilated location, which will help to prevent rotting. You can buy storage boxes, but a wooden crate or shallow cardboard box will work just as well. If you use stackable boxes or crates, make sure that air can circulate between the levels.
- Apples and pears are well suited to storing. Wrap each fruit in newspaper and place in a single layer in the bottom of your container.
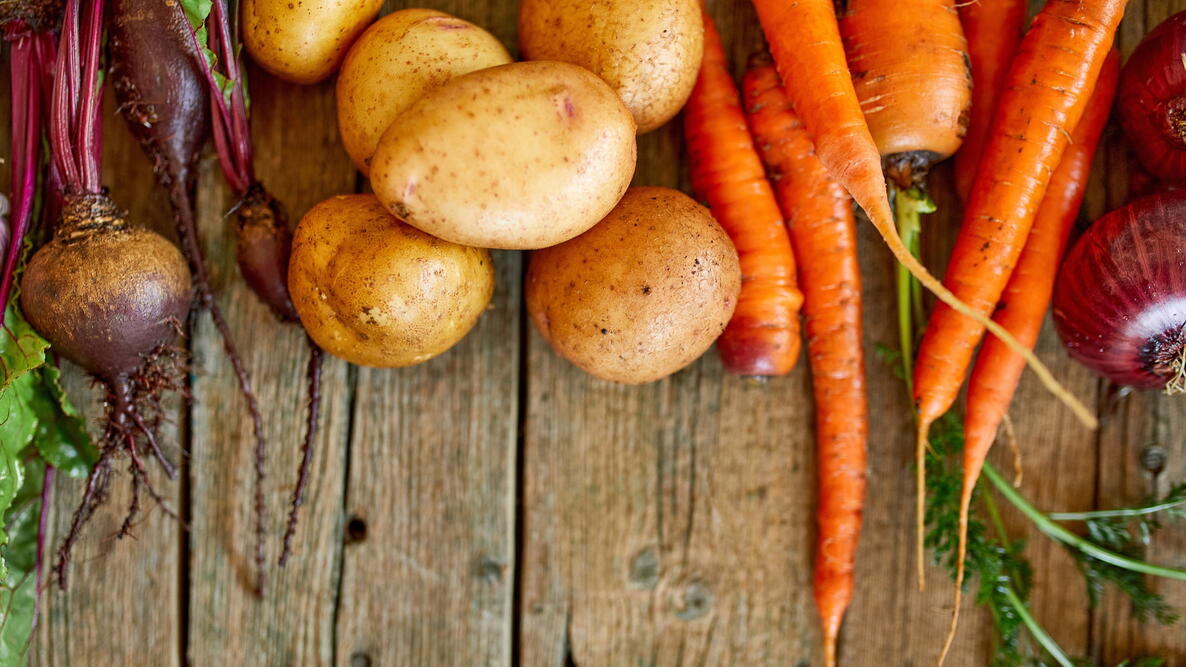
- Root vegetables such as beets, carrots, and potatoes store well in damp sand. If you can’t get your hands on sand (any kind will do), some gardeners use sawdust, vermiculite, or coir instead. Cut the leafy tops off the beets and carrots and place them in a single layer without wrapping them. Then, cover them with a layer of sand to prevent them from becoming rubbery. Potatoes can be stored in burlap or paper bags. Harvest them on a dry day and leave them out in the sun to dry. Remove any mud from the potatoes to prevent mold from forming. Store them in a dark place to avoid poisonous green patches forming on the skins. Parsnips are best left in the ground over winter and harvested when needed.
- Onions, garlic, and shallots are best dried thoroughly and then plaited before storing in a dry place. You can also cut the tops off and hang the bulbs in an old pair of tights or netting.
- Winter squash can be stored for 2 to 4 months, depending on variety. (If you are growing this crop, cure all winter squash, except for the acorn types, at a temperature of 80° to 85°F and a relative humidity of 80 to 85 percent. Curing helps to harden the squash skins and heal any cuts and scratches. Do not cure acorn squash.) When properly cured and stored, the storage life of butternut squash is 2 to 3 months; for Hubbard squash, 5 to 6 months. Acorn squash lasts up to 2 months. Pumpkins and marrows don’t keep after midwinter, but other squashes (such as butternut and spaghetti) may keep until early spring. Ensure they are in good condition and store them in a cool, dry place like a cupboard. (NOTE: Summer squashes, such as zucchini, don’t store well and should be kept in the fridge for a maximum of 3 weeks.)
- Leafy crops such as lettuce and spinach do not store well and should be eaten within a few days of harvesting. Sow regularly right into early autumn, so you still have leaves to harvest in the colder months.
- Legumes such as peas and beans can be dried for use in stews or blanched and frozen.
The Room Where You Store Crops
- Any place you store crops should be well-ventilated, and storage containers should be elevated off the ground or floor on blocks or pallets.
- Within this space, however, the optimum storage condition for each crop varies. Root crops such as beets, carrots, and rutabagas are best packed in sand or sawdust and prefer 35°F. Potatoes like it a little warmer—about 45°F. Winter squash prefers 50° to 55°F.
- Assuming you are a home gardener without multiple rooms, keep temperatures a little above freezing, but never below. (At a depth of 5 feet, the natural temperature of the ground is 50°F, which means that most cellars will require a source of colder air.)
- You can achieve differing temperature requirements by using varied elevations and wall surfaces. You can also mitigate temperature fluctuations with insulation. Place your box of roots inside a bigger box, then fill the gap between the two on all sides with insulating material, such as straw, bracken, or scrunched up newspaper. For a more permanent solution, partition off a section of your garage or shed and insulate it with sheet insulation.
- A vent with a removable cover on the outside wall of the structure will likely be necessary to ensure sufficient ventilation. But keeping boxes of roots a few inches off the floor will help regulate temperatures, too.
As much as you want to enjoy them at the time of harvest, your healthiest crops are the ones you should set aside for storage. Do not store any vegetables with nicks or gouges as they can rapidly turn to rot when stored, which can spread from one root to the next. Use up damaged roots as soon as possible.
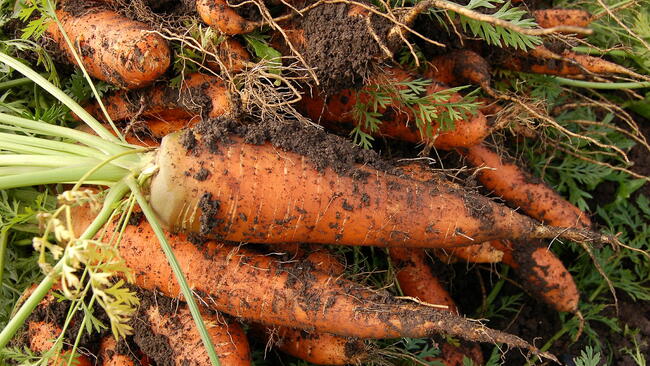
- Harvest vegetables for storage when the weather is dry. Leave roots to sunbathe on the soil for a few hours before storing to kill off the root hairs and toughen up the skin.
- Don’t wash the roots, but brush off any loose soil and shear off the foliage just above the crown.
- Do not rub the dirt off, as this will bruise the skin. Leave the stems intact.
- Dig up root crops after they’ve been in the ground through a cold spell—this will fill the cells with sugar and starches instead of water—and leave them outside in the sun for a day or two to cure. It’s best to harvest them before a hard frost. (The exception are parsnips, which can be left in the ground through the winter and harvested in the spring.)
- Onions should cure for several days, and squashes and pumpkins should be given weeks, if possible, for their skins to toughen.
Not all of your storage crops make the best of neighbors.
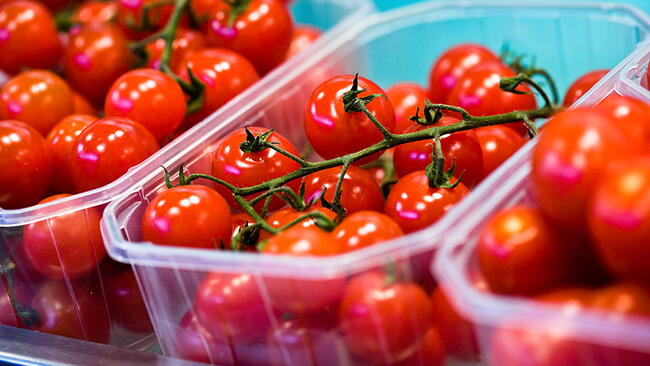
- Apples give off a gas that causes potatoes to sprout and promotes the ripening of tomatoes—neither of which is desirable while in storage. Keep apples away from most vegetables.
- Do not store squashes near apples, pears, or other ripening fruit. Ripening fruit releases ethylene gas, which shortens the storage life of squashes.
- Turnips and cabbage give off a strong smell, which can eventually flavor surrounding vegetables as well.
- Seeds and pods are not candidates for the cellar. They need to be thoroughly dried in a dark, moisture-free location (try the attic) and then stored in jars in the pantry or kitchen.
More Tips on Storing Root Vegetables
Keep in mind that many late crops, such as beets, carrots, parsnips, rutabagas, and turnips, are quite happy to be left in the ground until after the first frosts; this even sweetens their flavor. Winter weather also plays a part in determining how long you can leave roots in the ground, because frozen soil is hard to dig.
Wooden boxes and crates make good storage containers; strong cardboard boxes are fine, too. Plastic boxes are okay as long as they’re well ventilated, which can be done by leaving off the lid. Spread a layer of damp (but not wet) sand on the bottom of your container, then arrange your vegetables on top, making sure they’re not touching. Repeat, alternating between layers of sand and vegetables. Cap it all off with a final layer of sand.
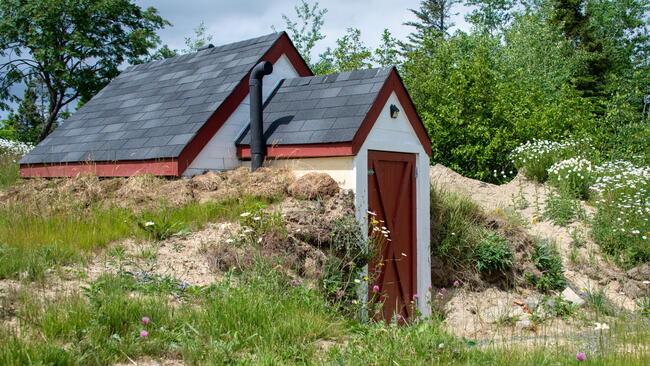
Store the containers somewhere that mice and other rodents aren’t an issue. An unheated cellar would be ideal, where you can partition an area off to use as a root cellar. If you’re lucky enough to have such an area beneath your house, see how to build a root cellar.
Check your produce regularly for temperature and moisture levels, as well as animal infestation. Check stored roots every week or two to make sure there’s no sign (or smell) of rot, and immediately remove any that have gone bad. If your vegetables have started to grow, they’re too warm and you need to ventilate more. If they’re shriveling up, they’re too dry—mist the sand to rewet it.
If you can keep light, temperature, and humidity under control, you can look forward to garden-grown roots for months to come.
Freezing the Harvest
Freezing is another way to preserve your harvest, especially when it comes to fruit. Freeze in usable quantities so that the produce can be easily defrosted.
Choose only firm, just-ripe fruit and vegetables and freeze them as soon as you can after harvesting.
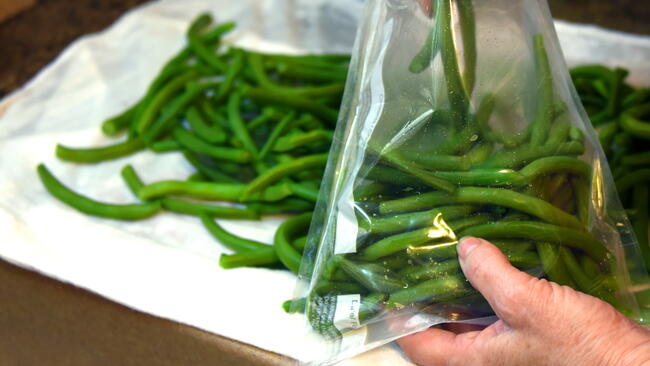
For best results, freeze fruit first on a quarter-sheet pan before packing them into a resealable freezer bag or vacuum sealing them. This ensures they not only keep well but also avoid freezer burn. Don’t forget to date and label the bag before placing it in the freezer.
The following freeze particularly well:
- Raspberries
- Blueberries
- Blanched apples
- Blanched beans (including runner and French)
- Cranberries
- Gooseberries
- Peas
- Rhubarb
Note: Some fruit and vegetables will need blanching before freezing. This prevents the water in the fruit and vegetables from crystallizing and rupturing their cell walls, resulting in a soggy, soft consistency when defrosted. Simply plunge the fruit or vegetable into a large pan of boiling water for about one-third to one-half of the normal cooking time, and then transfer to ice-cold water, before patting dry and freezing.
See our guides to freezing different fruits and produce!
Drying Vegetables and Fruit
Crops that dry well include tomatoes, peppers, and apples. Drying can dramatically alter the flavor and texture of your crop and can make interesting additions to dishes. Simply wash and thinly slice your fruit or vegetable, and arrange the pieces in a single layer on a baking tray.
Traditionally, this would be left outside over long sunny days to dry. An easier method is to set your oven to its lowest temperature (250°F) and leave the trays in for several hours until the pieces have shrunk in size and are almost crispy. Once dry, store the pieces in a sterile, airtight container and consume within a few weeks.
Learn more about drying your harvest. Drying fruit and vegetables such as tomatoes and peppers is very satisfying.
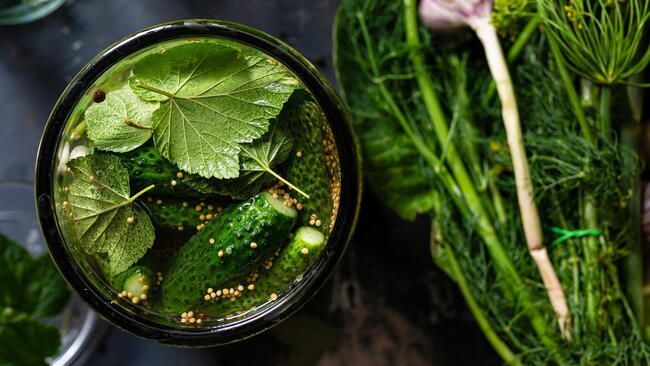
Pickling Your Vegetables
Beets are delicious when pickled and will keep for several months.
- Wash and prepare beets (don’t remove the tops too close to the root, as this can cause the color to leach out).
- Boil in water for 30 minutes, or until the skins and tops rub off easily.
- Slice them and place them in a sterile jar, and cover with pickling vinegar. (Jars can be sterilized by washing them well and then placing them in a cool oven at 250°F for 20 minutes)
Shallots are wonderful when pickled and also keep through the winter.
- Peel and trim the tops and bottoms.
- Place them in a shallow dish and cover with salt to draw out excess moisture.
- Leave them overnight, then rinse thoroughly and place in a sterile jar and cover with pickling vinegar.
Of course, there are MANY other vegetables that you can pickle. Learn how to pickle.
Canning and Making Jams
If you wish to go beyond the fridge, freezer, pantry, and room storage, learn how to “cook” your food. From tomato sauce to sauerkraut, canning is a way to capture the taste of summer and allows you to store it through winter. See our beginner’s guide to canning.
One of my favorite ways of canning fruit is making jams, which will keep for up to one year. See how to make jam.
We hope this primer helps you learn more about making the best of your food and the fruits of your labor!


Comments