
Starting your own flower seeds indoors and watching the enchanting process of a seed growing into a flower brings hours of pleasure. It’s a cost-effective hobby that will provide color and beauty to fill your flower boxes, patios, and garden for summertime joy! Why not experiment with starting your own flower seeds right at home! Here’s my simple step-by-step guide.
Flowers truly feed the soul. My love of growing flowers began during a time in my life where I was stuck sitting in a chair for 3 months while recovering from an accident. The process of watering daily and seeing a seed germinate, sprout, and grow tapped into the healing power of nature.
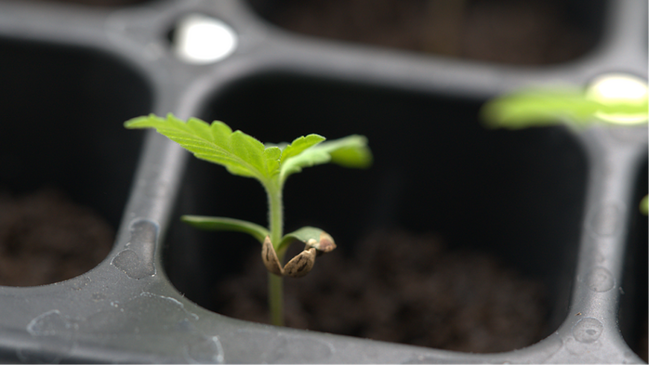
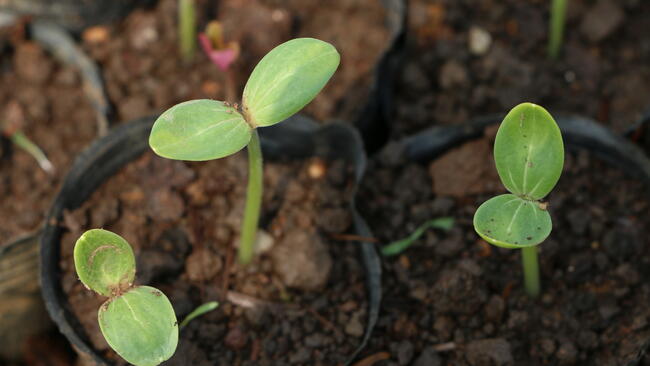
Every flower has specific growing needs to initiate the “wake-up” from dormancy and start the germination process. When those needs are met with proper water, oxygen, temperature, and either light or darkness, the embryo begins to swell and the protective seed covering breaks open. Once open, the root, or radicle, emerges and begins the slow process of reaching down into the soil to anchor itself, access water, and begin to grow. It is a miraculous process that, with a little patience and attention, rewards the sower on multiple levels.
What You Will Need
Flower Seeds
Seed-Starting Mix
Vermiculite (optional to cover seeds)
Sunlight or Grow Lights
Water
Planting Containers
Labels and Waterproof Marker
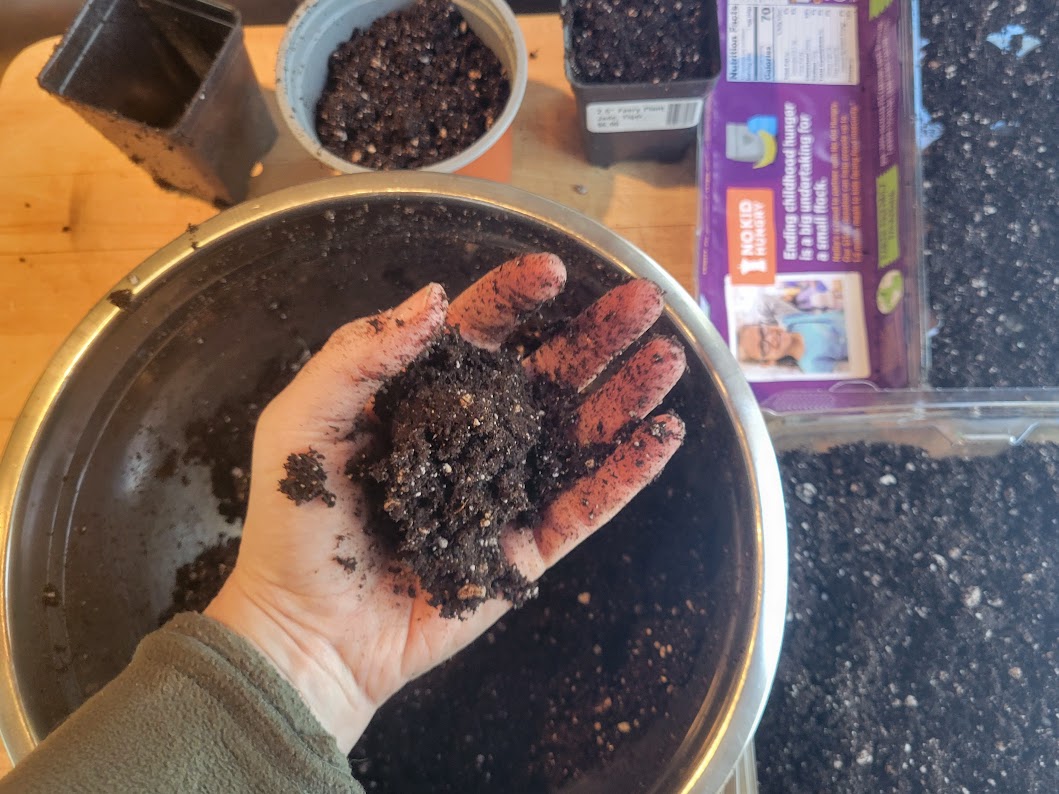
1. Pre-moisten Mix Take your starting mix and place into a small bin or mixing bowl. Be sure to look for a mix with vermiculite or perlite to help hold moisture and aid in drainage, along with peat or the more environmental option of coconut coir. The mixture should be a light and fluffy blend made especially for seed starting. General garden soil or potting soil is too dense and is not recommended. In a mixing bowl, add water and blend well with a spoon, or even better, your hands! Add enough water so that the soil is damp and holds together when you make a fist, but not so wet that water can be squeezed out. Damp is good; soggy is not. Just keep adding soil or water until you reach an even consistency.
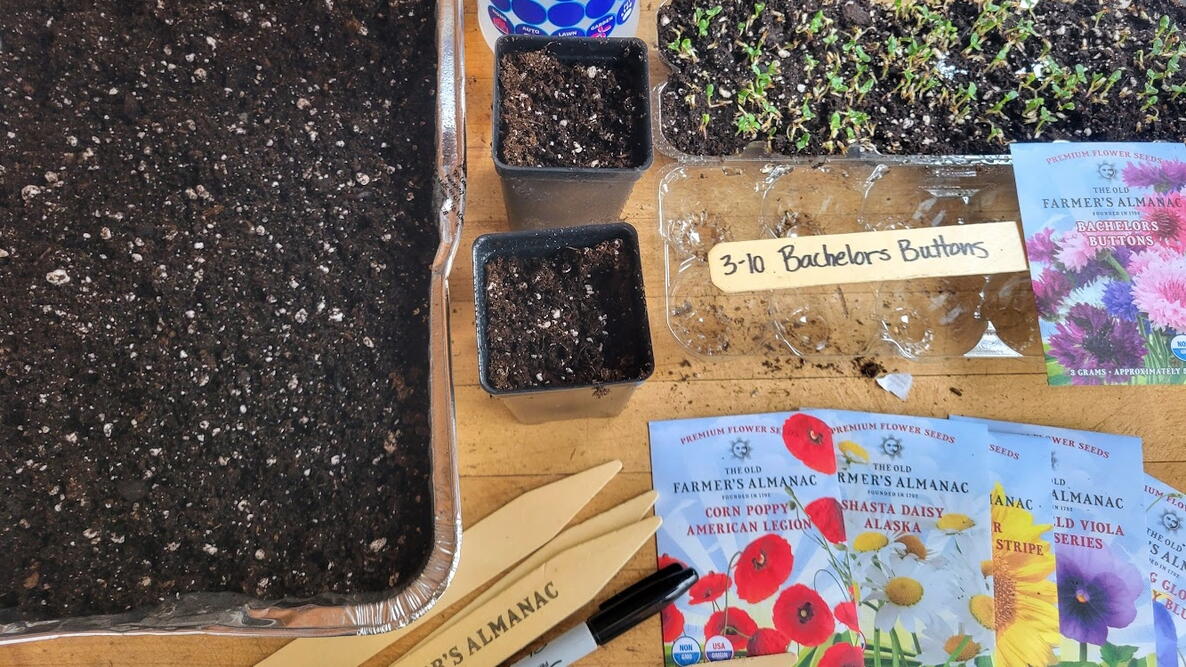
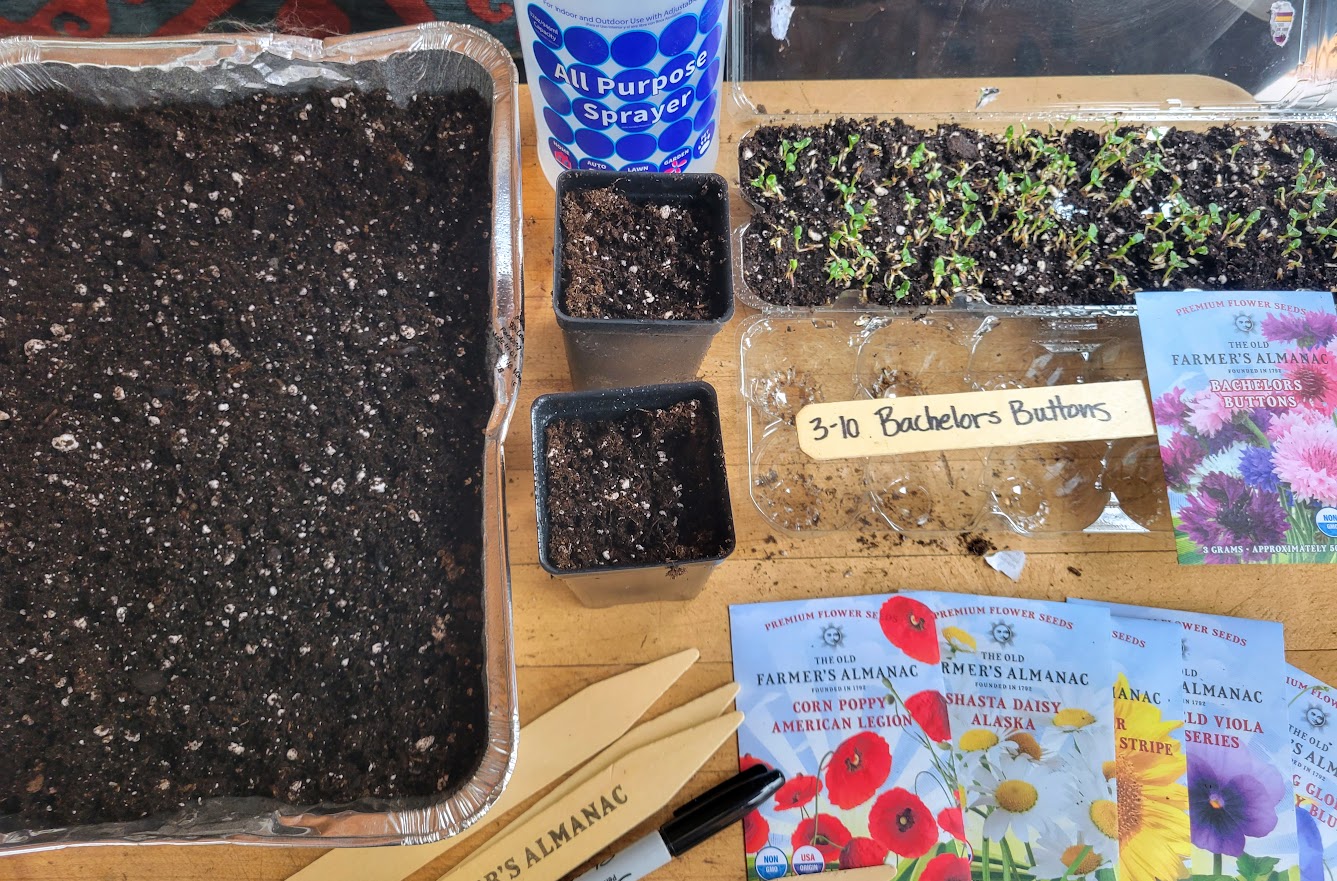
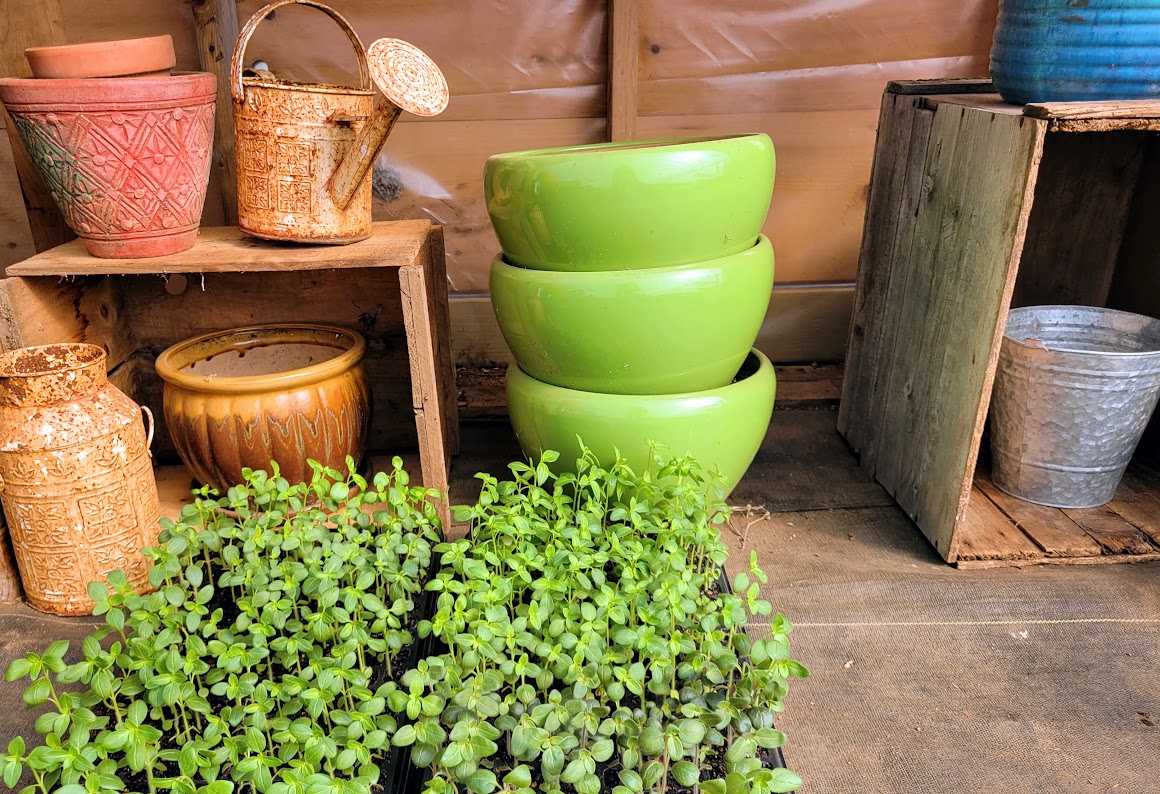
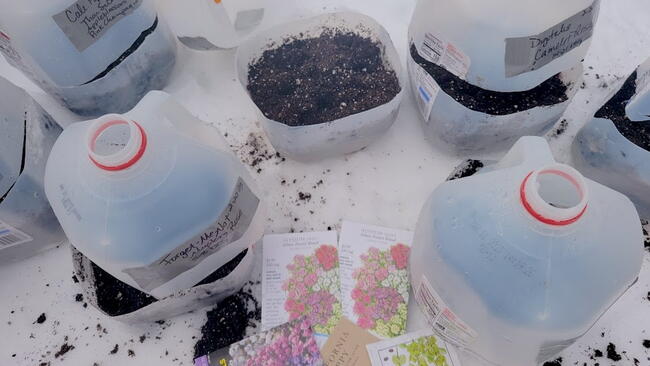
2. Add Drainage Holes & Fill Container There are many container options for starting seeds. Sift through your recycling for egg cartons, salad containers, yogurt cups, or other containers that can hold at least 2 inches of seed-starting mix and can be covered easily with plastic wrap. We use plug trays that have cells about 2 inches high, which is sufficient for seedlings to grow good roots and a few sets of leaves before needing to either be potted up or planted out, depending on temperatures. Before filling containers, add drainage holes in the bottom so that water can properly flow out. Be sure to water over a sink or place a tray below to catch water runoff. Once you have prepped what you will grow in, go ahead and fill 2 or 3 inches of premoistened soil into the bottom. TIP: Plastic egg cartons have a built-in cover on top and make easy germination chambers. Just poke holes in the bottom and fill with seed-starting mix and seeds.
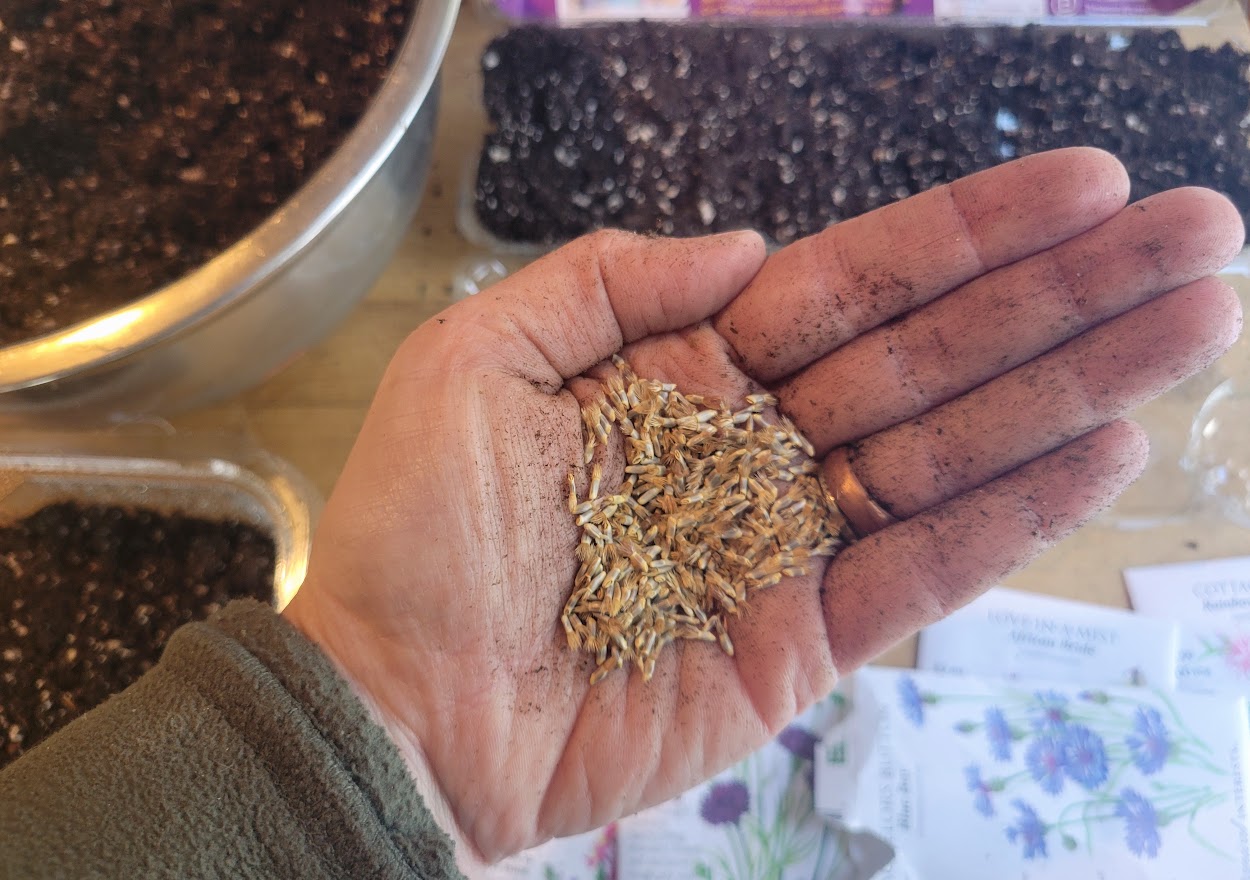
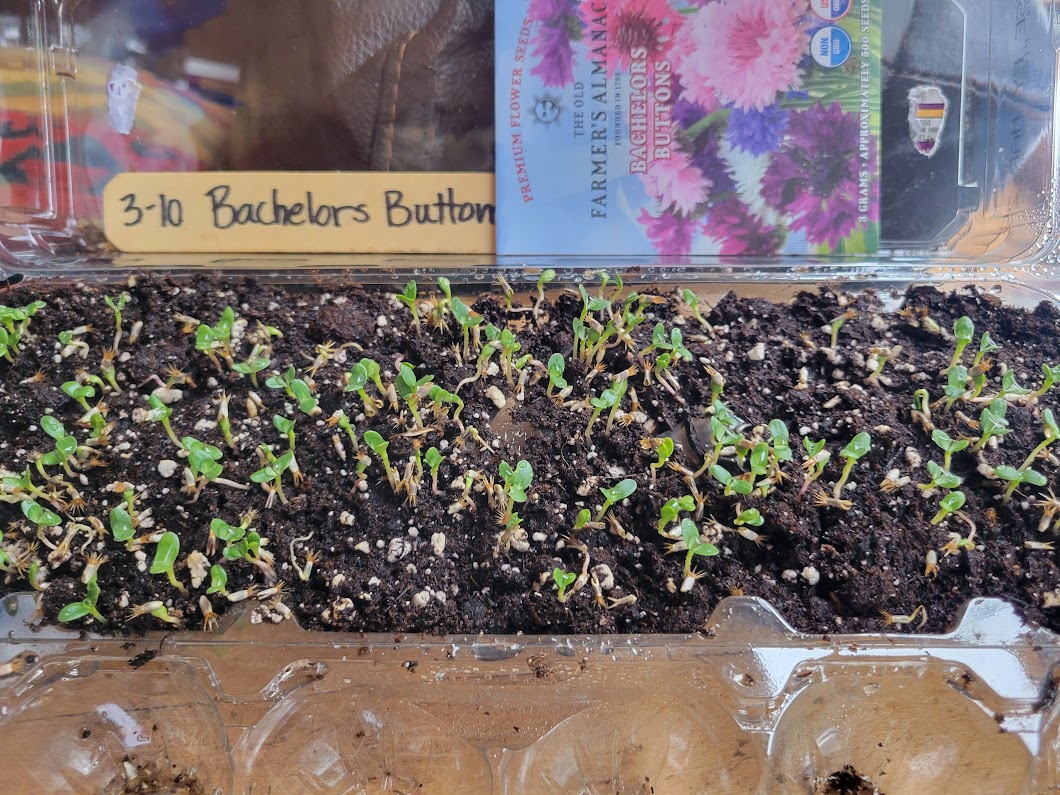
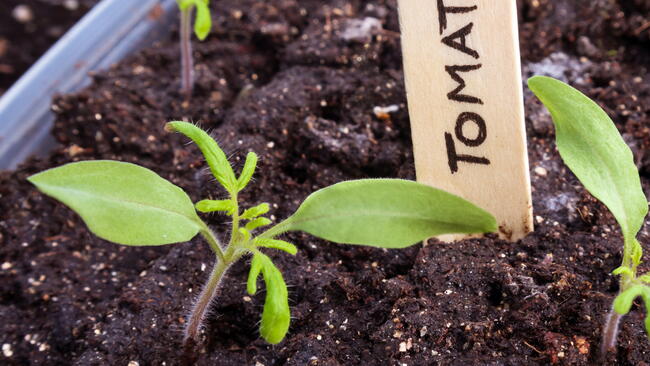
3. Sow Seeds Sowing seeds can be as simple as sprinkling them on top of the seed-starting mix in a large container, or if you are using single pots, at least two or three seeds per pot—this way, you are assured germination of at least one of your seeds. Extras can be thinned out later if all germinate. Some seeds, like sunflower and zinnia, need darkness to germinate and require sowing the seed down into the potting mix. See this chart for specific flower seed requirements for the easiest flowers to sow from seed. Don’t forget to label germinating seeds on a stake and either tape it to the side of the container or place it inside. A thin covering of vermiculite can be used over seeds for those that require darkness to germinate.
Bury Specific seeds, like sunflowers or zinnias, need to be buried at least twice as deep as the size of the seed.
.jpg)
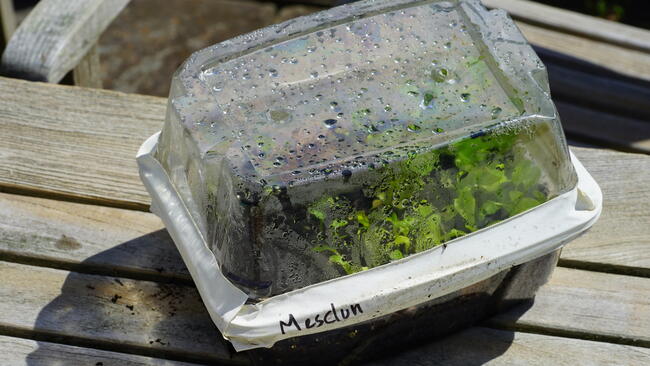
4. Cover Container This is super important! Seeds require moisture to soften their protective seed covering and swell the seed embryo, helping it to break open. Keep your germination container covered either with a seed tray cover, take-out container cover, or plastic wrap. Watch daily and spritz with water if the surface seems at all dry. You can poke a few air holes in the covering if your container is holding excess moisture. Give the seeds a spritz in the morning and evening if you see no moisture drops on the covering. Our home is very dry, requiring extra moisture be added into trays. If you tend toward higher humidity, you might need less. Once a seedling is germinated, remove the covering. If sowing many seeds at a time, remove the cover when at least 60% of seedlings have germinated.
5. Heat or No Heat? There are many easy cold-hardy flower seeds that don’t require heat to germinate and many that even require the freeze-and-thaw scenario of late winter into early spring to break dormancy. And then there are some heat-loving annual flowers that do require heat to germinate. For success, it’s important to know which seed type you are growing and what the specific requirements are. Sources for heat within your home could be a heat mat, a sunny and warm windowsill, or the top of a refrigerator or appliance that puts off a bit of heat. For specific seed requirements for easy-to-grow flowers, see this chart.
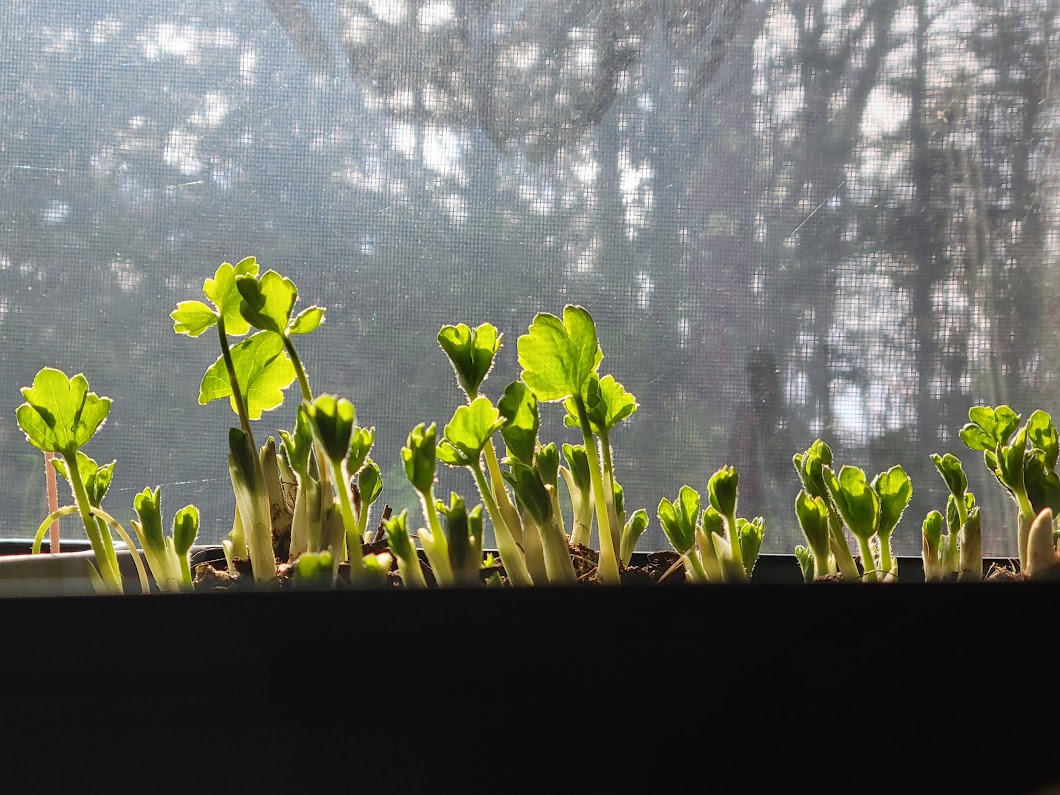
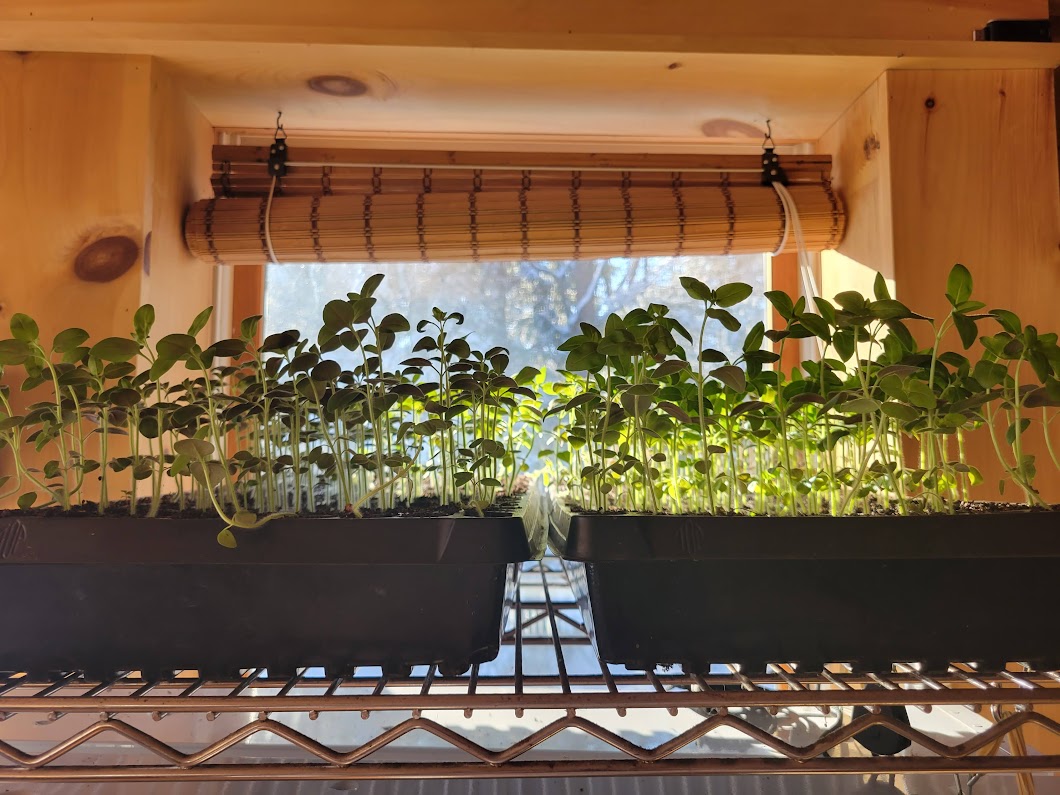
6. Light Once germinated, seeds need a light source, either from a southern-facing windowsill or indoor grow lights. To start, use what you have. Healthy seedlings can be grown in windowsills alone. Just pay attention and spin them, as they will stretch towards the direction of the sunlight. If you have grow lights, place seedlings under them once they germinate. Keep lights close to seedlings to start, about 1.5 inches above the sprouts, and then gradually move the light higher as your seedlings grow. A close light source will help to eliminate stretching and leggy seedlings.
7. Watch and Water As your seedlings grow, watch daily and water as needed. Bottom watering is optimal for most seedlings. It allows their roots to directly take up water. Often, I will set trays into the sink in about 1 inch of water for a few minutes to drink up, or if you have a tray or something that can securely hold water, then you can set your containers onto the tray and water at the base. If you are top watering and find you have algae growth on the soil surface, it could mean lack of airflow, overwatering, and sometimes, despite all good intentions, it just happens. No worries, simply scrape off algae, allow the top of the potting mix to dry, and then add a light sprinkling of ground cinnamon, which is anti-fungal, onto the top surface.
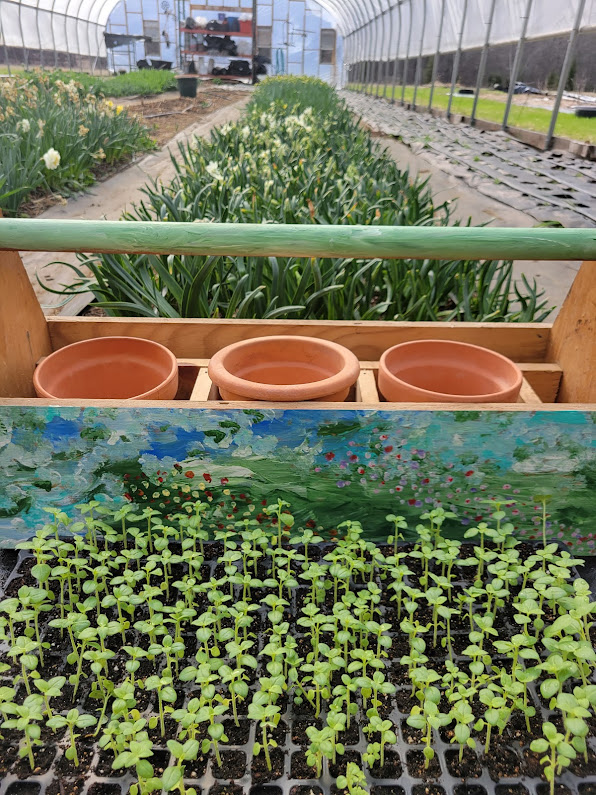
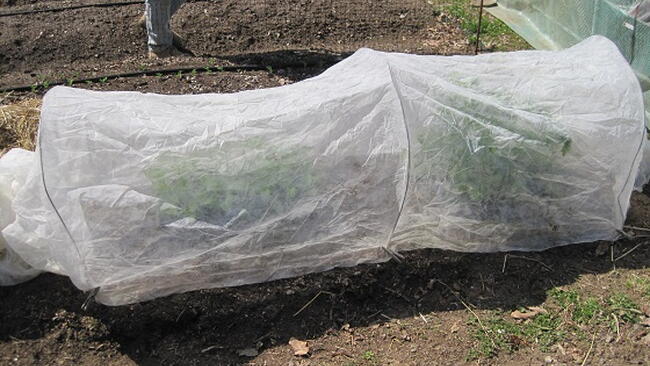
8. Hardening Off Before your early-season seedlings are ready to weather the outdoor temperatures and sunlight, you need to give them some time to adjust to the great outdoors. Plants, like people, can go into shock with extreme shifts in temperature and need time to adjust. This process is called hardening off.
When you are ready to move seedlings outdoors, give yourself a week to complete this step. Begin by setting your trays outside for a few hours in a shady, warm area, and then bring them back inside. Do this for 3 days and then gradually add sun exposure, lengthening the time outdoors over the next few days. 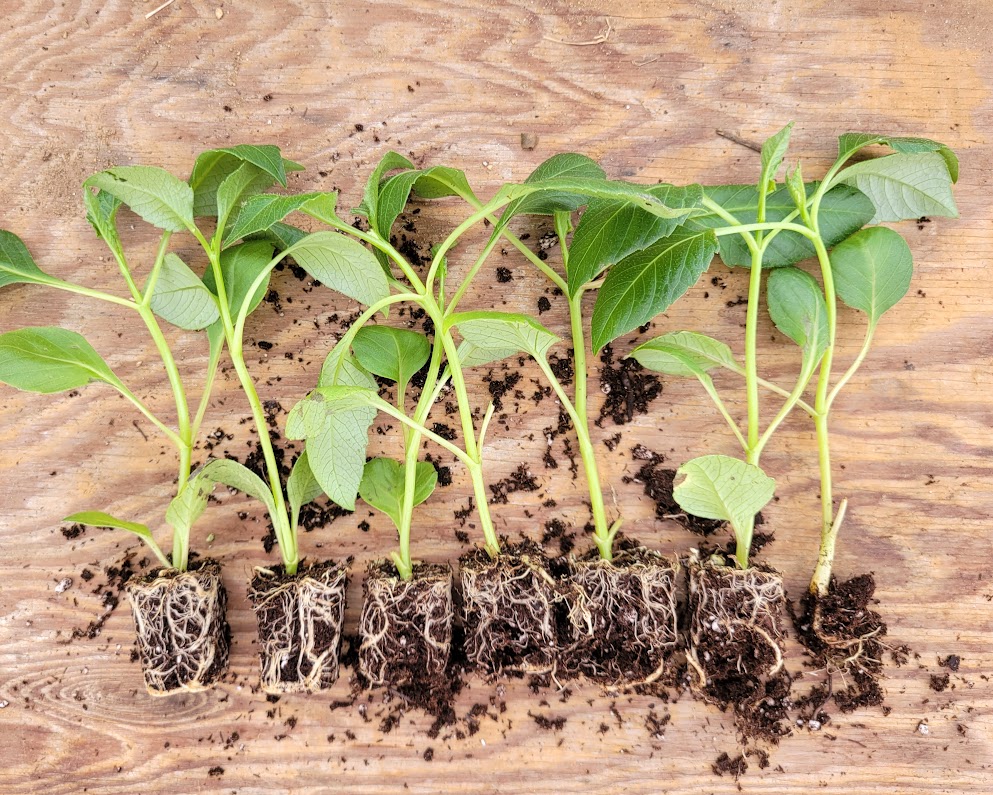
9. Transplant Plant out after the last frost and when you have at least two sets of true leaves. Plant into fertile soil and water in well. Enjoy watching as your baby seedlings take off and grow outdoors, in their natural element.
For information about flower gardening, see my beginner guide on How to Plant Flowers: From Starting Seeds to Planting in the Ground.

Comments