I normally don’t go in for a lot of frou-frou but I love to make a braid of onions every fall. They are not only a pretty way to display your hard-won harvest but I find it is a practical way to store them as well. They get good air circulation to last longer—and it is easy to see the size onion you want and to clip or pull it from the braid.
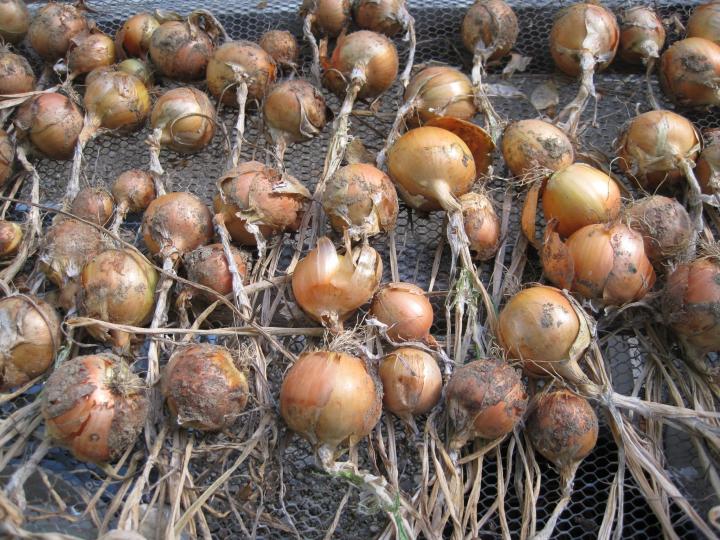
I let the harvested onions dry on a wire rack for a week or so until the tops are not showing much green. Don’t let them dry out too much or the tops become too brittle to braid and the onions will break off too easily.
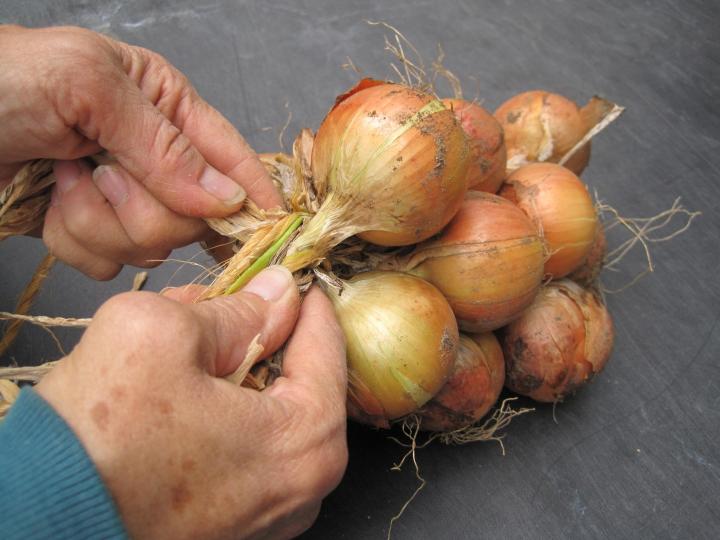
I used to braid just the tops but have found that it makes a much sturdier braid if I add 3 strands of heavy duty string. Knot the 3 strings together and start with 3 onions, one for each strand.
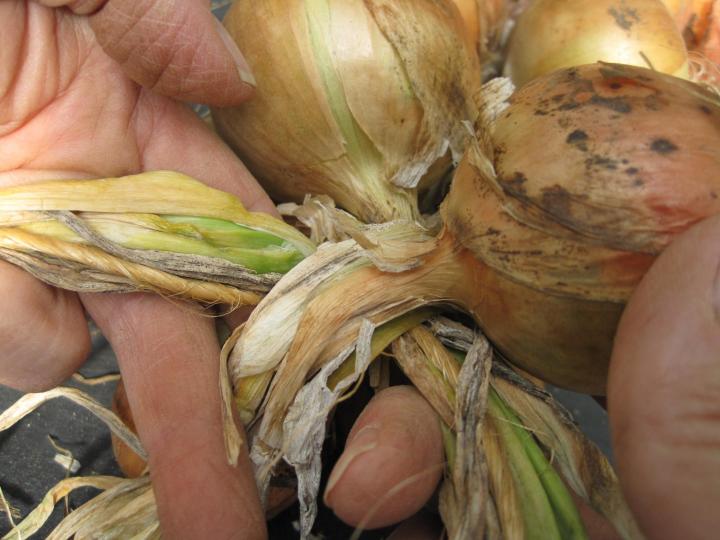
As you braid add another onion to each strand as you go along, just like French braiding hair.
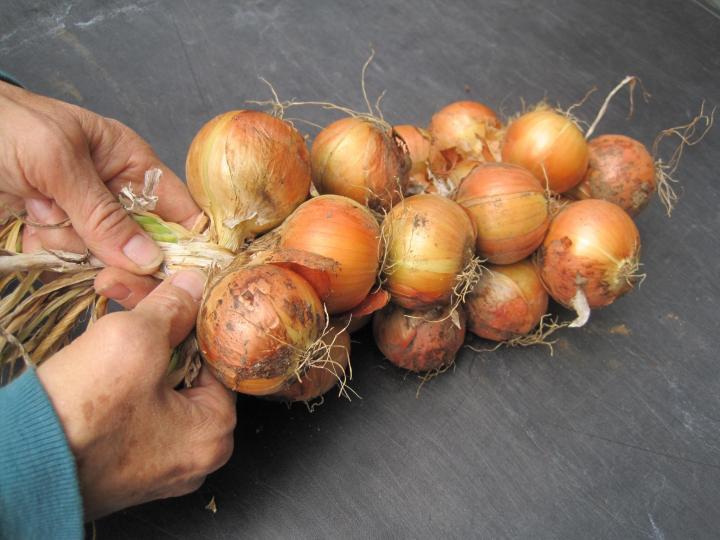
In minutes you will have a decorative and practical onion braid. It really doesn’t take much more time than it would to clean them off, remove the dried tops, and shove them into a mesh bag.
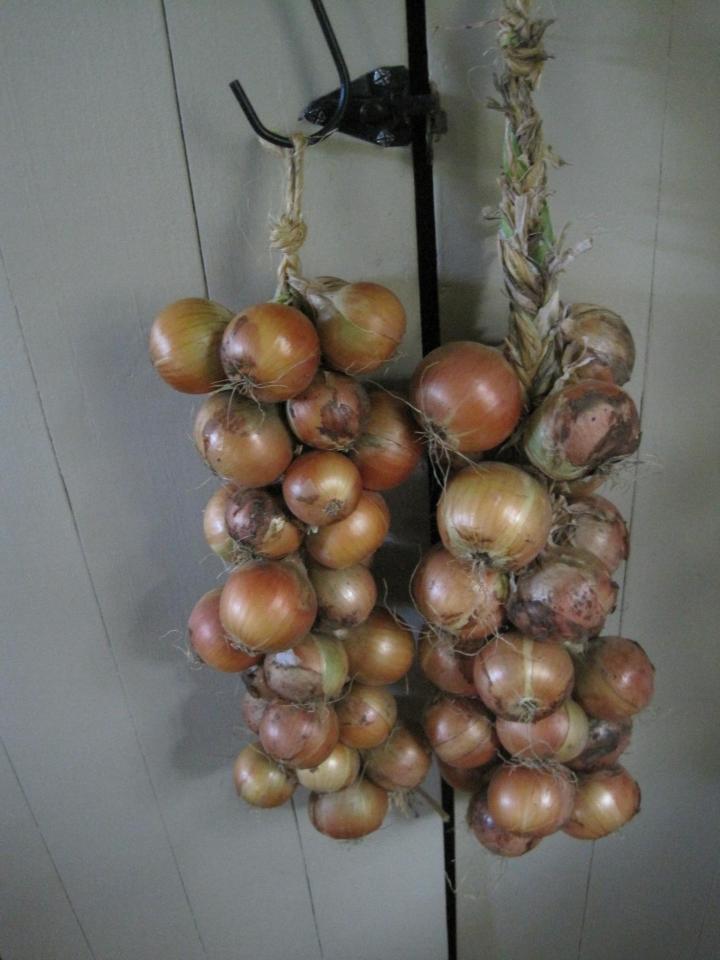
Show off your handiwork in your kitchen or, for longer shelf life, hang them in a dark cool place with good air circulation.
Onion Varieties: To Braid or Not to Braid
We grow a lot of onions, mostly to sell at farmers’ market. ‘Walla Walla’ and ‘Ailsa Craig’ are large, sweet Spanish types that don’t store well, so we use them first. The shallots are too tiny for me to handle, but they would make a beautiful braid for someone with more patience. ‘Red Wing’ sells so fast that I don’t end up with enough of them to bother braiding, so I only braid my ‘Patterson’ storage onions. I hang them in my pantry, and they will stay well into next spring without sprouting. My goal every year is to have enough of my own onions to see me through until the spring scallions are ready to pull.
Learn more about growing onions and onion varieties.
Comments